|
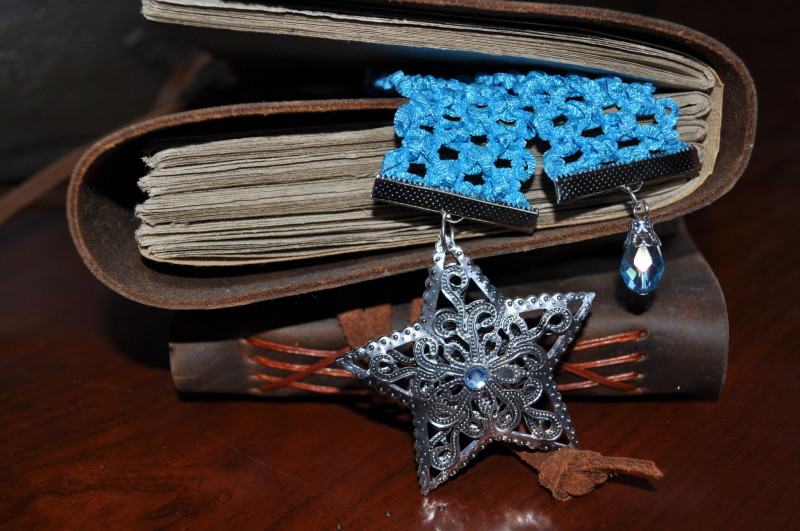
| Custom Timeless Series Bookmarks |
So continuing on with our DIY Christmas theme, I’ve got another quick and easy idea for the book lover in your group! Continue reading
|
| Custom Timeless Series Bookmarks |
So continuing on with our DIY Christmas theme, I’ve got another quick and easy idea for the book lover in your group! Continue reading

 |
| Watch a post on creating custom candy jars coming up soon! |
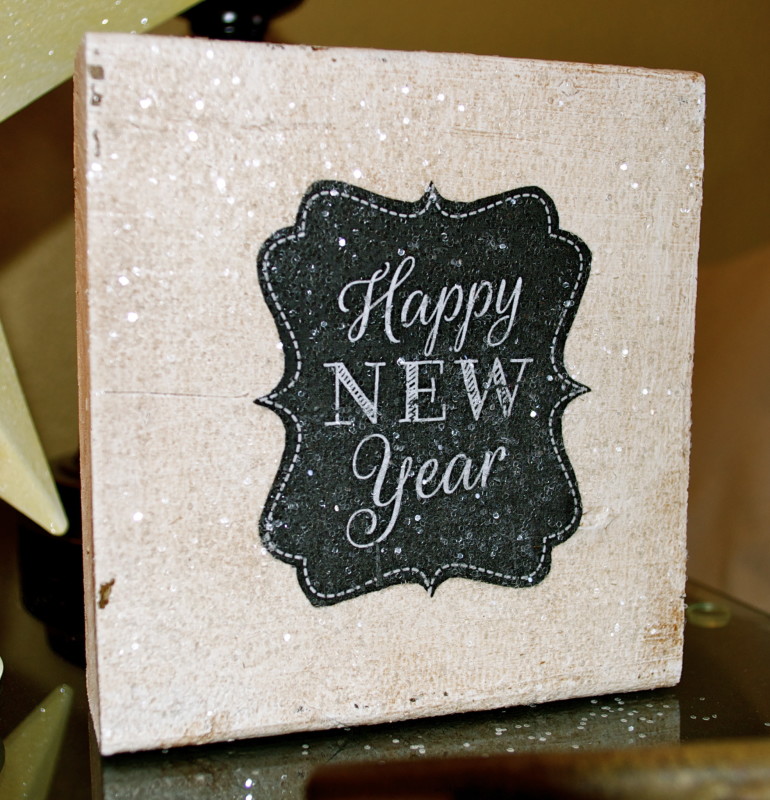
You’ve still got time believe it or not, to make some DIY Christmas gifts for those friends and family members that might have it all. Or for those friends/family that are avid book lovers, classy decor queens, or fashion divas. Adding a little bling into their lives can bring out smiles and knowing you made it from the heart, well, that’s just the frosting on the cake! Continue reading
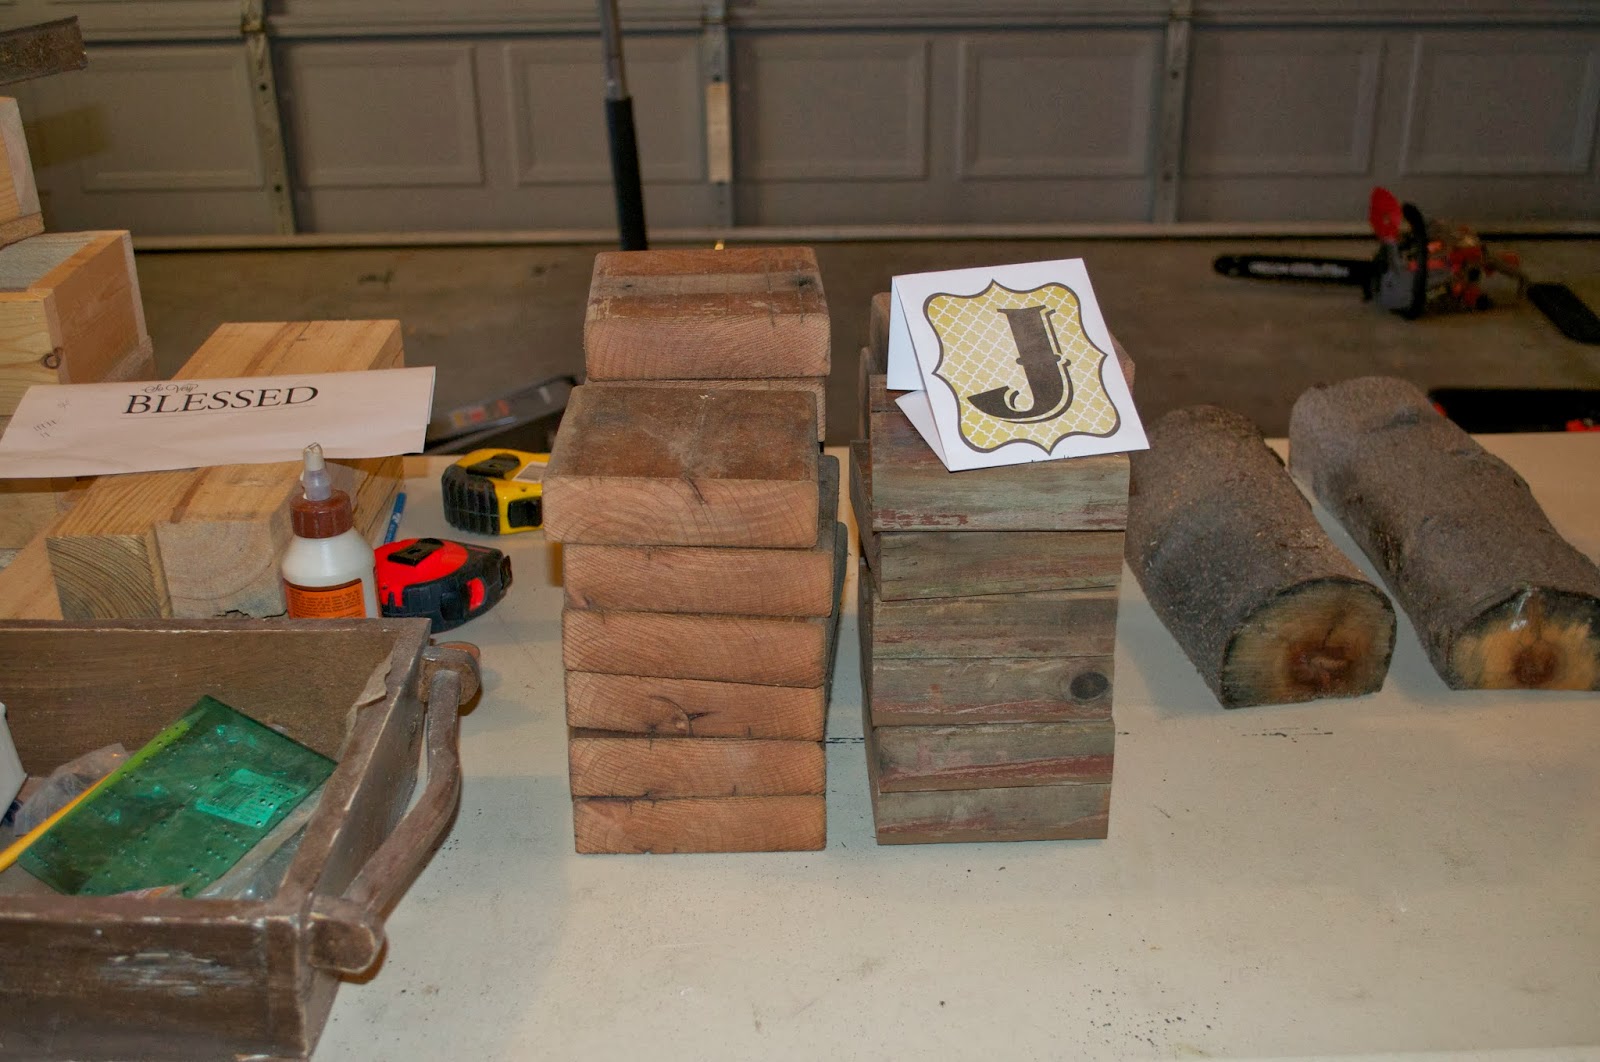
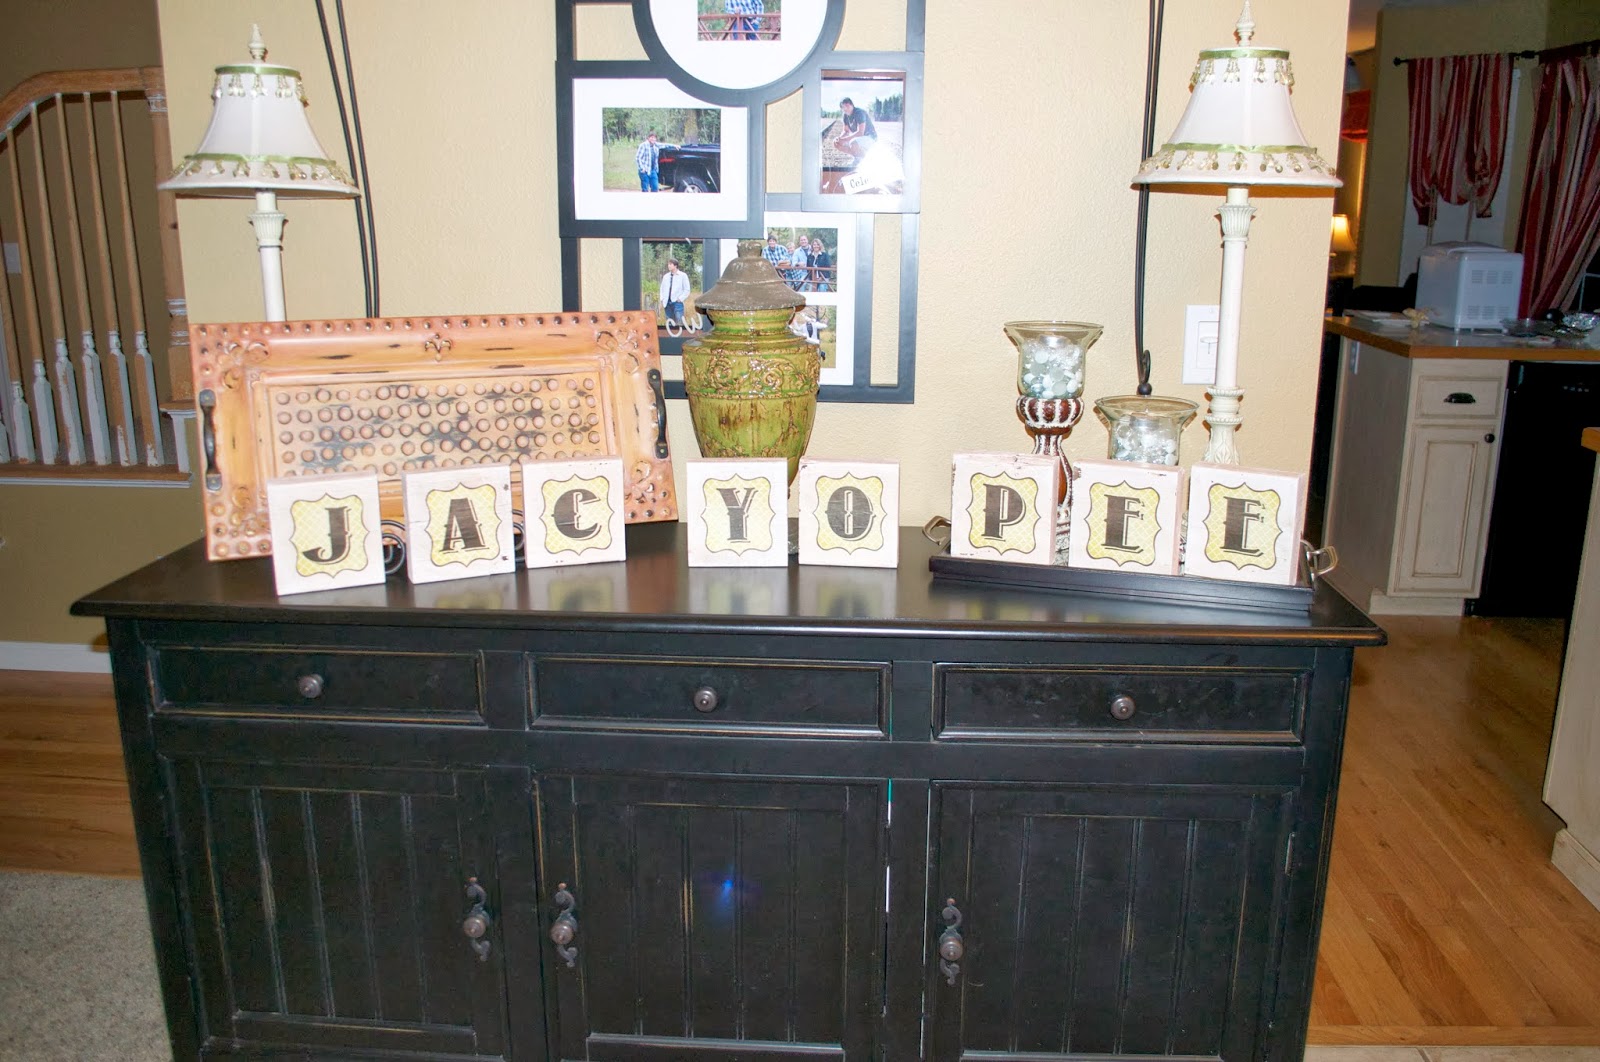
 A few weeks ago I started compiling projects that I wanted to do for Christmas. I perused Pinterest and got some ideas. My dilemma was that I had a ton of extra wood material left over from the Pergola/deck remodel from this past summer, wood that I didn’t want to go to waste mostly because it had already aged itself properly.
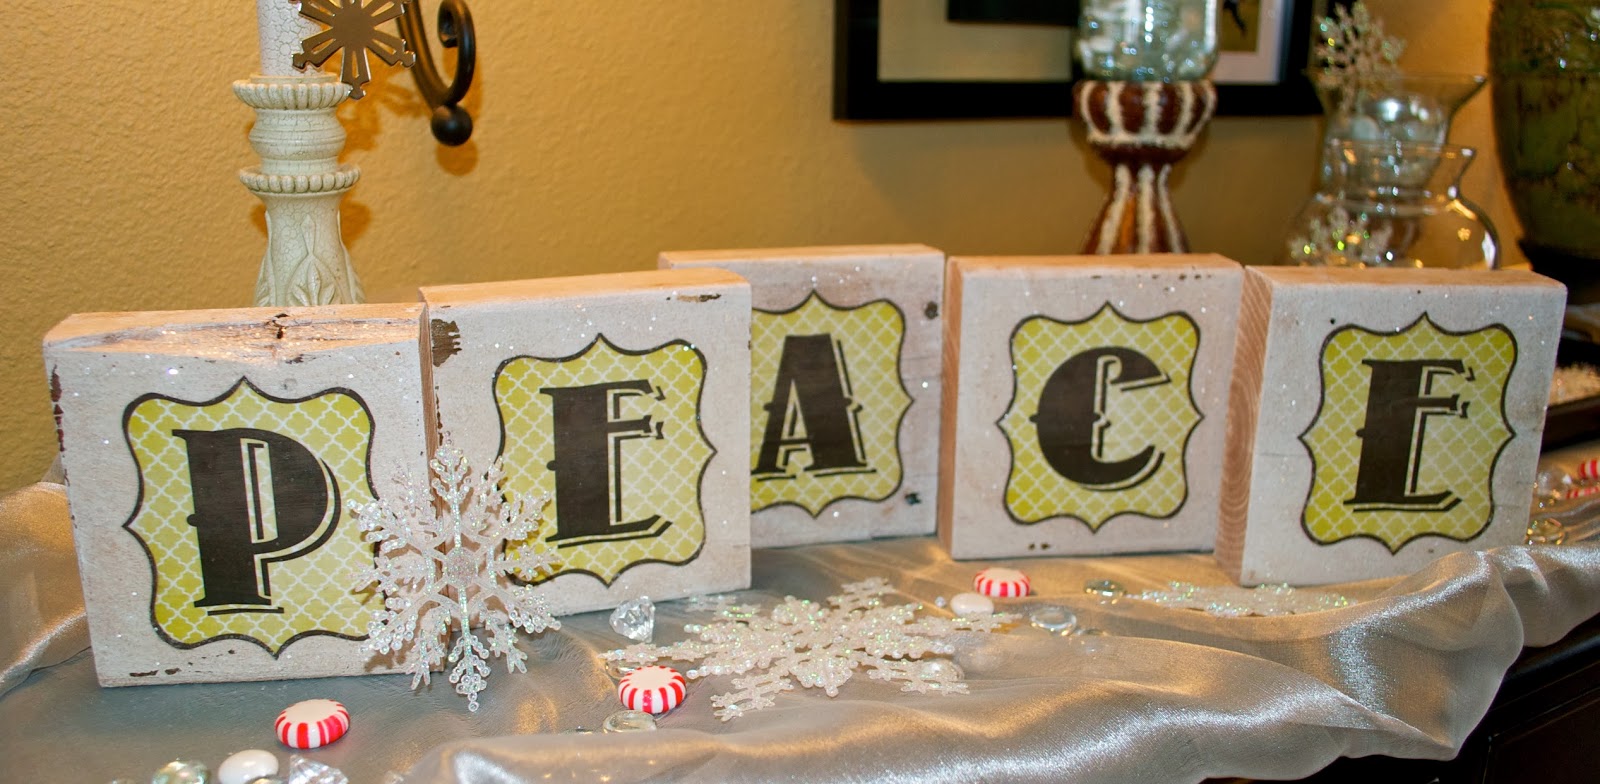
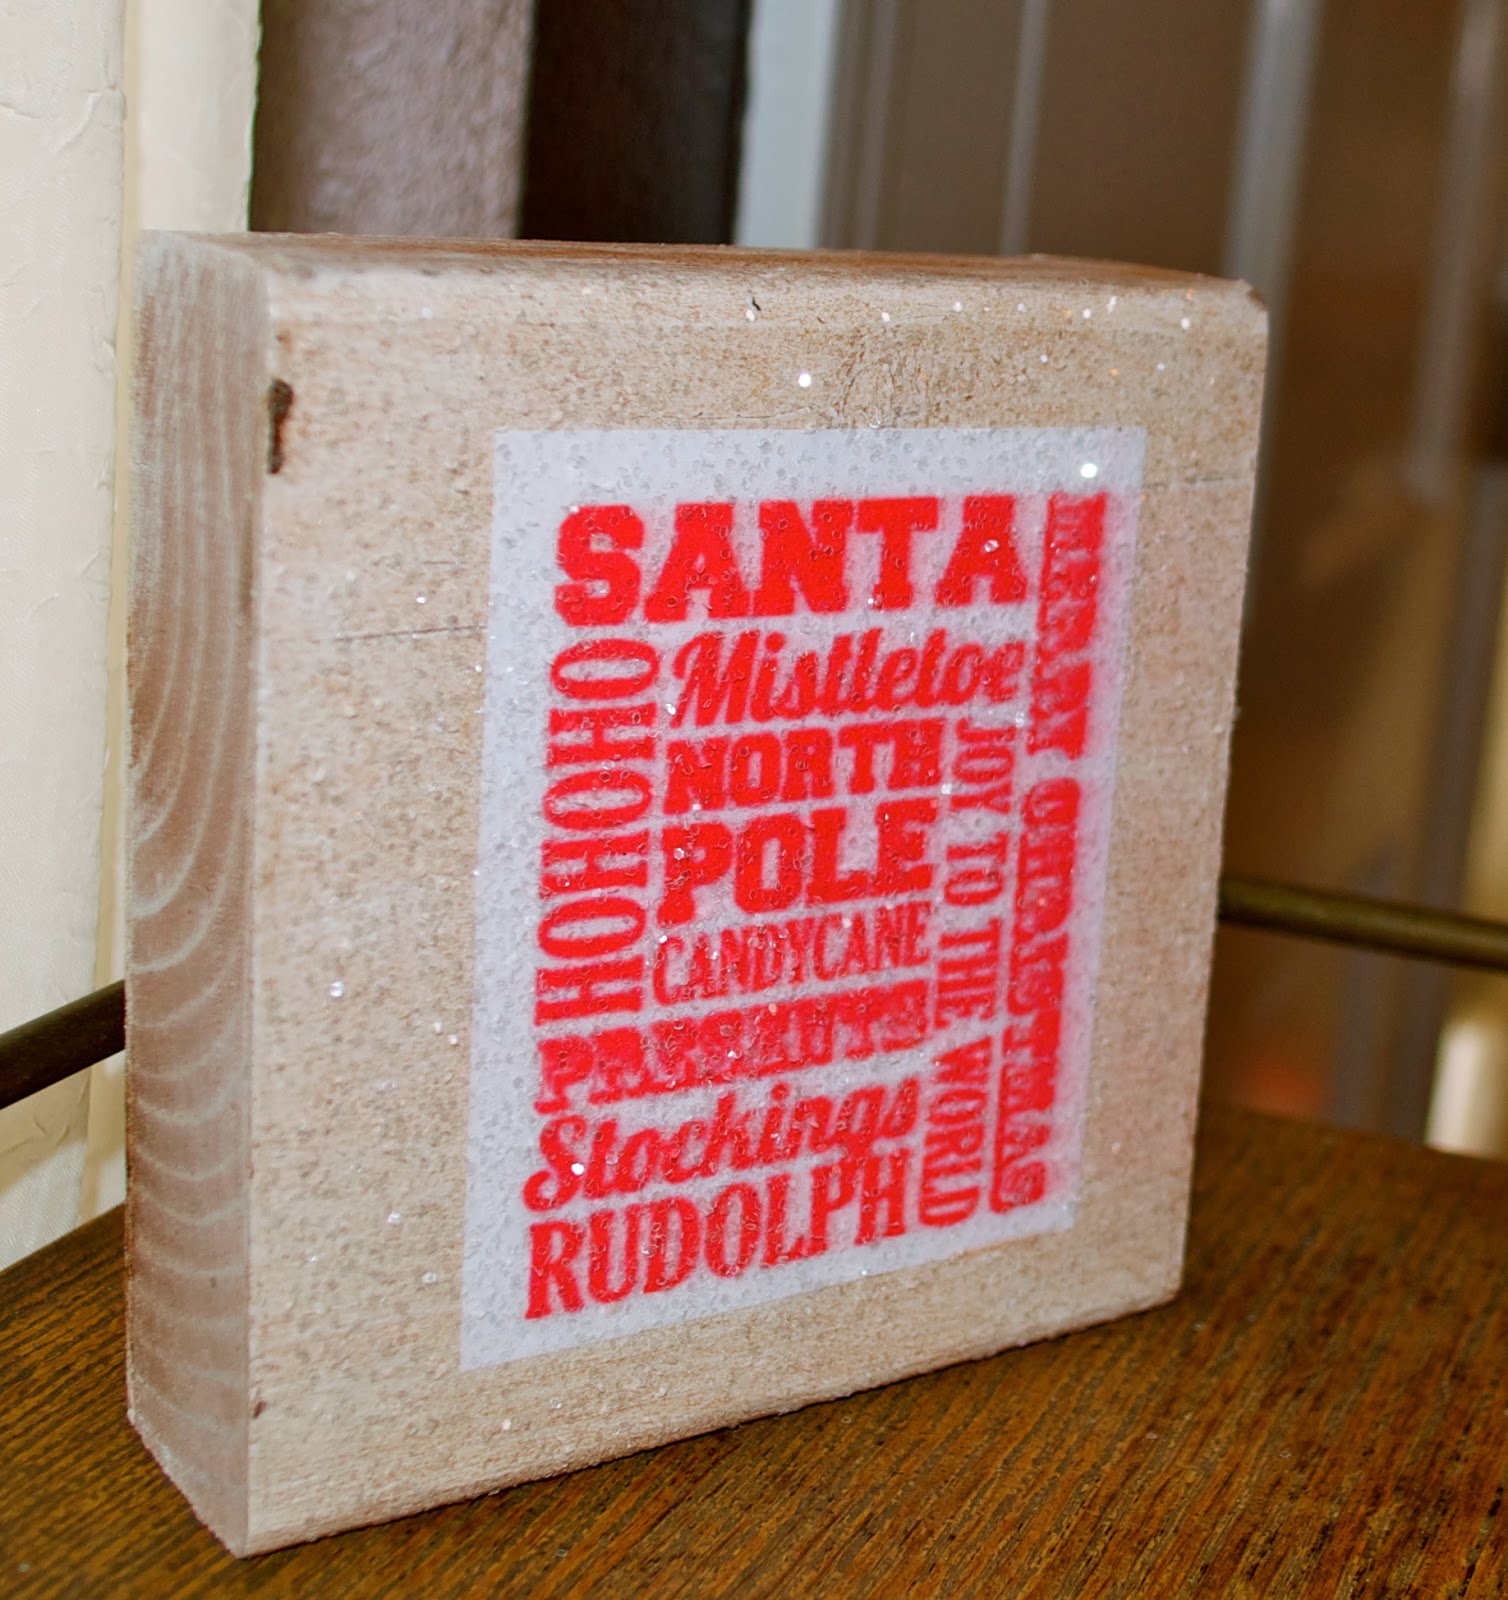
First I took this pin of DIY block letters and ran with it on my own terms, as always. I cut the wood to my dimensions (started with a 4x6x12 piece of lumber), painted them with a coat of white paint, aged them using a mixture of brown paint and water (then wiped it off), and finally went in search of some printable letters. DIY Swank was great, and when I printed my letters, I converted the file to PDF and printed at 50% of the original size. I did a few test runs first to make sure they’d fit the size blocks I’d cut. I then cut them out of the paper (with the hubby’s help) and used Mod Podge (matte finish) to adhere them to the blocks. I did a few coats to make sure they stayed on well. Then I got the fun idea of adding “sparkles” to the blocks too! I loved how they turned out.
 |
| Glenn was a huge help cutting the wood. |
 |
| My letter blocks all cut to size. |
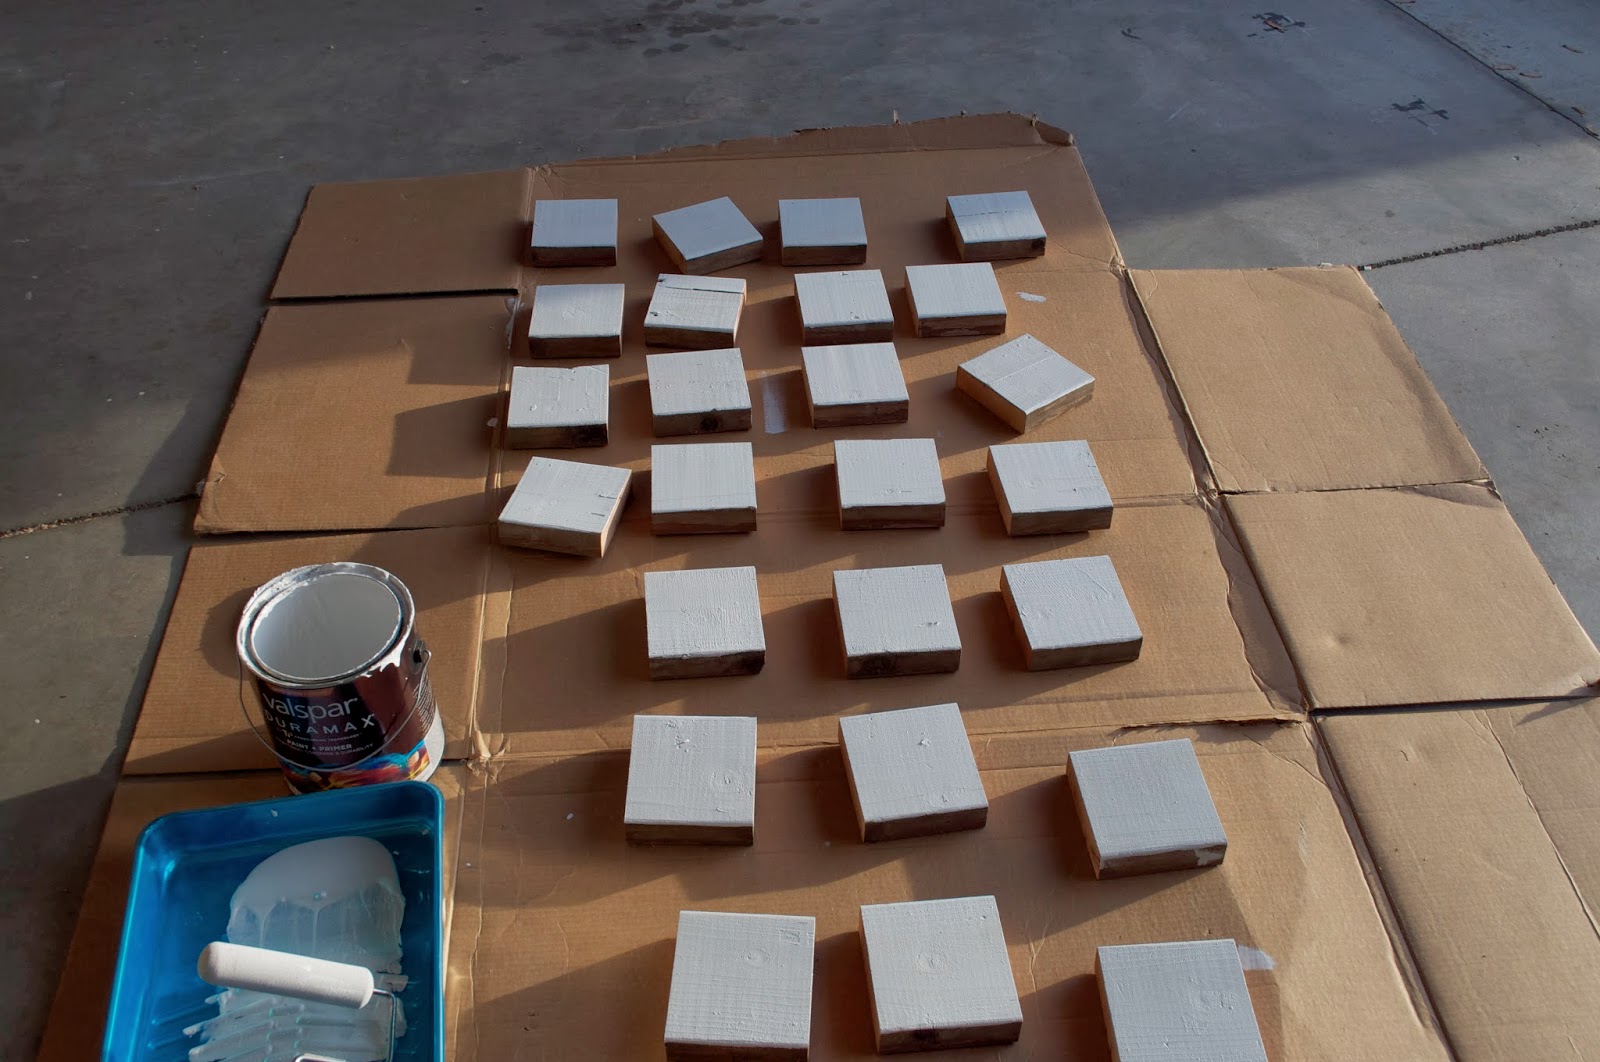 |
| Added a coat of white paint to them first before I aged them. |
 |
| I had set the letters out to see where I wanted to place them. When I came back, here’s what I found…boys! |
 |
| I think the sparkles make all the difference. |


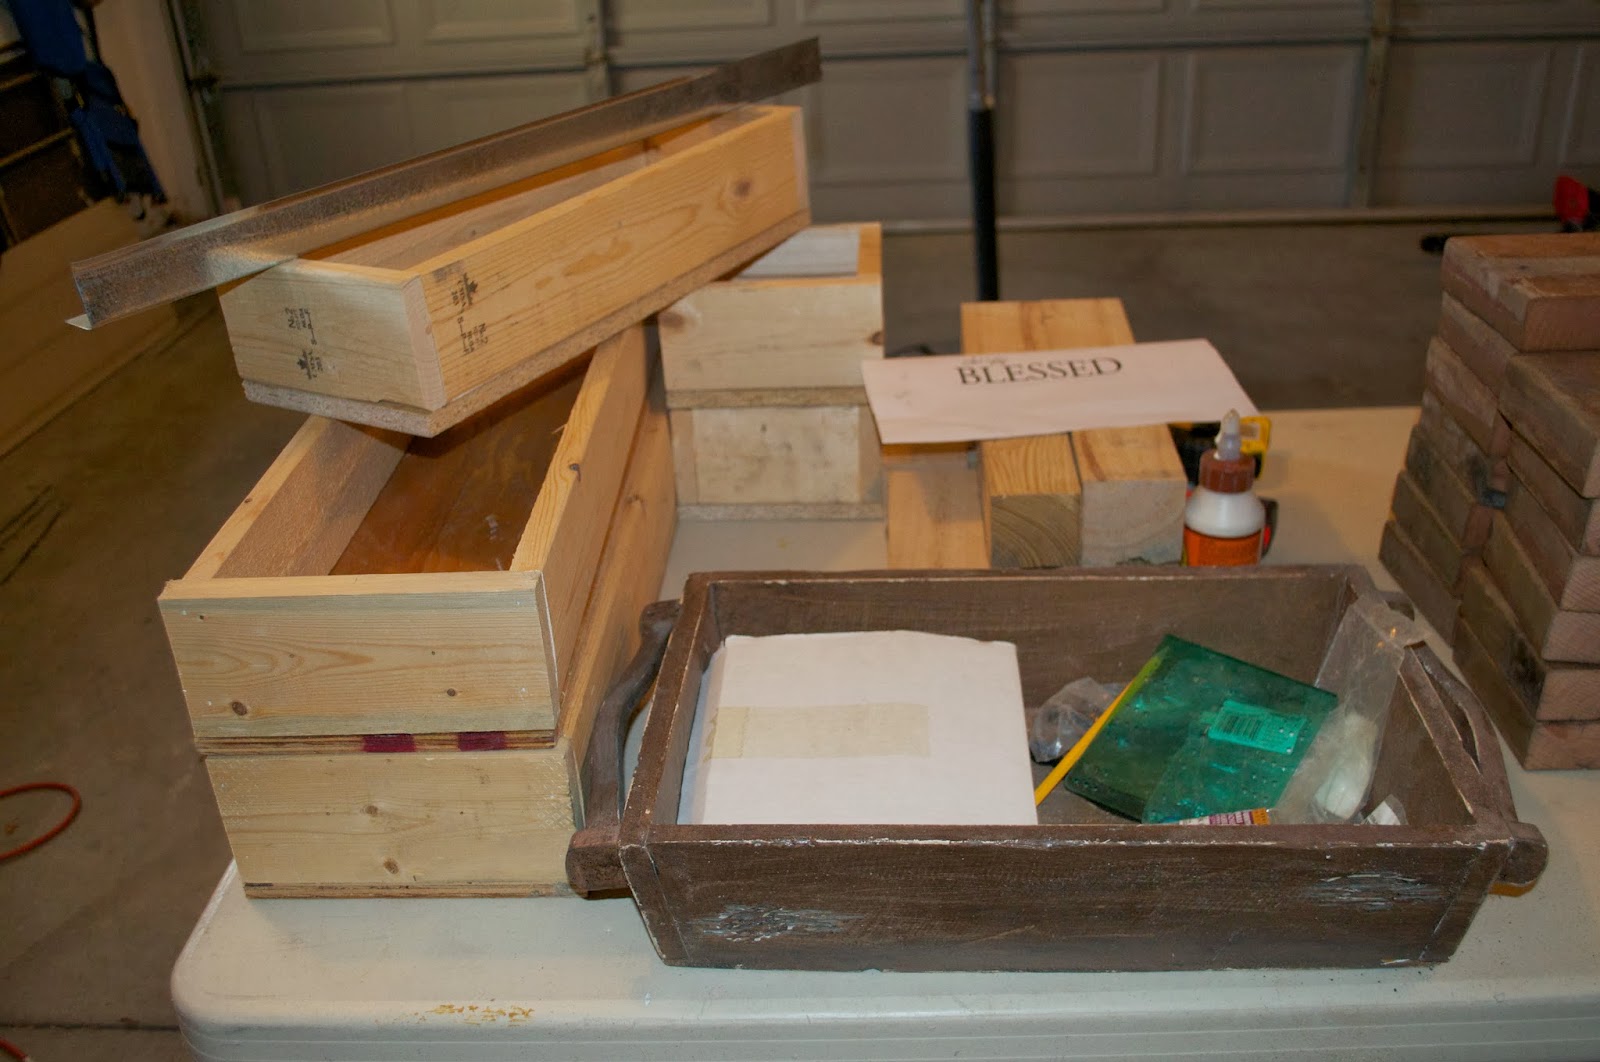
Another idea came from some wooden planter boxes I’d seen posted on Pinterest. Now while I didn’t need any planters, I did come up with the idea to create some wooden trays that could be used year round either inside or out for decor. I used a wood tray I already had as inspiration as well. And since my mom’s birthday was right before Thanksgiving, I made her a few as well.
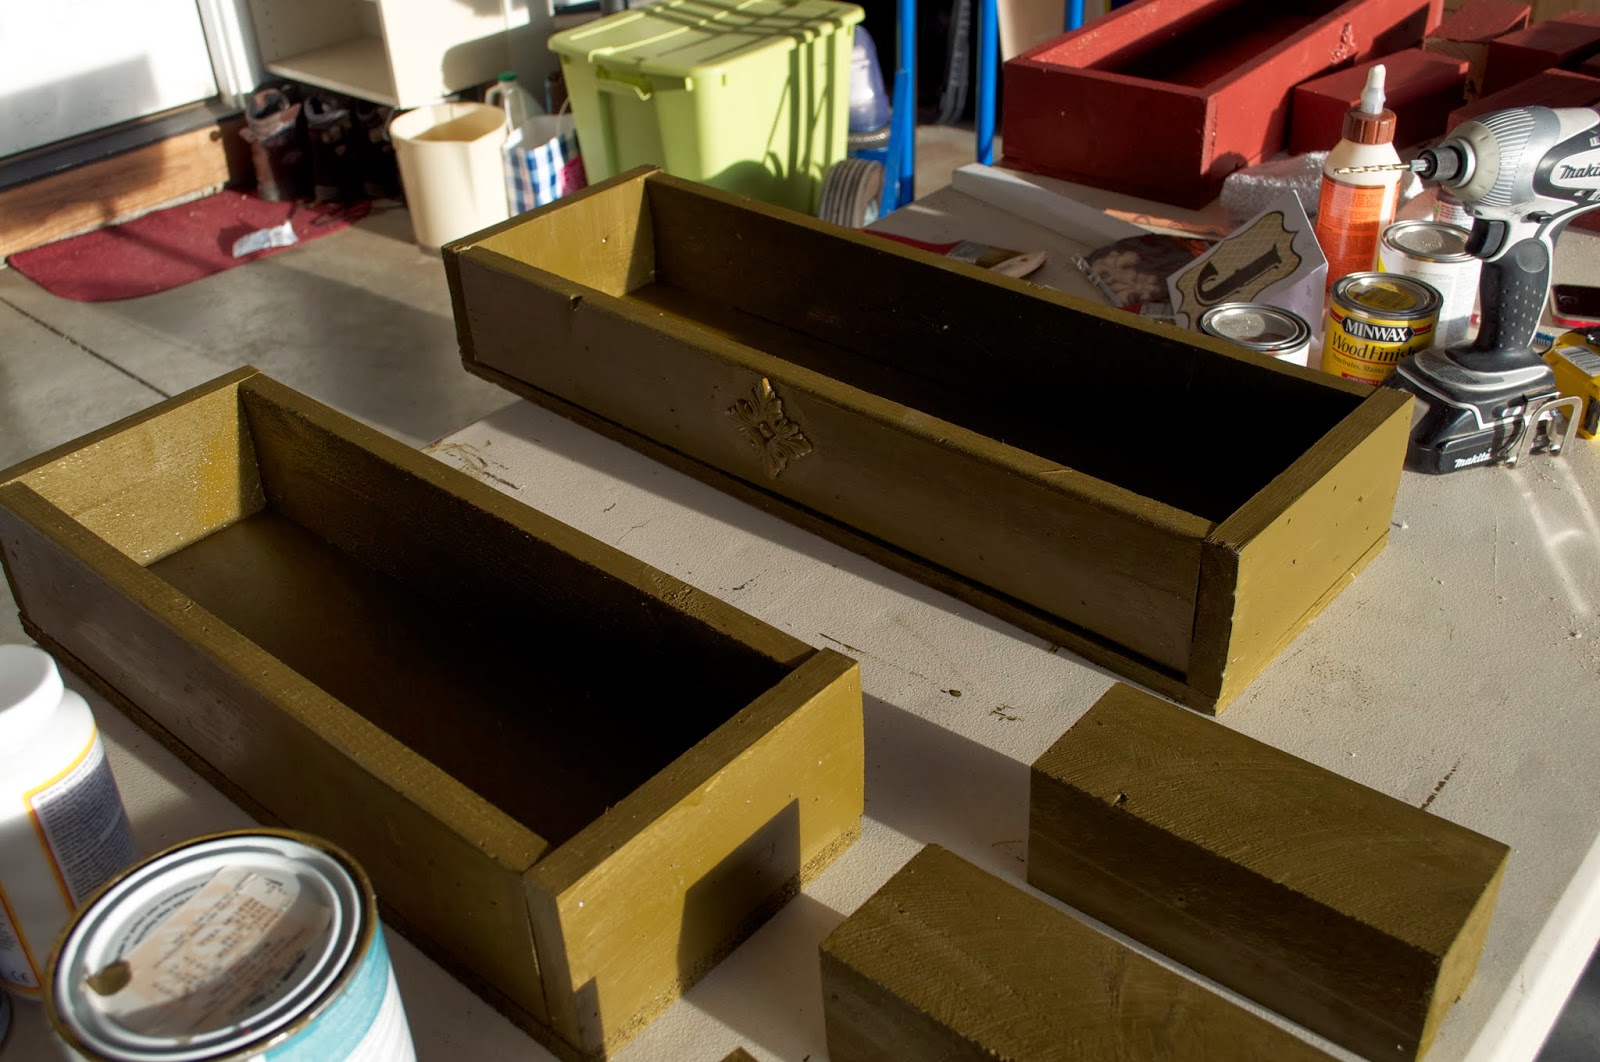 |
| This was the first coat of paint before I aged them and added handles. |
 |
| My mom took the red set. |


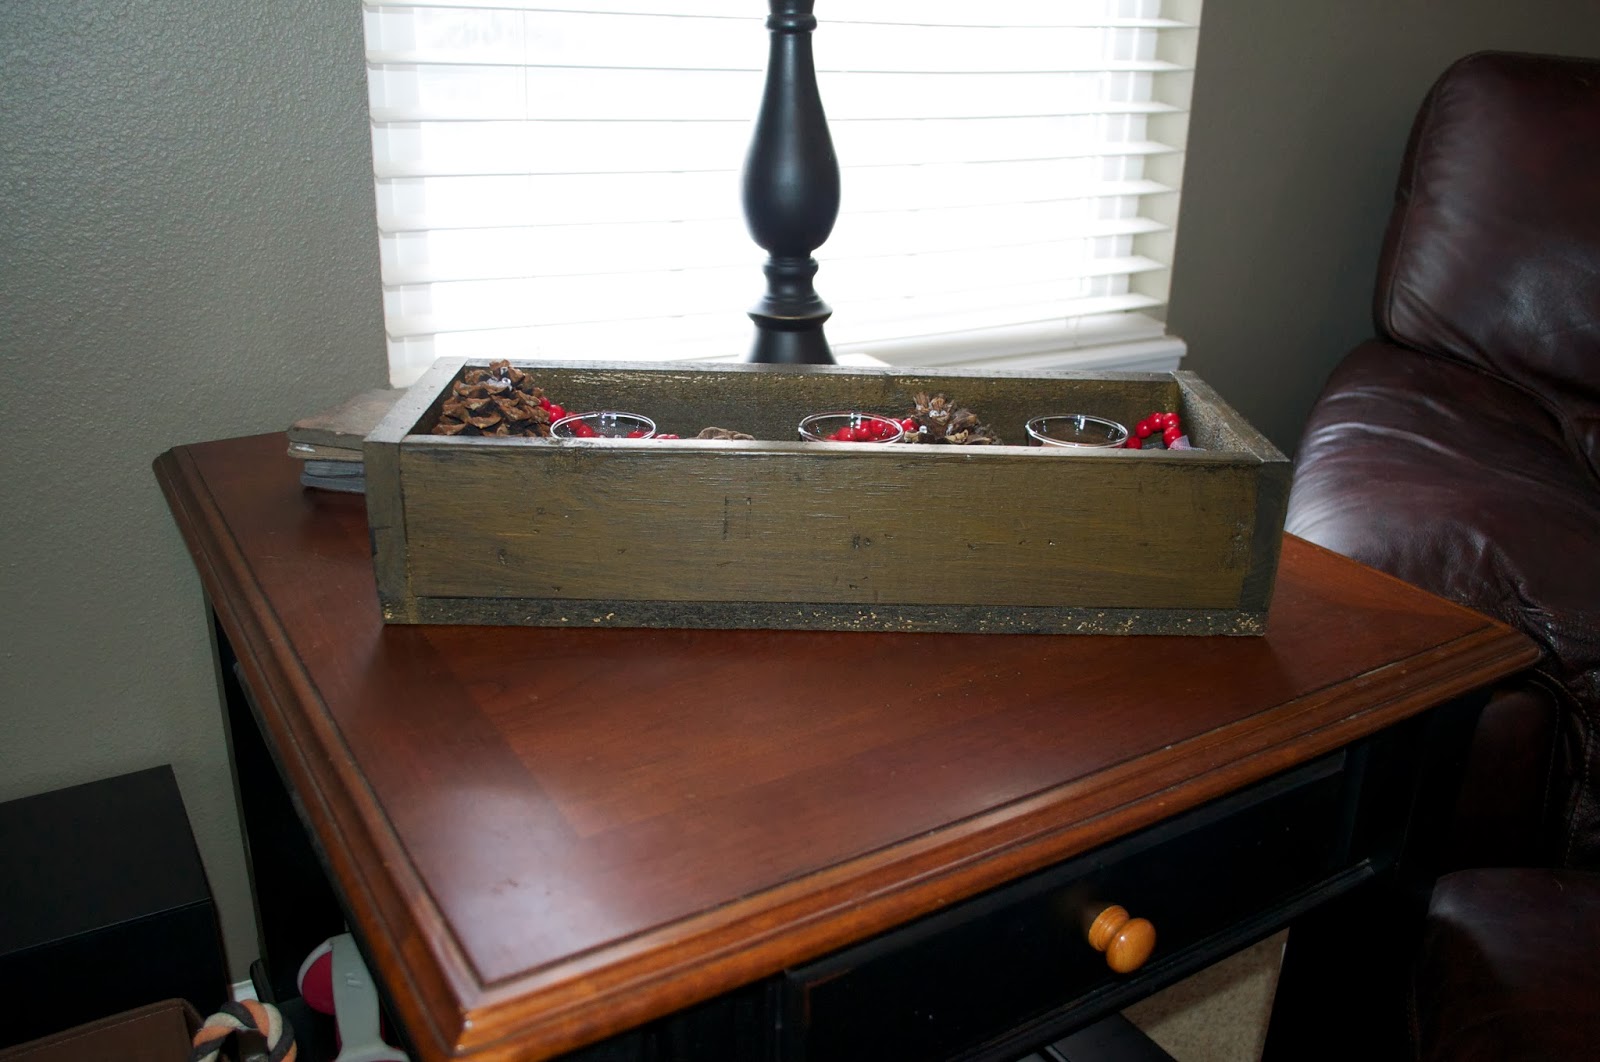 |
| This additional tray is smaller than the first and doesn’t have metal handles, only because I didn’t have any lying around. |
So the final project from leftover wood I had was making wooden picture holders. Again, I got the idea from Pinterest, from Shanty 2 Chic. They used 2×6 lumber, but I chose to use leftover pallet posts (2.5 x 2.5) from a recent remodel at my parents house. You could also use a 4×4 post for added depth. Again I took their printable’s and reduced them to fit my project. I painted them red and green, then antiqued them with black paint. I used upholstery tacs to hold the wording phrases in place, and curly ornament hooks to hold the pictures.


Now, with all this work done I didn’t spend more than $7.00 for additional materials (Mod Podge and some curly ornament hooks). I used up some wood from my pile, printed on paper I already had, and painted with paint in the cupboard. I think all in all they turned out pretty nicely. Even Glenn said that they turned out better than he had thought they would…gotta love the non-visionaries!
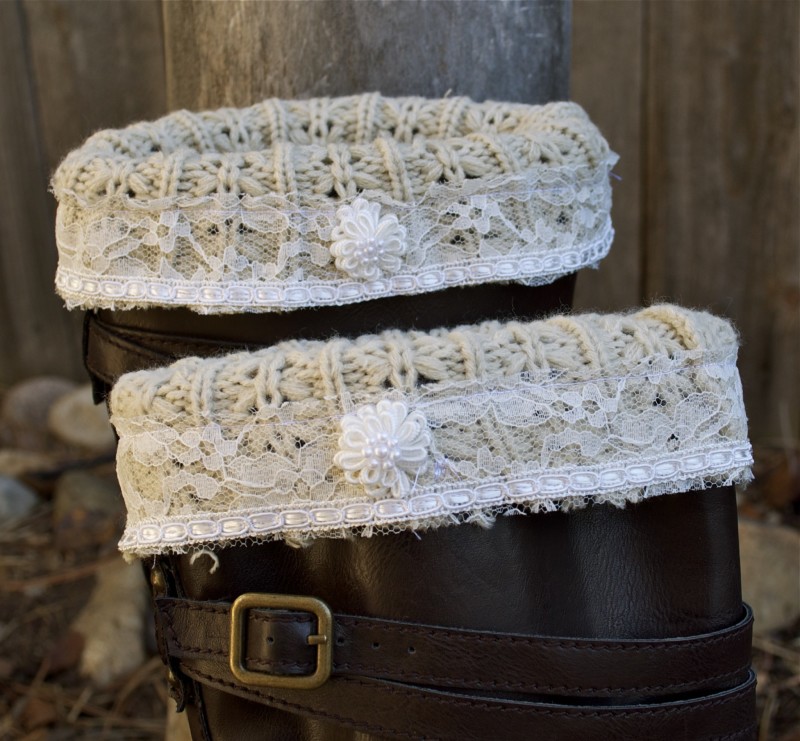
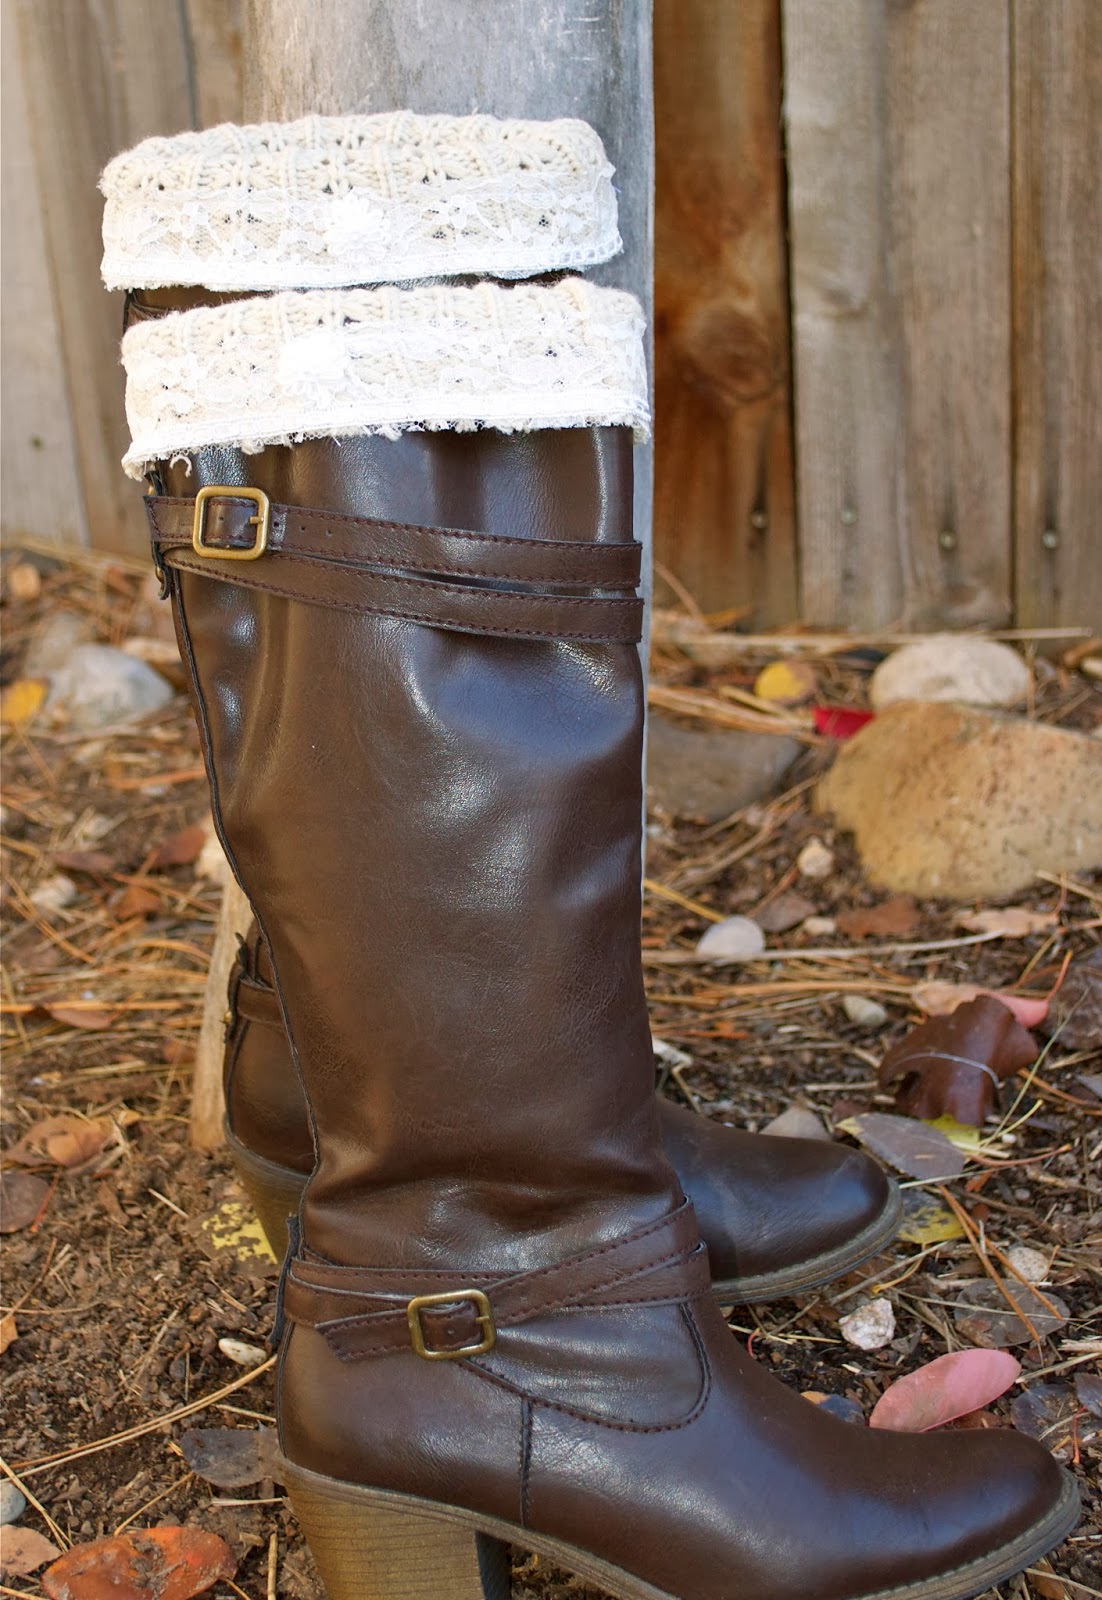
I love the look of leg warmers! What can I say? I loved them when I was younger and they were “in” too…and now that probably dates me. Continue reading
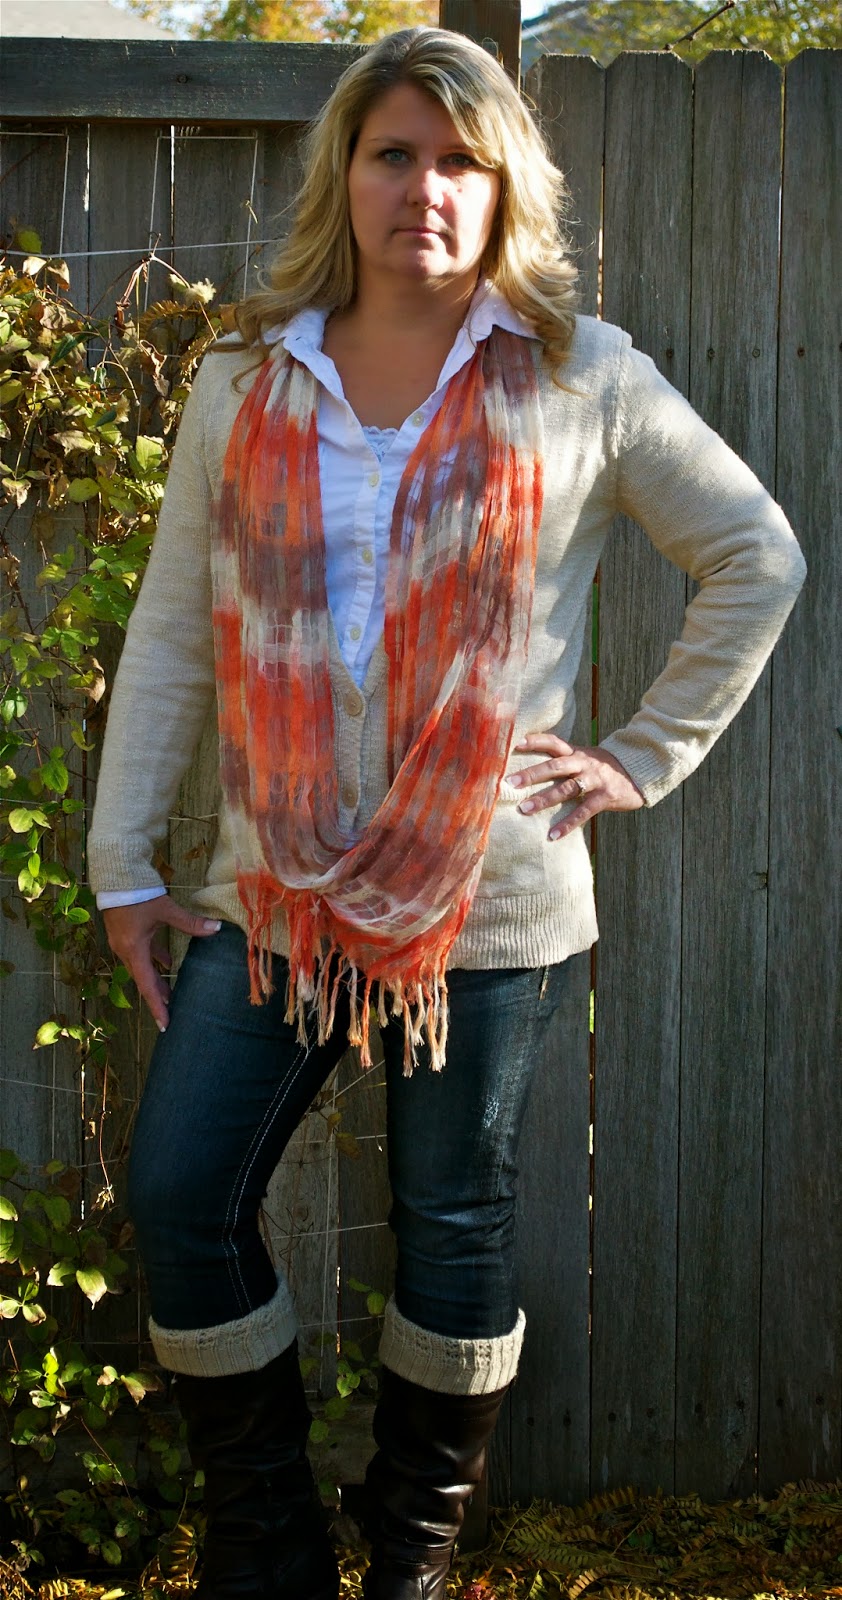 |
| Yes, I always look crabby in pics where I don’t smile. It’s a curse I tell you! |
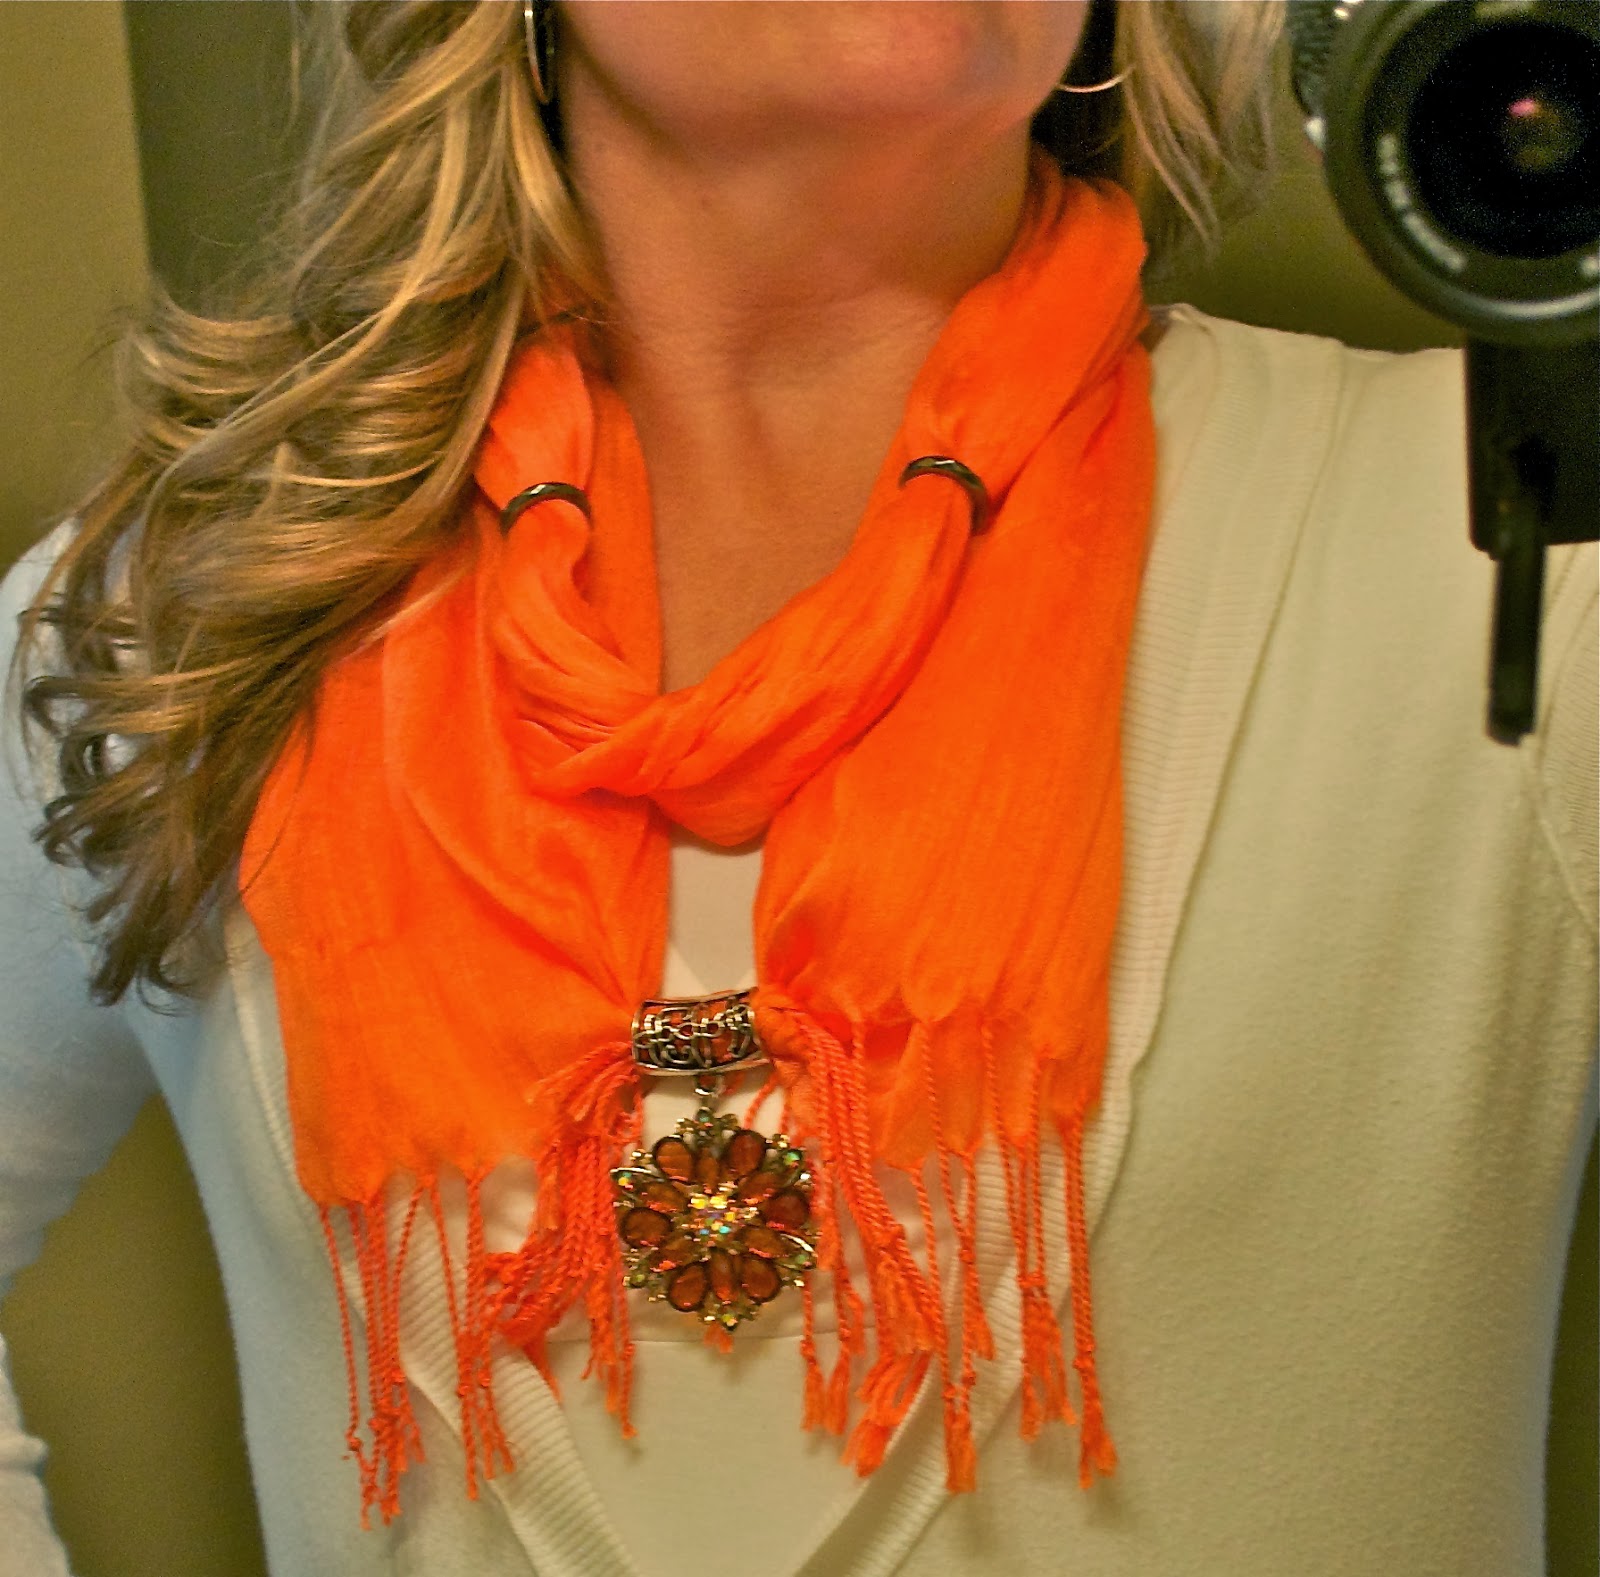
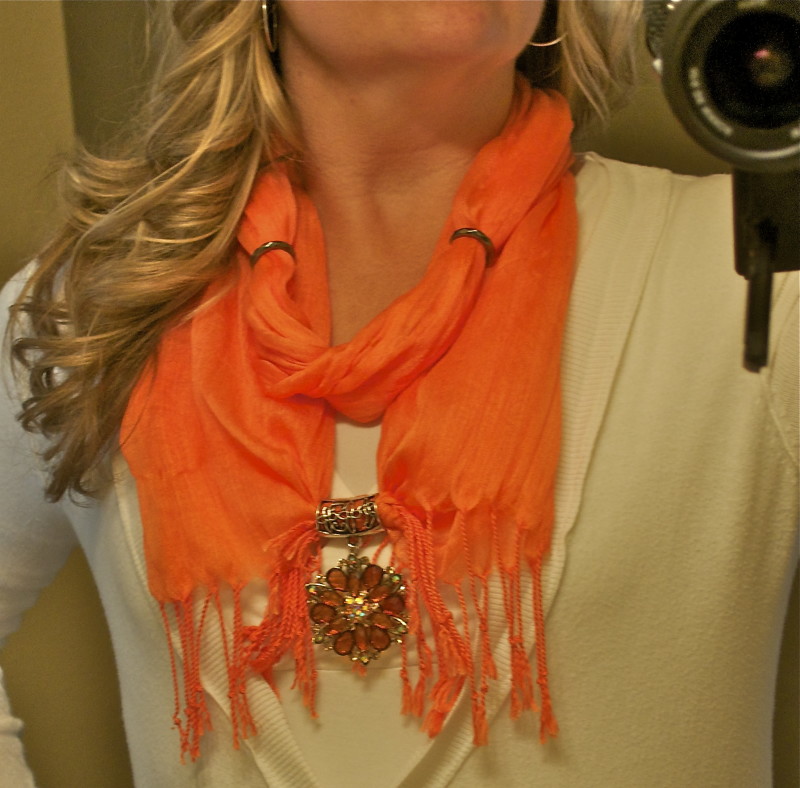
Alright, I already admitted I have a thing for scarves and boots. I posted a pic last week of me in my “fall attire”, boots, and scarf. Because I have a thing for scarves, I have a bunch, too many in my hubby’s opinion. But what does his opinion on scarves matter anyway?
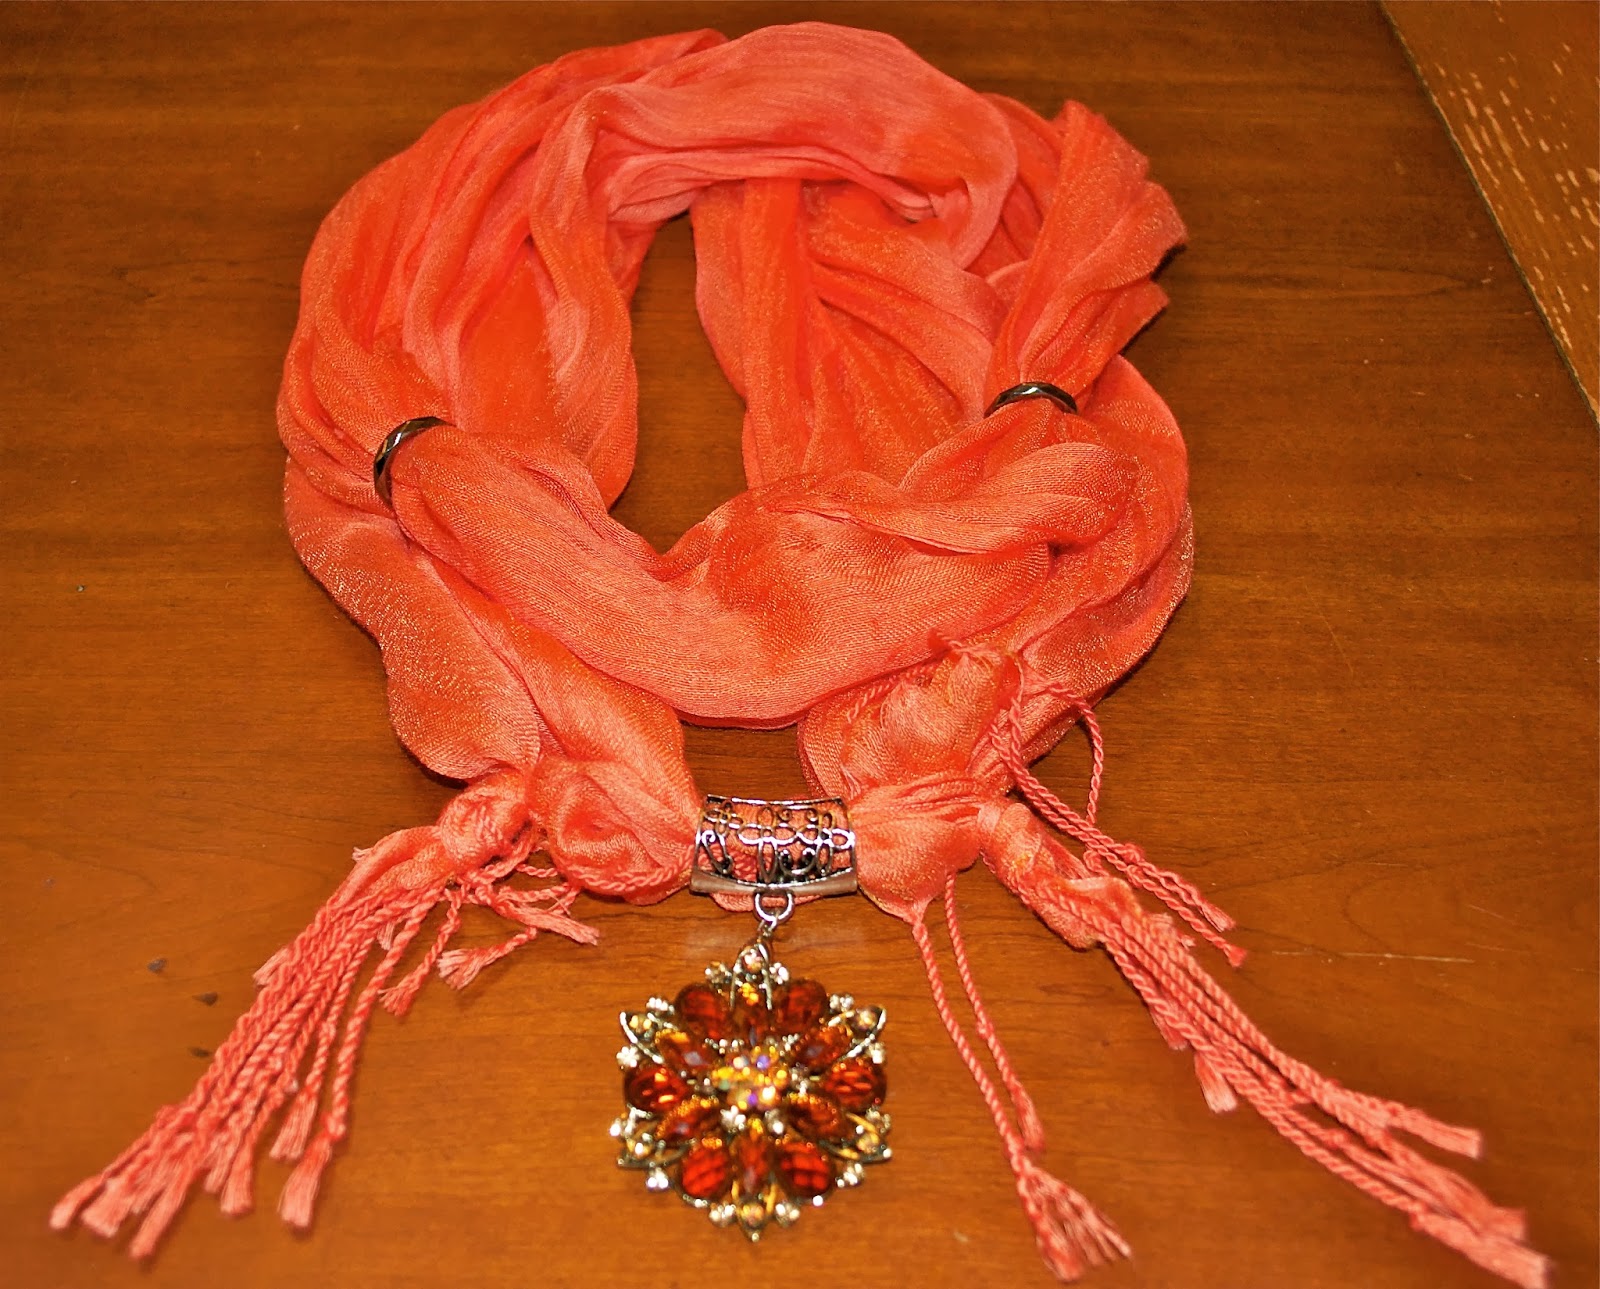
So I was at Jo-Ann’s this past week picking up some ribbon for a future blog posting about leg warmers when I came across these really cute jersey knit scarves that had scarf rings on them. They were what you would call infinity scarves, and they already had the scarf rings attached. See, what you do is purchase the scarf and then buy the “bling” as extra. You can change the bling out, and well that got me to thinking…why buy another scarf to take up more room in the closet when I could make my own bling scarf with the stuff I already had at home?
An idea was born.
 I didn’t have any scarf rings at home that were large enough for a scarf to manageably fit through it, so I did have to purchase some…okay, I cheated and just bought some jewelry charms. They were large enough and fit the bill, they were also 40% off. I think I picked them up for about $2.50, and eight came with the package. Plenty enough for me! The next purchase was the actual scarf ring that had the clip on the bottom to attach the bling to them. Those were a little bit more at $3.60 for two. Later when I got home I did some online searching and found Amazon carried them and so did Esty. Here’s the link for a 12 piece set, and another to the 18 piece set. I ordered both of these for future scarf blinging. Yeah, I said blinging. lol
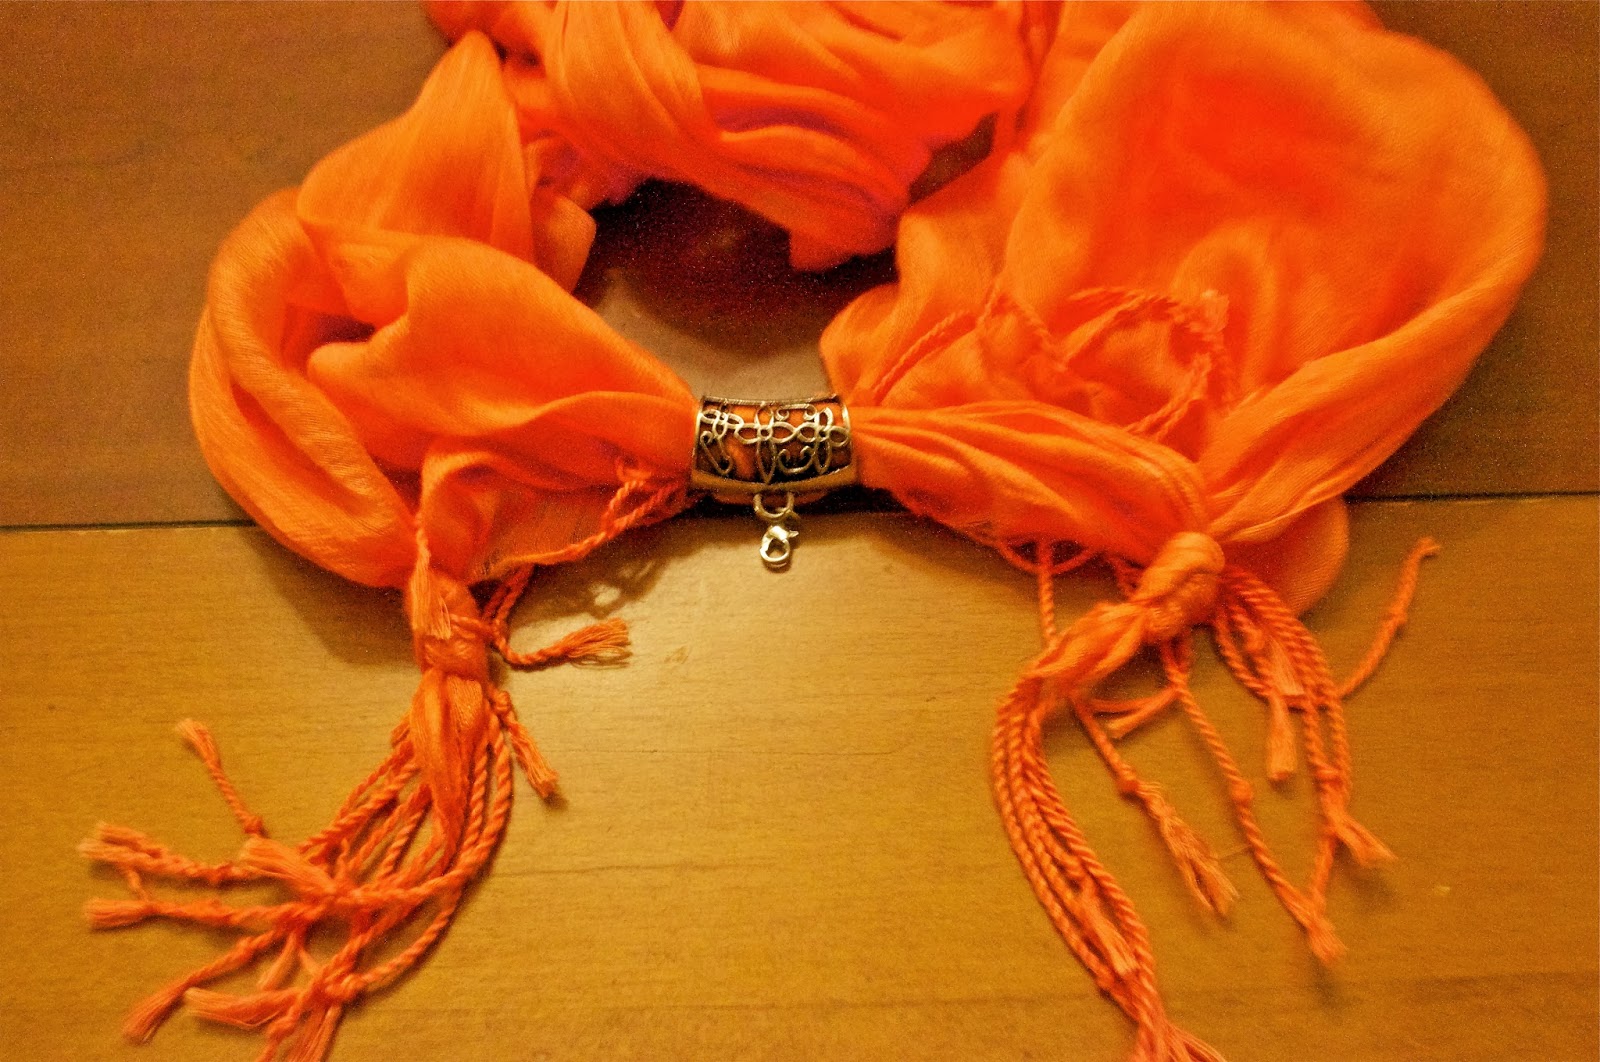
Anyway, it’s super easy to make your own. Just a few steps really. The most difficult part was making the decision on how many rings to put on the scarf itself!
Step one:
Slide rings onto your favorite scarf.