Tag Archives: Christmas

DIY Rustic Garland

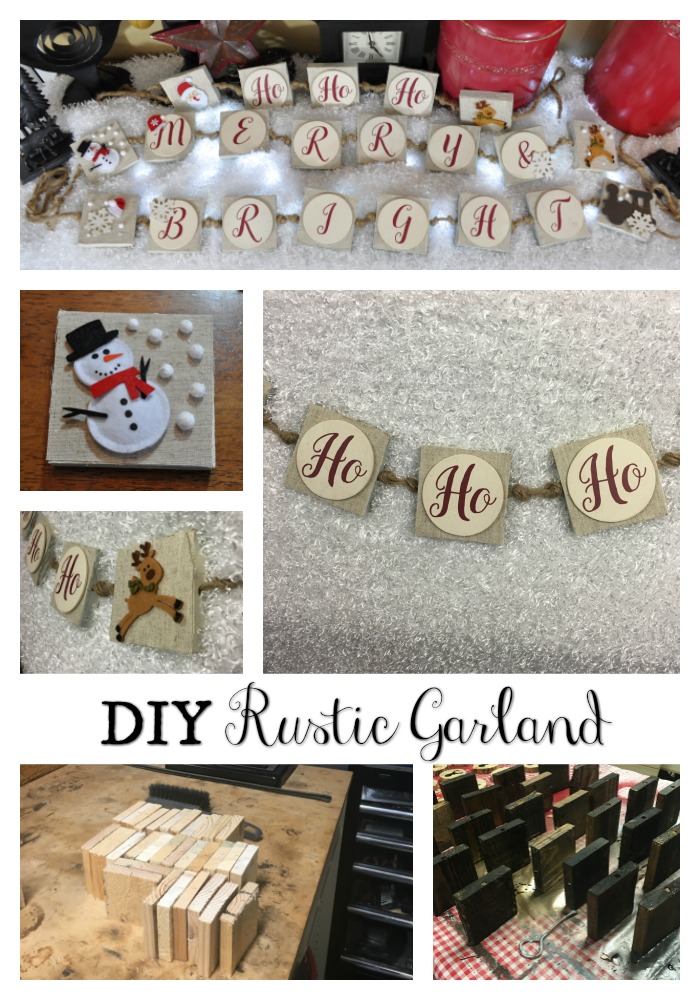
As promised, here’s another post for your own DIY Christmas and this time I’m highlighting some homemade wood garland that takes on a rustic feel. It’s super cute and super easy to make too! You ready? Cuz I am!!!

So back in October I was in one of my local furniture stores and caught sight of some wood garland that made me take notice and brought out the creative side in me once more. Immediately I knew I had to make this and share it with you, my readers! 


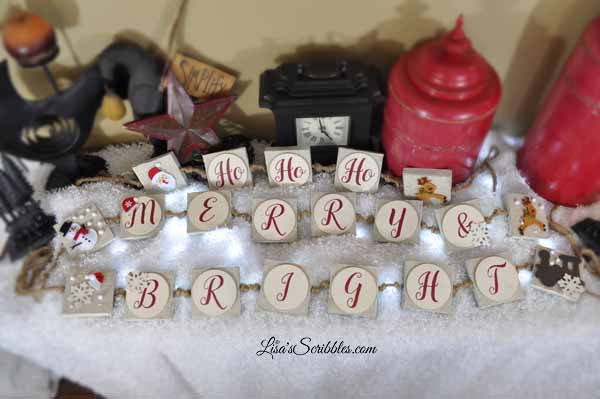
Pretty cute, right? Well not only is it cute, but super easy to make too!

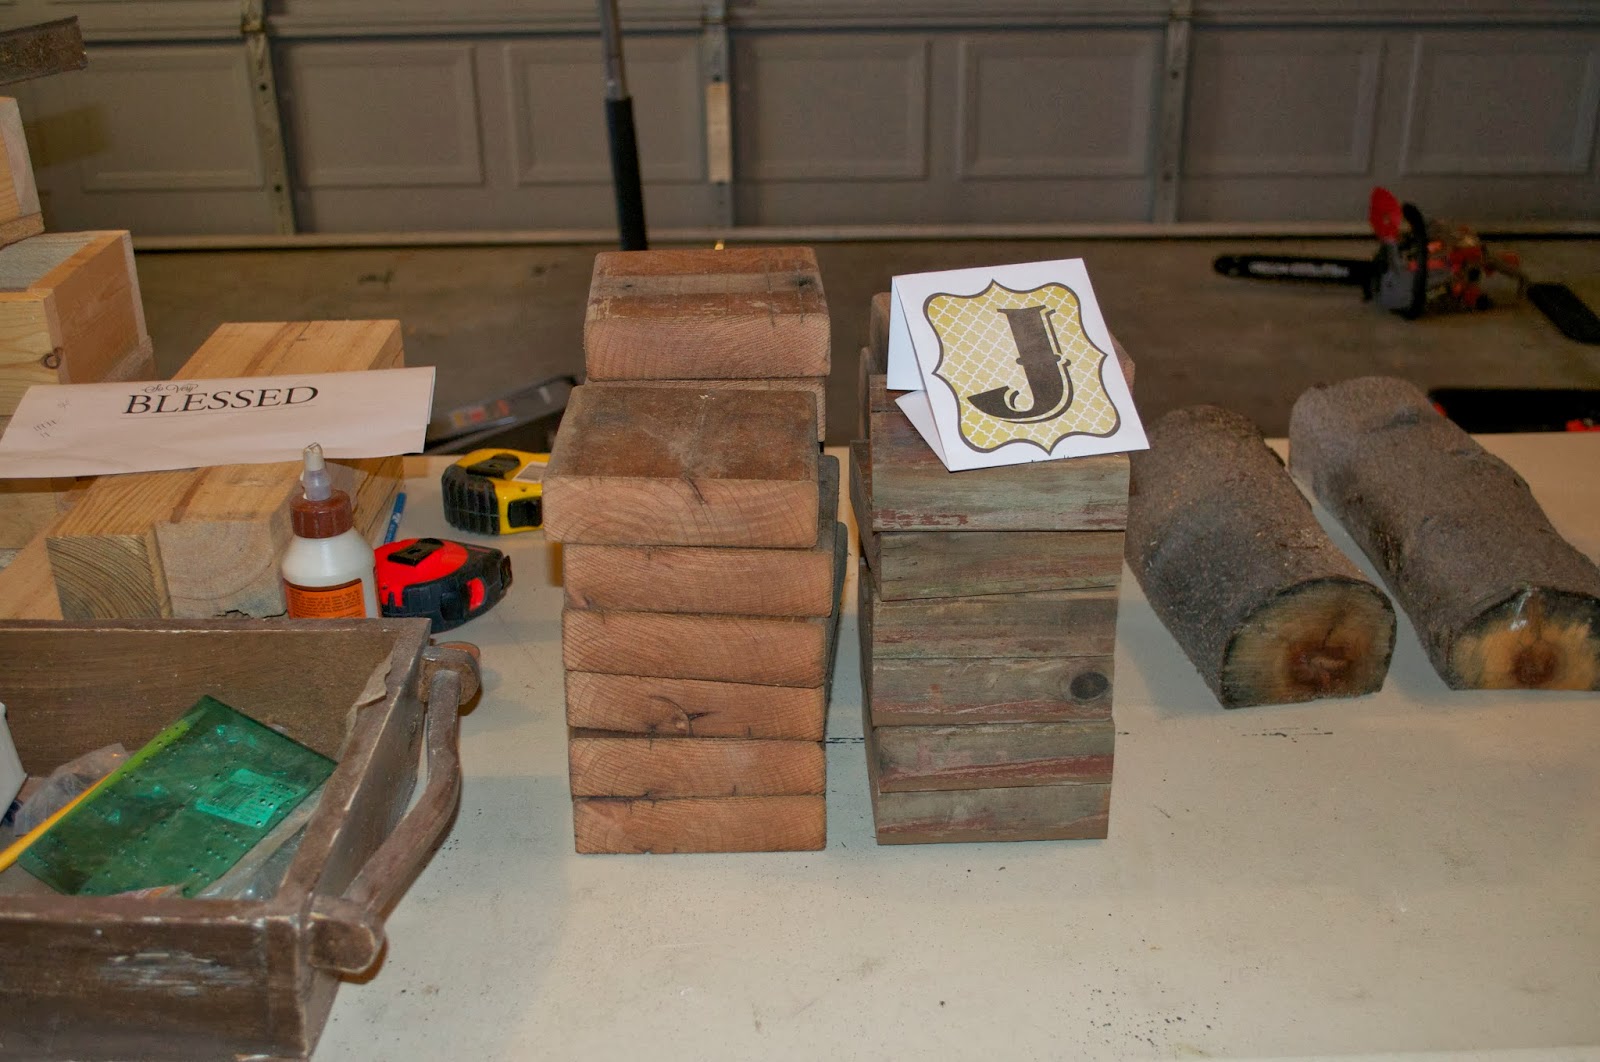
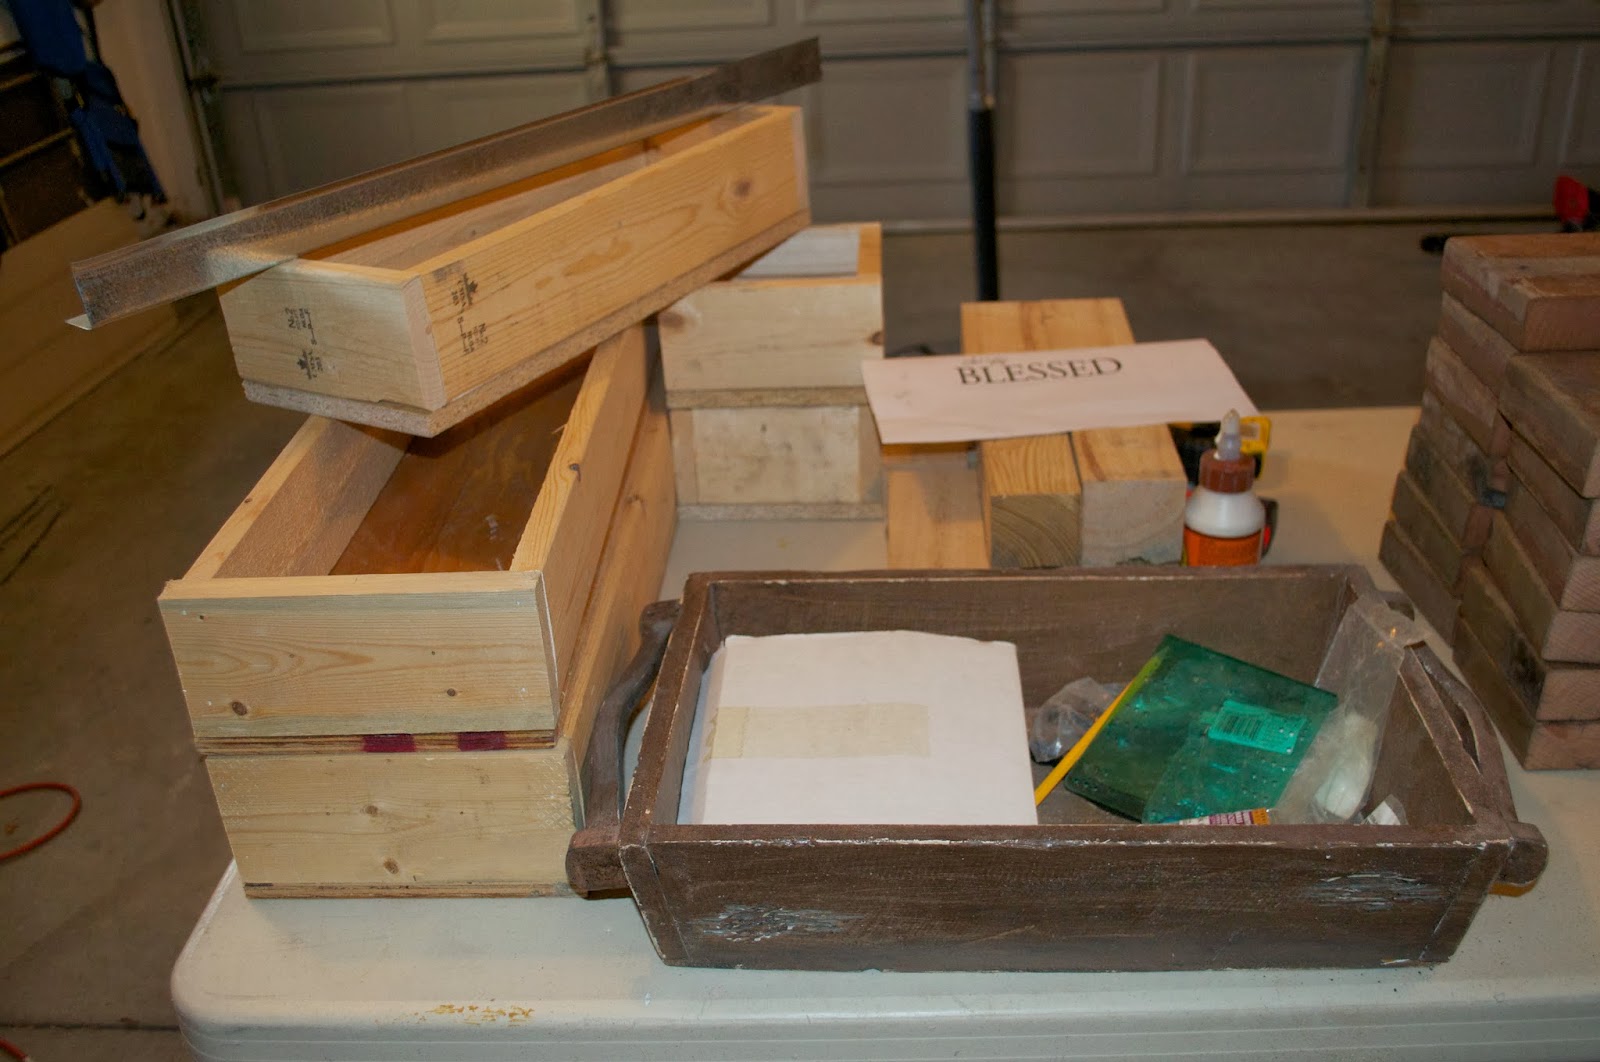
I started out with some pallet wood (I’ve got quite the stockpile anymore), and cut it into 3 1/4 x 3 1/4 inch squares.  I just took the width of the wood and cut it to the same length so I’d have squares. 

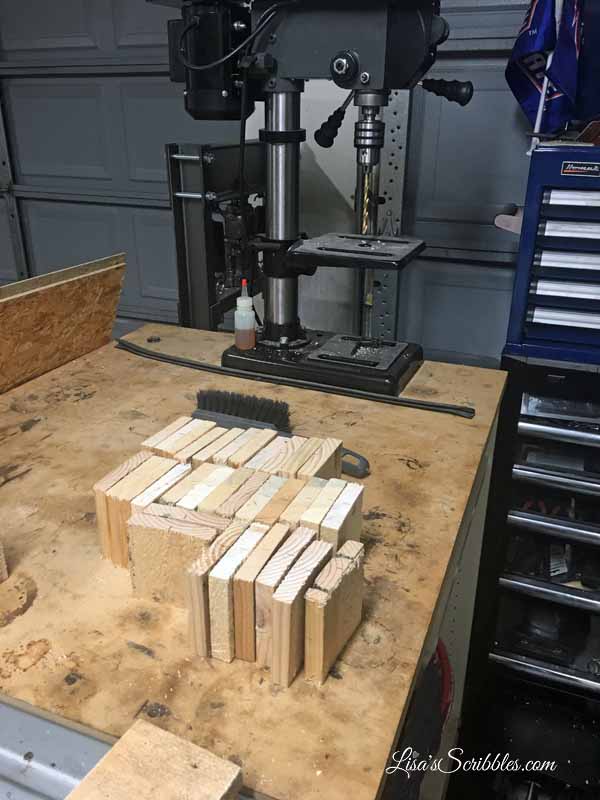
I then measured the wood (width size) and found the center point for me to drill holes. And see that drill press over there? I used it to make it easier and faster than using my hand drill, but if a hand drill is all you’ve got, then use it!

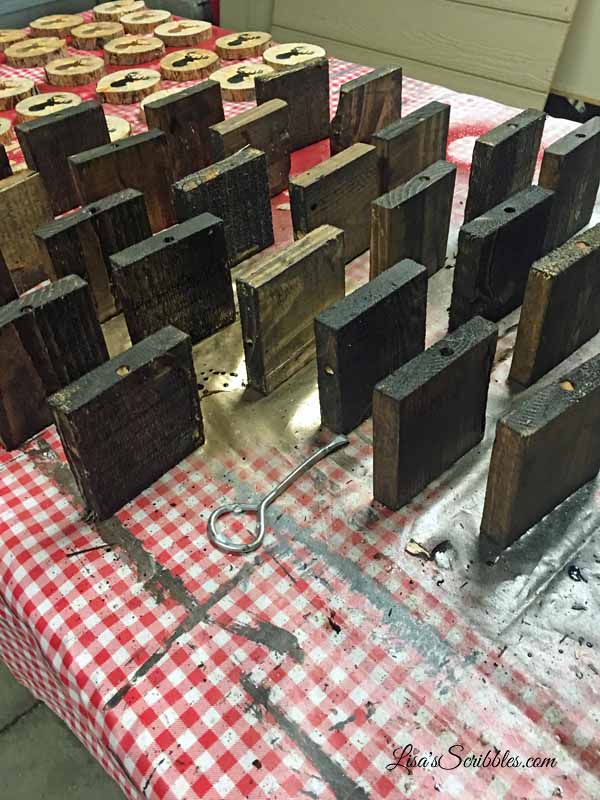
After drilling the holes, which I determined the proper size by the thickness of my jute, I stained them because I wanted the stain to show through a little bit on the painted wood. It gives it more of that rustic feel. I also didn’t choose a piece of pallet wood that was perfect, as in smooth and without flaws. I wanted this to be rustic and flawed, kinda like me…the flawed part that is cuz lord knows I’m not that rustic yet! 

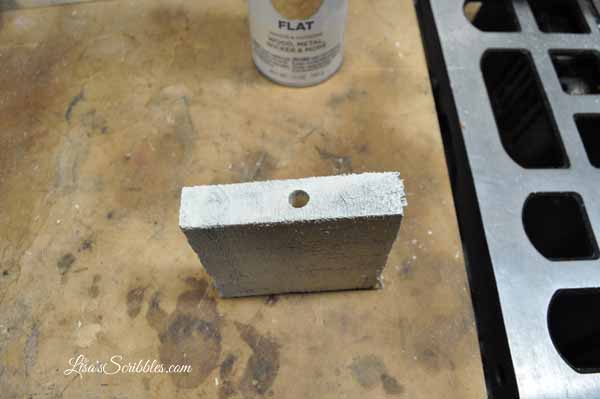
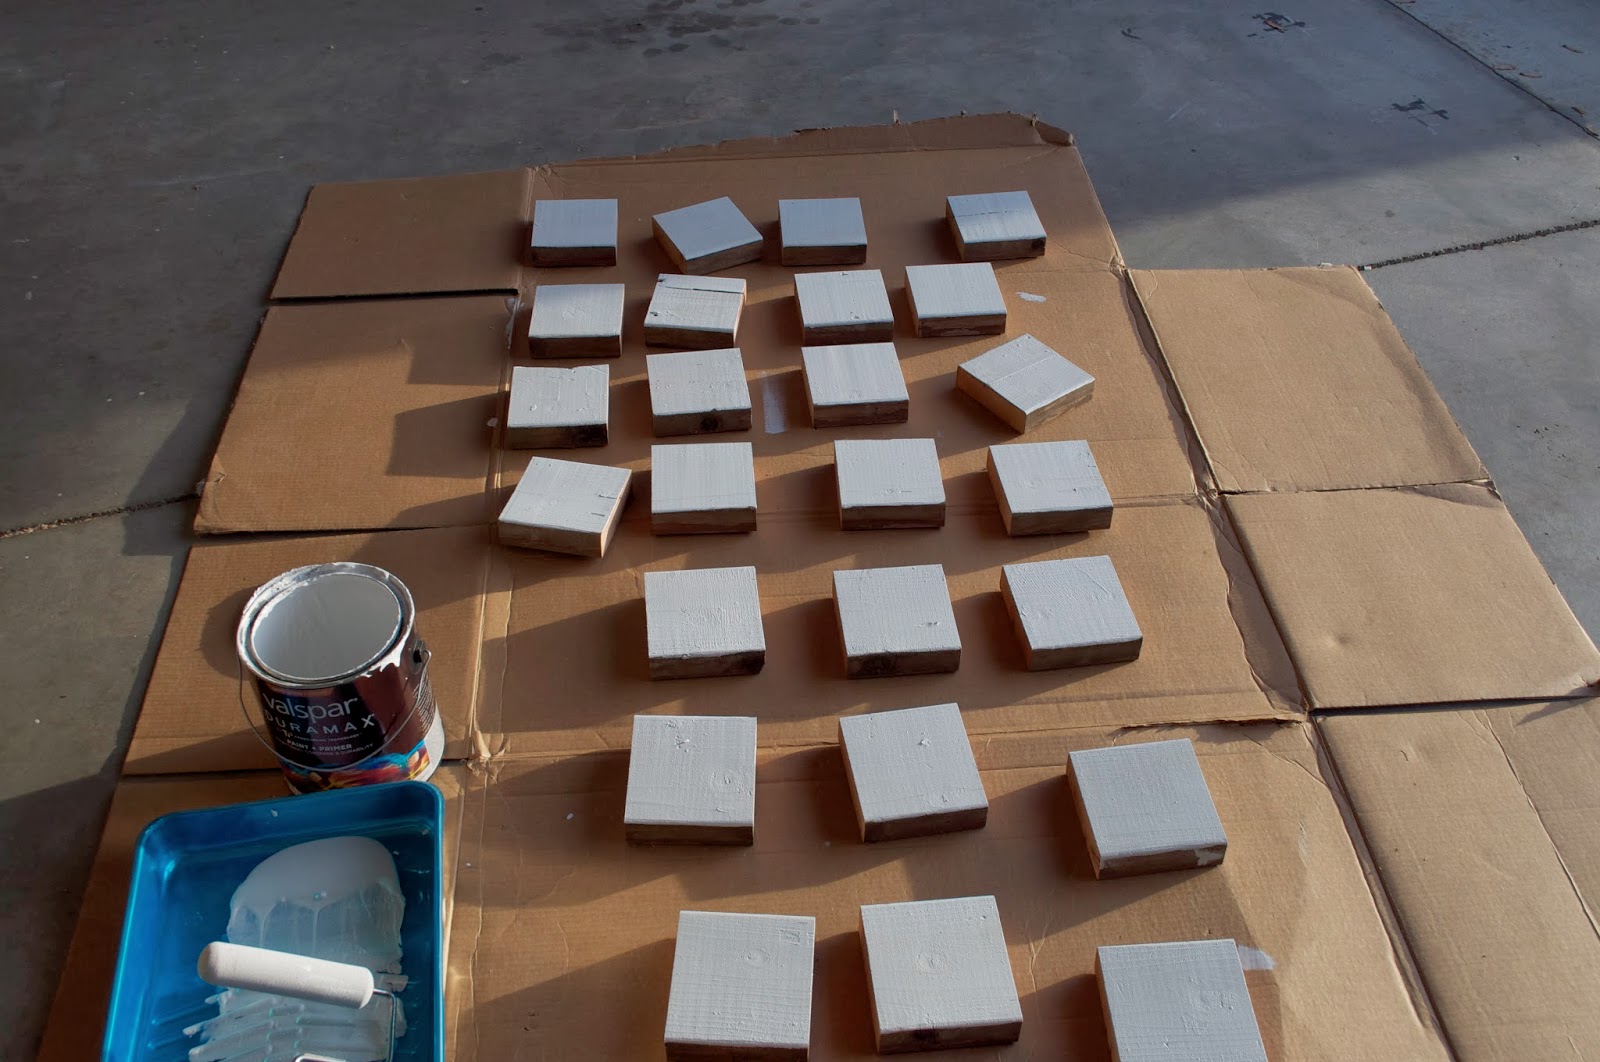
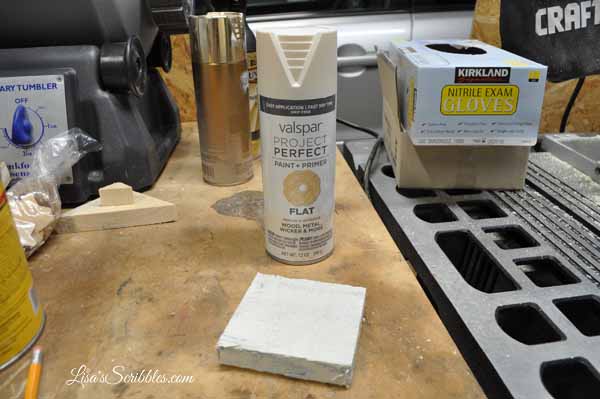
I picked out an inexpensive flat paint that already had the primer built into it and chose to spray it because #1- I’d be faster, and #2- because the texture of the wood was pretty rough.

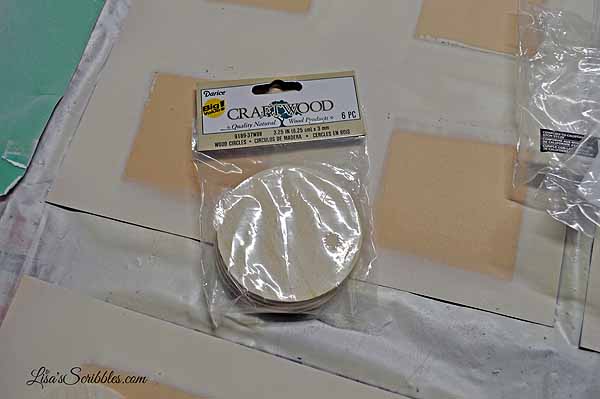
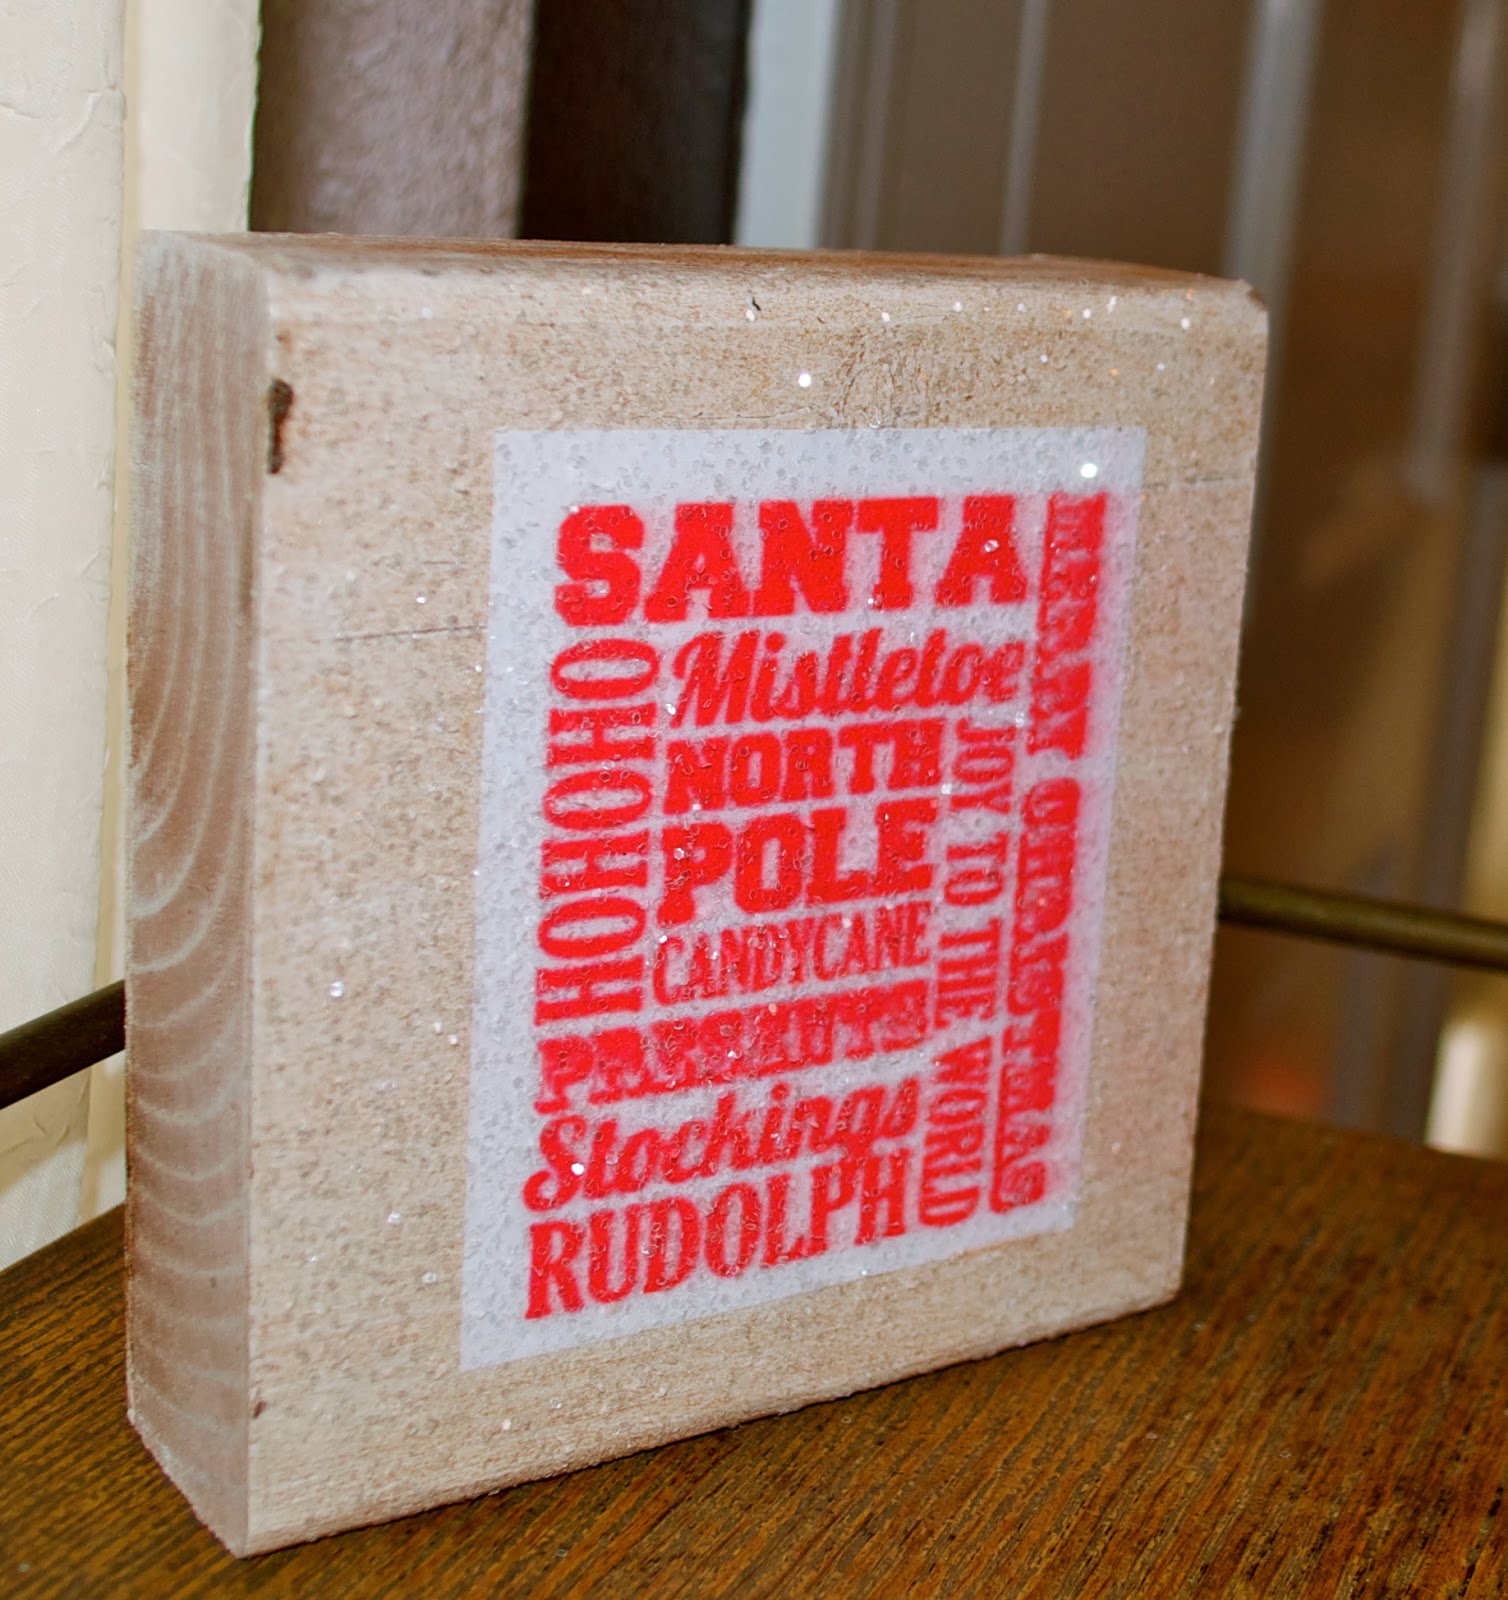
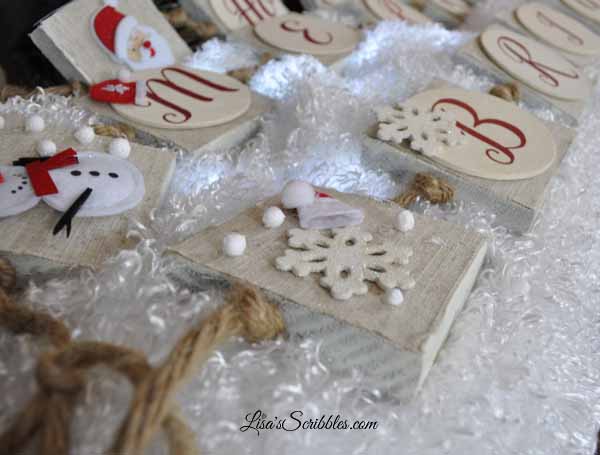
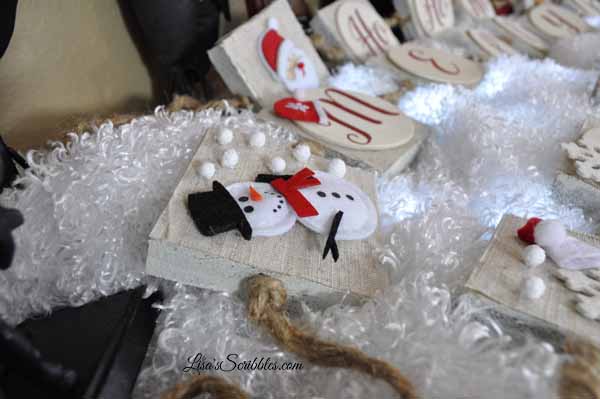
I next painted the small wood circles I used for the lettering on the garland. I purchased a pack of six wood discs for just a couple bucks at Walmart.

Again, I wasn’t perfect on the painting process, rustic is the key word here. After spraying them and letting them dry, it was time for the creativity to shine through! And boy did it!

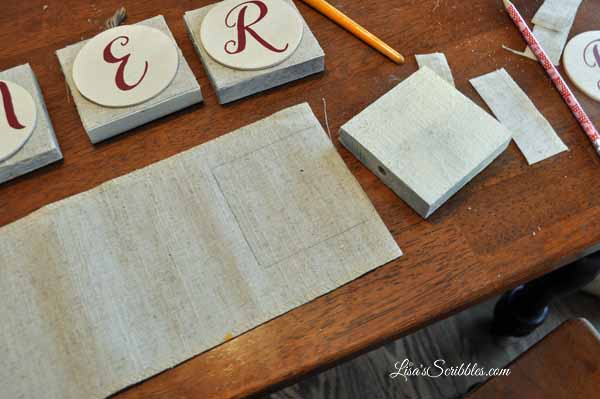
I purchased some linen ribbon that came in a roll from Walmart because I liked the texture of it. You could also use some burlap, as I think that would be super cute too as a backdrop, or you can buy linen by the yard at Walmart for under $3 per yard.  I traced each square piece of wood separately on the material and then cut it out. 

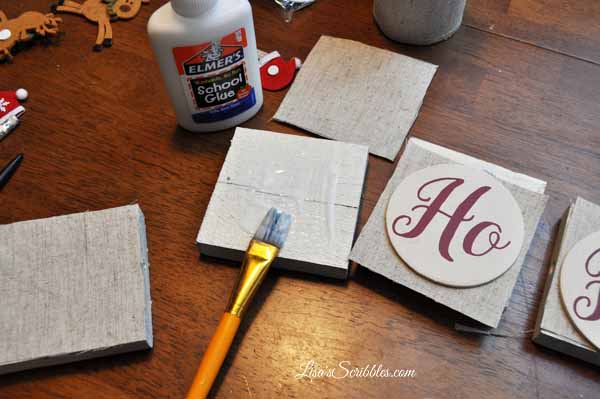
Using some handy dandy Elmer’s glue, I spread it out across the wood and then adhered the fabric to it. 

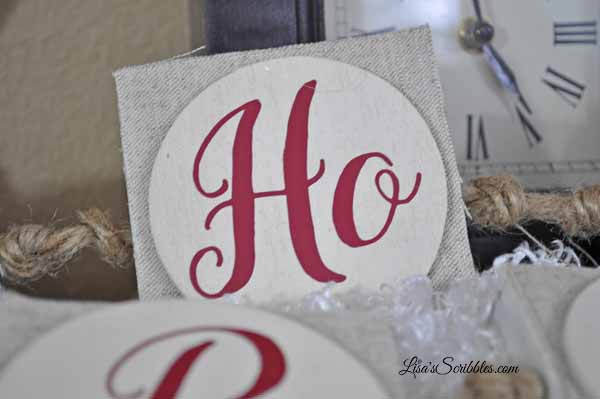
Then the fun part, determining what I wanted my garland to say.

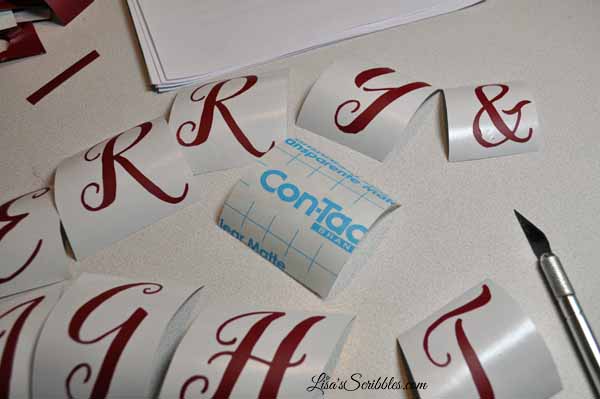
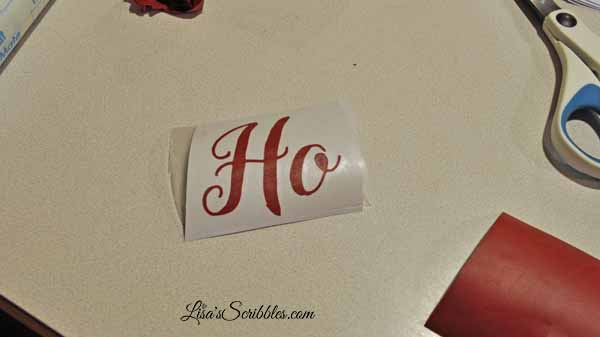
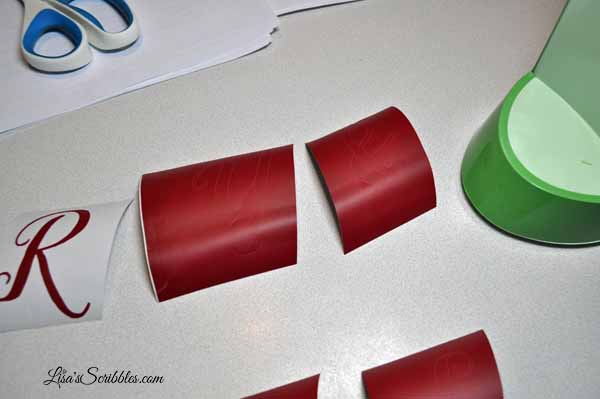
I used my Cameo Silhouette and cut out the letters to size, peeling away the backing so I was left with the vinyl lettering. 


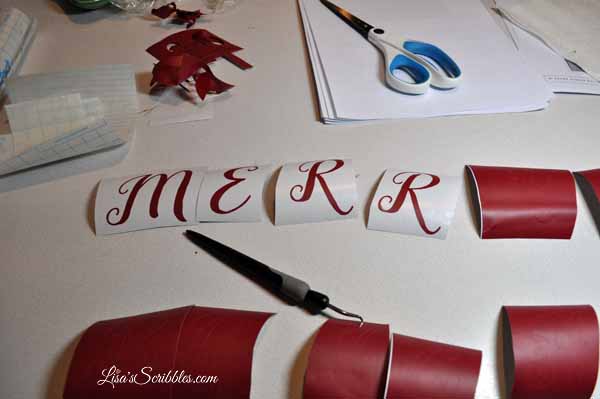
Then using some contact paper, I adhered the lettering to the contact paper to transfer to the wood discs.


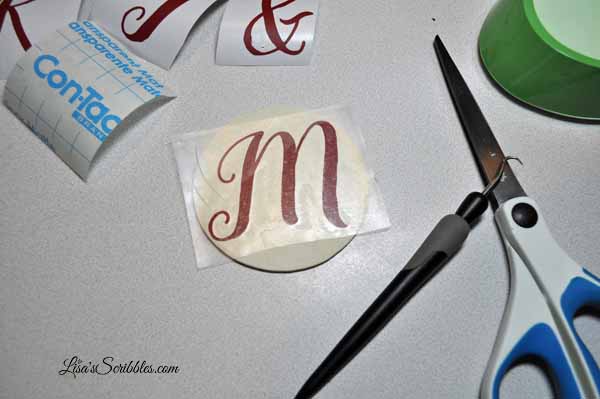
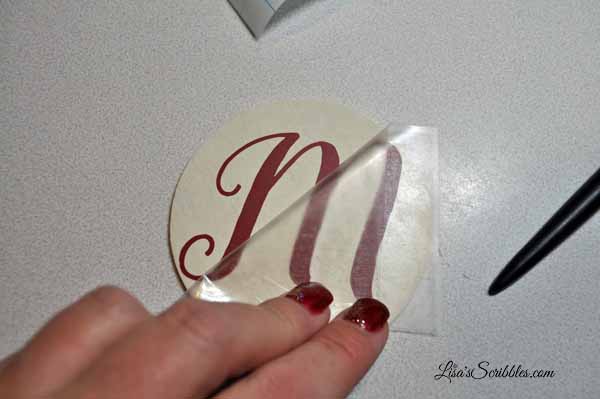
I then carefully peeled off the contact paper and as the vinyl adhered to the wood discs.

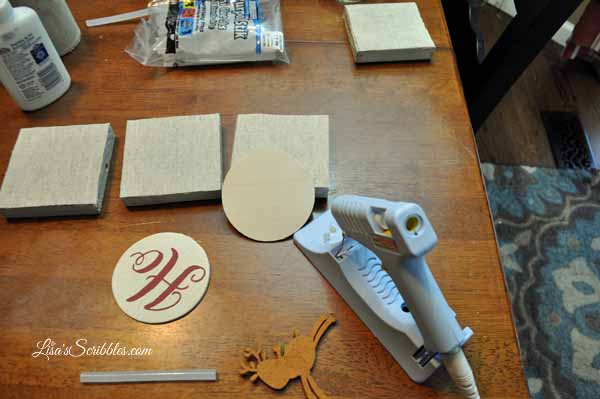
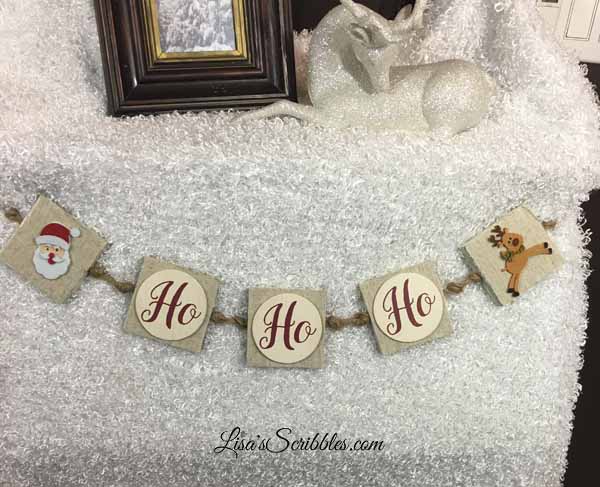
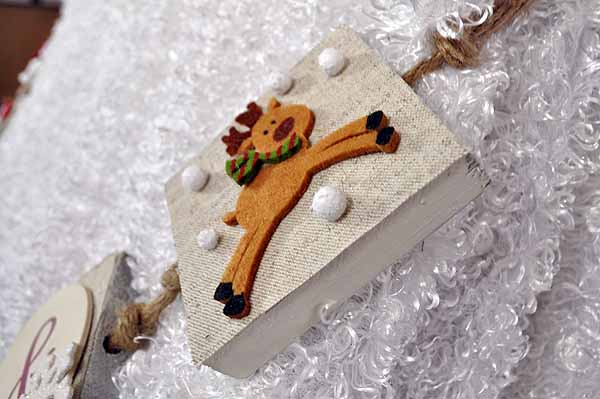
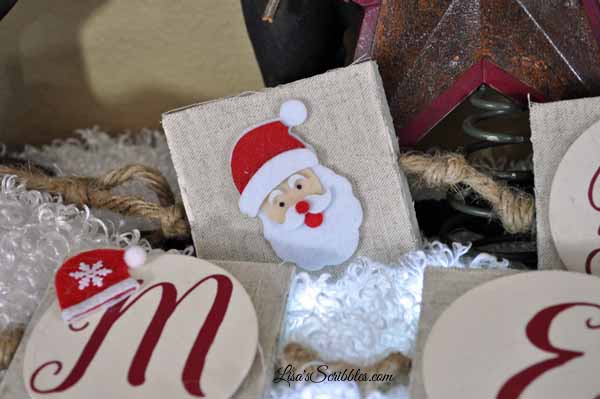
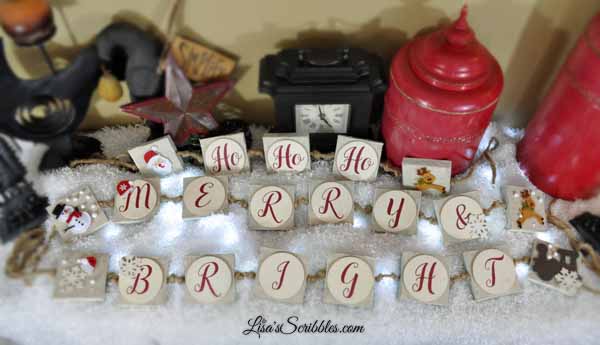
Using my glue gun I then glued them to the square, fabric covered blocks. And from there I got little creative with adding some additional pieces containing deer, Santa and the like. 

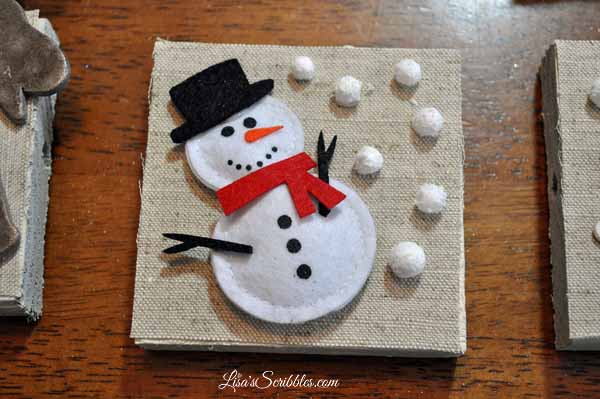
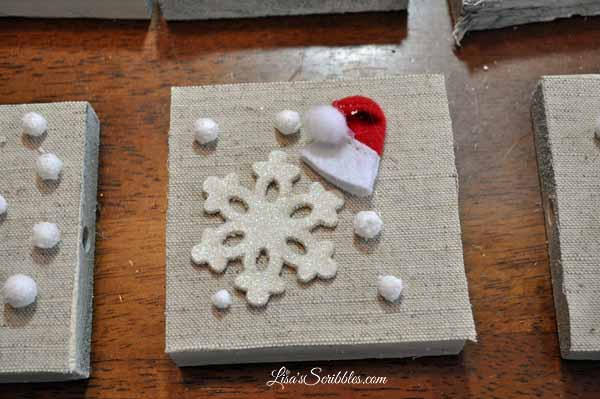
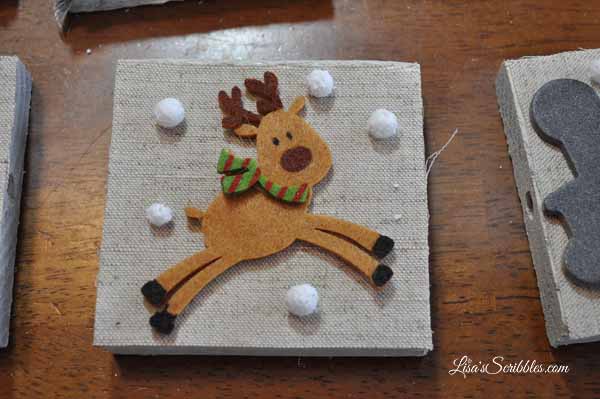
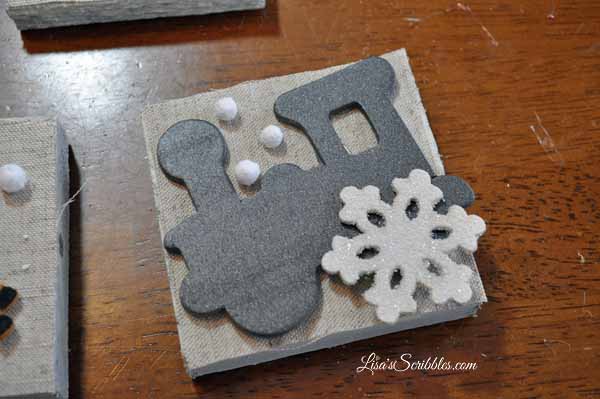
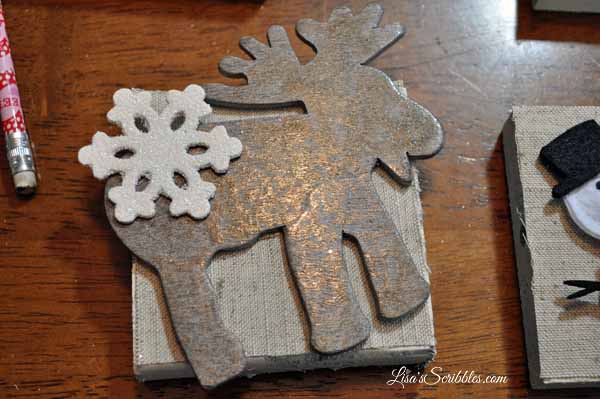
Pretty snazzy, right? This is where you can let your creativity soar! 

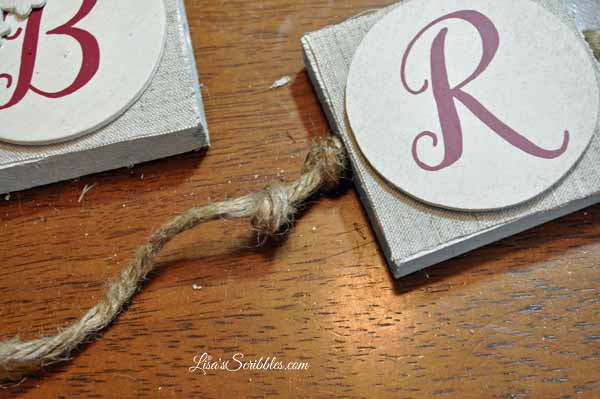
Once I was done with all the lettering and adding the additional touches, it was time to string my rustic garland.

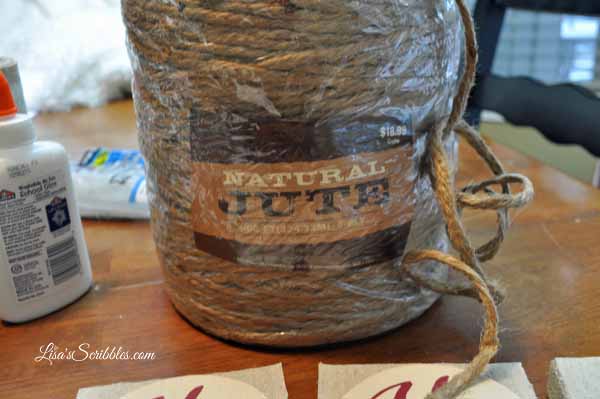
I went for some thicker natural jute because I liked the look and feel of it. 

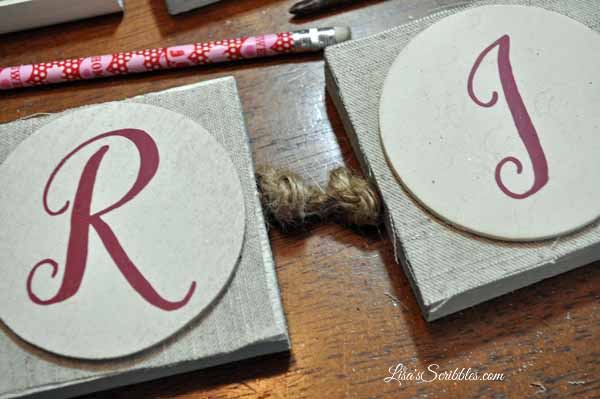
I was also sure to make loose knots on either side of each piece that was used.

I also made adjustable knots on the ends so I could lengthen or shorten it if needed depending on where I hung it. I also quickly found out that I didn’t have any one surface long enough to string them out properly! At least not where it wasn’t freezing cold outside for picture taking!


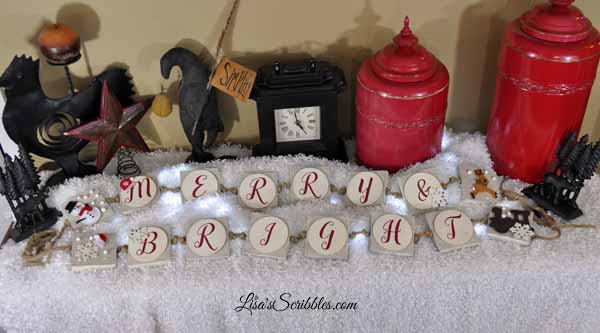
I’m thinking it’s pretty Merry & Bright? What about you? 


There you have it, a quick and easy DIY project you can make at home for your own decor or a gift for someone else. I think I’m keeping this one for a change, sorry family, maybe next year. 

Want/need another DIY Christmas project that’s sure to please? Well, wait till I make my next post… DIY Rustic Coasters!

Until next time…Toodles!

Hometalk & Lisa’s Scribbles

A thing happened this week. What thing happened you ask? Well, let me tell you what thing took place…I was invited to do a live Facebook demo for Hometalk!! Is this a big deal? Kinda? Am I thrilled beyond belief that they think I’m good enough to do a demo? Oh yeah!! Am I a bit nervous about doing a live Facebook demo for Hometalk? Need you ask?

Let me take you back a few years, to December 2013. I created a post for my DIY Christmas project, and it was how to create Candy Jars for gifts. I was touting that you can recycle old jars you have lying around. Okay, I’m probably the weird one here who keeps those old spaghetti and pickles jars, but it works for me, I like to come up with different uses for them–and did. 

I decided two years later to share this post on Hometalk in December 2015. What happened next isn’t what I expected. Since that post went live, it’s been viewed over 543K times on Hometalk. Shared to Facebook 852 times, pinned to Pinterest 6.5K times, and saved on Hometalk 512 times and the comments? 175 and the totals are still rising! 

DSC_0148

Check out the link here: Hometalk DIY Candy Jars

So as a followup to this well-received post, I did an updated version to my DIY Christmas posts in December 2015 titled UpCycling Glass Jars. Well, guess what happened next? It’s been going crazy too!

So far my Upcycling Glass Jars post on Hometalk has been viewed 156K times, shared on Facebook 192 times, pinned to Pinterest 1.9K times, and saved on Hometalk 117 times! 

Glass Jar Upcycing026

Check it out here: DIY Christmas Upcycling Glass Jars

So when Hometalk was looking for bloggers to put themselves out there with their projects, I took the plunge and submitted a couple of projects. While they loved the ideas, they asked me instead to do a demo on how I make my Candy Jars/Upcycled Glass jar projects! 

What does this mean for you? You get to watch me live on Facebook on, Monday, December 5th, at 7 p.m. EST or 5 p.m. MTN time and see how this creative, crazy crafty mind of mine works! And boy do I have some fun updates on the project as well. Come October every year I need to be banned from places like Hobby Lobby and Michaels–according to my hubby who of course thinks I go crazy there. Me? I have no idea what he’s talking about…

What else does this mean? I mean that I’m more than an author, I’m a DIY’er too. It also means that the more I put myself out there by marketing me, the more potential readers that I get to bring into the fold. And who doesn’t want more CATTS* suffers like the rest of you?  I do! 

*Chronic Addicition to Timeless Series

DIY Christmas Projects – Infinity Scarf

Watch a post on creating custom candy jars
coming up soon!

You’ve still got time believe it or not, to make some DIY Christmas gifts for those friends and family members that might have it all. Or for those friends/family that are avid book lovers, classy decor queens, or fashion divas. Adding a little bling into their lives can bring out smiles and knowing you made it from the heart, well, that’s just the frosting on the cake! Continue reading

DIY Wood Christmas Projects


A few weeks ago I started compiling projects that I wanted to do for Christmas. I perused Pinterest and got some ideas. My dilemma was that I had a ton of extra wood material left over from theĀ Pergola/deck remodel from this past summer, wood that I didn’t want to go to waste mostly because it had already aged itself properly.

First I took this pin of DIY block letters and ran with it on my own terms, as always. I cut the wood to my dimensions (started with a 4x6x12 piece of lumber), painted them with a coat of white paint, aged them using a mixture of brown paint and water (then wiped it off), and finally went in search of some printable letters. DIY Swank was great, and when I printed my letters, I converted the file to PDF and printed at 50% of the original size. I did a few test runs first to make sure they’d fit the size blocks I’d cut. I then cut them out of the paper (with the hubby’s help) and used Mod Podge (matte finish) to adhere them to the blocks. I did a few coats to make sure they stayed on well. Then I got the fun idea of adding “sparkles” to the blocks too! I loved how they turned out.

Glenn was a huge help cutting the wood.
My letter blocks all cut to size.
Added a coat of white paint to them first before I aged them.
I had set the letters out to see where I wanted to place them.
When I came back, here’s what I found…boys!
I think the sparkles make all the difference.


Another idea came from some wooden planter boxes I’d seen posted on Pinterest. Now while I didn’t need any planters, I did come up with the idea to create some wooden trays that could be used year round either inside or out for decor. I used a wood tray I already had as inspiration as well. And since my mom’s birthday was right before Thanksgiving, I made her a few as well.


This was the first coat of paint before I aged them and added handles.
My mom took the red set.


This additional tray is smaller than the first and doesn’t have
metal handles, only because I didn’t have any lying around.

So the final project from leftover wood I had was making wooden picture holders. Again, I got the idea from Pinterest, from Shanty 2 Chic. They used 2×6 lumber, but I chose to use leftover pallet posts (2.5 x 2.5) from a recent remodel at my parents house. You could also use a 4×4 post for added depth. Again I took their printable’s and reduced them to fit my project. I painted them red and green, then antiqued them with black paint. I used upholstery tacs to hold the wording phrases in place, and curly ornament hooks to hold the pictures.

Now, with all this work done I didn’t spend more than $7.00 for additional materials (Mod Podge and some curly ornament hooks). I used up some wood from my pile, printed on paper I already had, and painted with paint in the cupboard. I think all in all they turned out pretty nicely. Even Glenn said that they turned out better than he had thought they would…gotta love the non-visionaries!