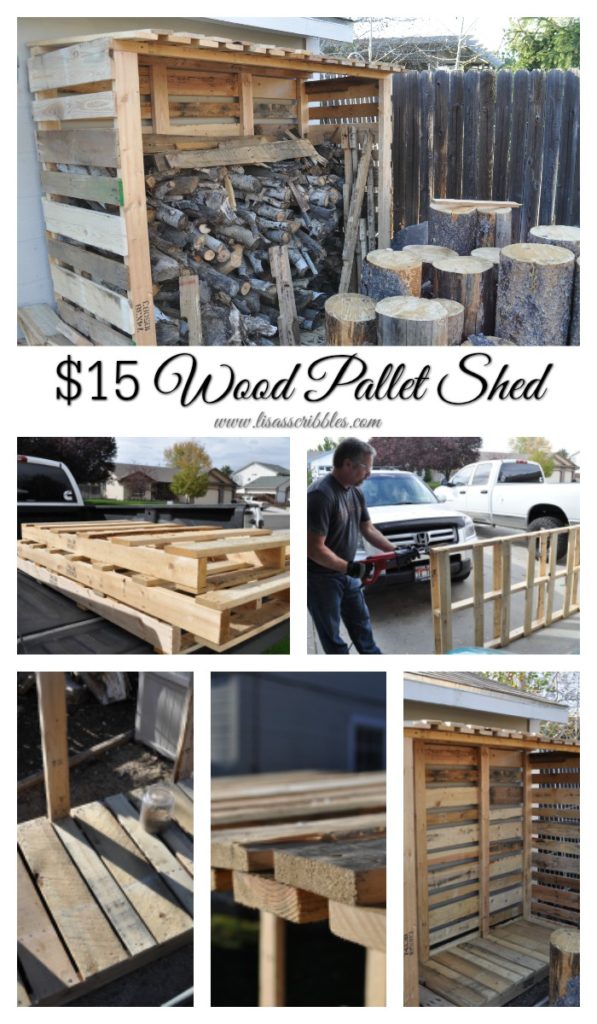
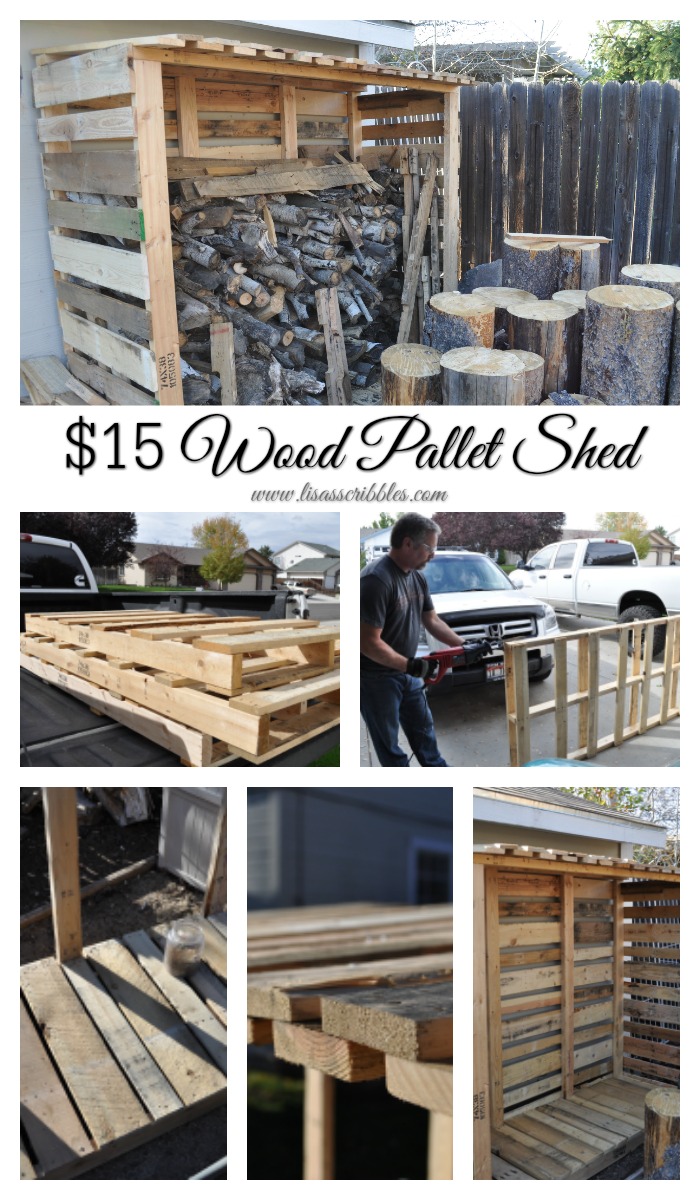
I’m going to start out by saying something here, something that is quite unusual in my household, but here it is… This was the hubby’s idea! Check out his $15 Wood Pallet Shed.
Yup! You heard me right! Now let me point out that over the years my hubby has been very supportive of my projects…okay, let’s be real here, he goes along with my crazy creative side because he, #1 loves me, or #2 is scared of the outcome if he doesn’t. Either one works in my favor, so I roll with it.
But this little wood pallet shed project? This was him 100%! Now I don’t want you to think that he doesn’t want to do things, he’s all about getting things done around the house, but deciding that he wanted to go pallet diving, a.k.a. dumpster diving for materials, that was a bit of a shocker. You see I’m the crazy one in our relationship, just ask our friends, they’ll tell you the truth, the hubby’s the calm, sane one.
Okay, so enough of my jabbering and let’s move on with this lovely little number!
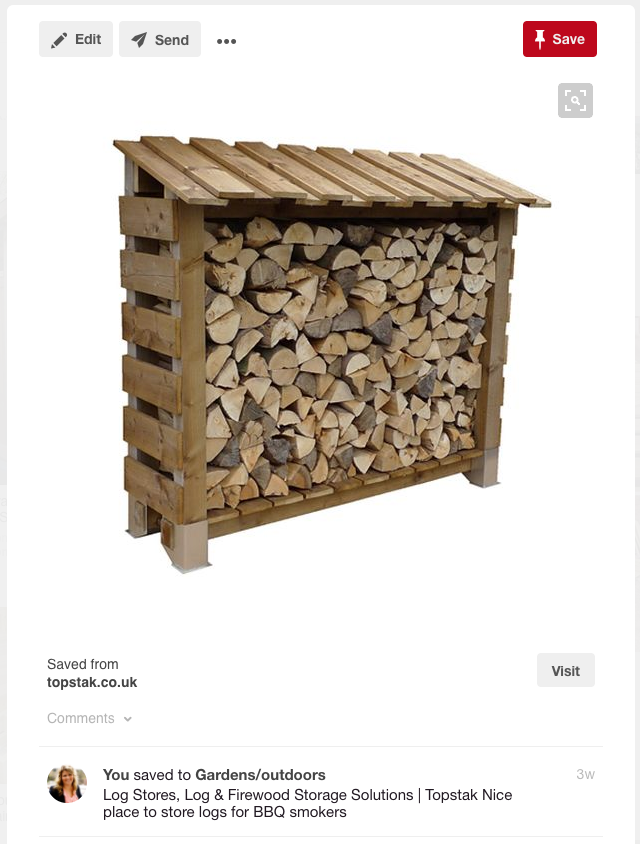
The hubby got the idea from Pinterest after searching for some wood storage sheds. We have a fire pit we built a few years ago in the backyard, and the firewood was currently being stored on the ground next to the shed. He thought it was messy and wanted to tidy it up a bit and I couldn’t have agreed more. Here was his inspiration:
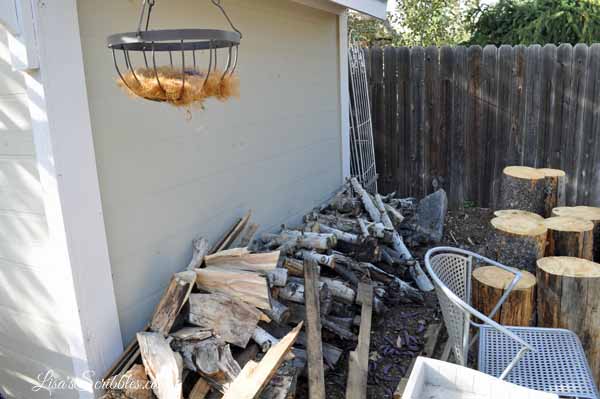
You see, it was an eyesore. 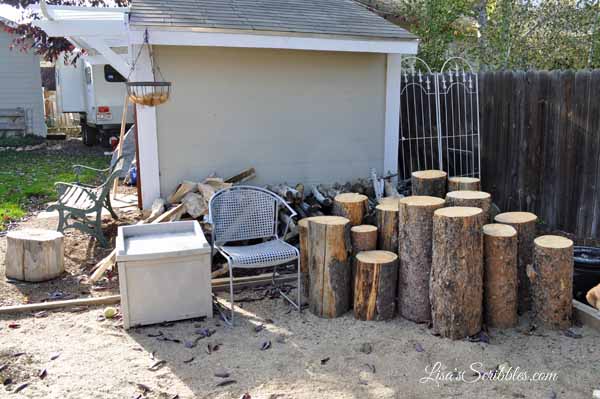
You didn’t have to ask me twice to get involved in this lovely little number, the moment he expressed his interest I was all over it like bees on honey. I went on the search for some pallets and came across two Facebook posts where friends were looking to get rid of some. We got lucky too because a few of them were extra long pallets, the other’s I ended up purchasing from a church for $1 a pallet, which is where the $15 expense came from. Other than the pallet purchase, we had everything on hand to make this project on the cheap.
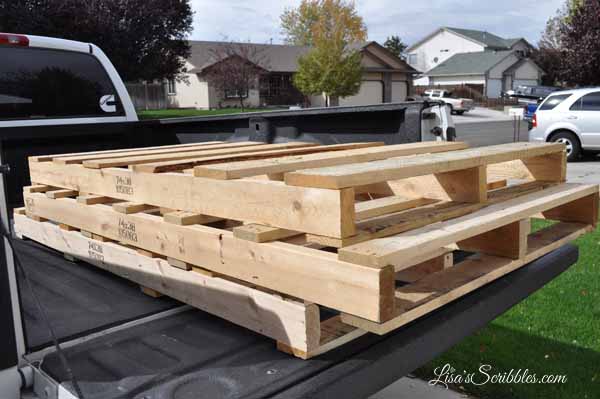
We had three of the long pallets, 74×38, and 16 of the smaller 30×30 pallets.
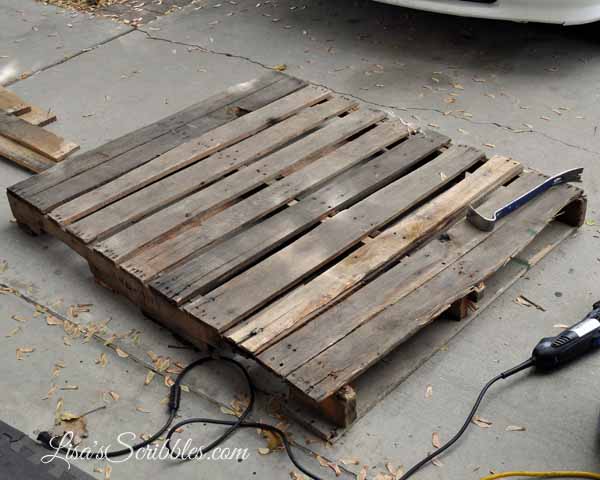
The first step was to cut them apart. You can go ahead and use a pry bar, but we found it was faster and safer (minus the yelling as the wood split from sheer force) to use a reciprocating saw with a metal saw blade.
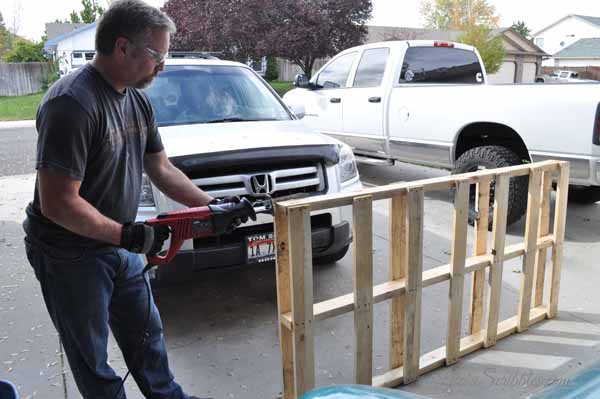
It can be done with one person, but honestly, it’s easier with two. One to hold while the other cuts. A little less dangerous too for everyone involved.
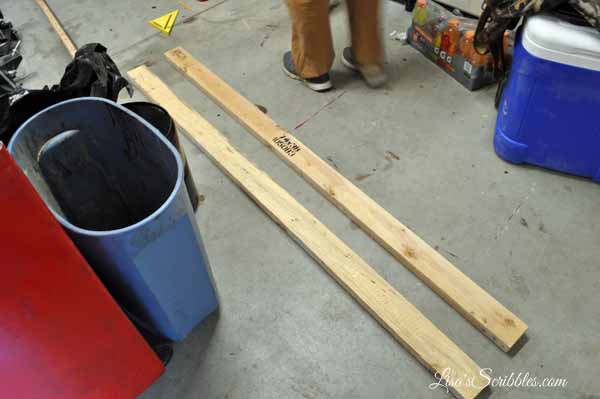
Next step was to measure out the length we wanted for the floor framing to be. We made the supports 72″ long.
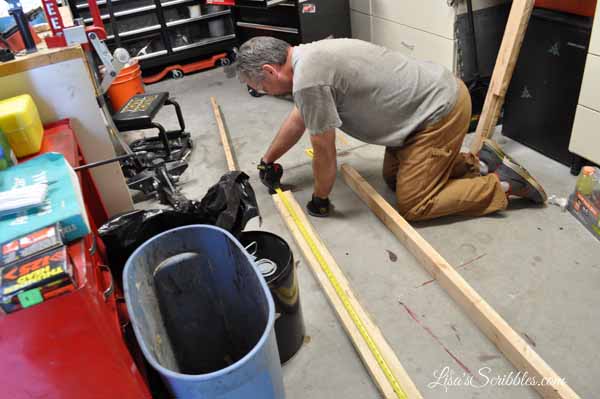
We then created a rectangular box. We used the 2x4s from the pallets we dismantled.
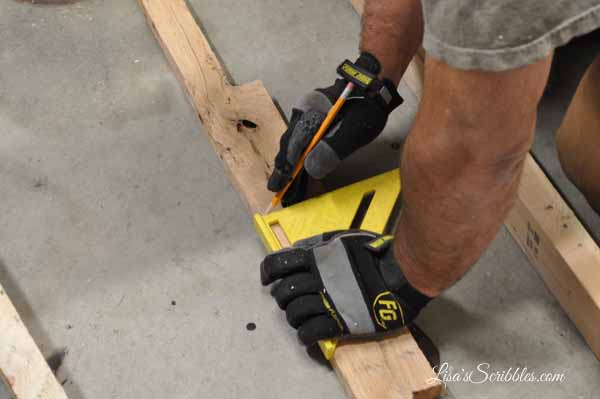
The hubby cut them to 25″ making the entire width of the shed 28″ wide.
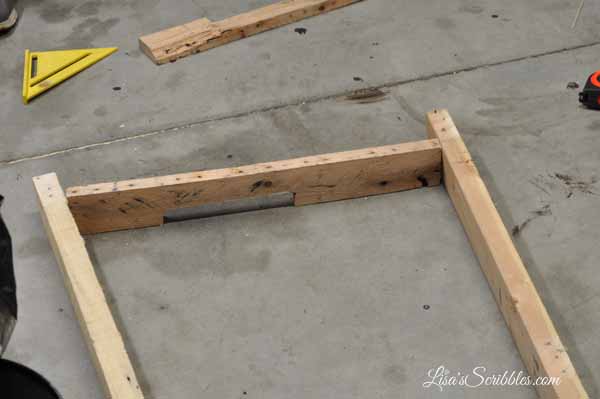
He then screwed them together, and we moved onto the inside framing.
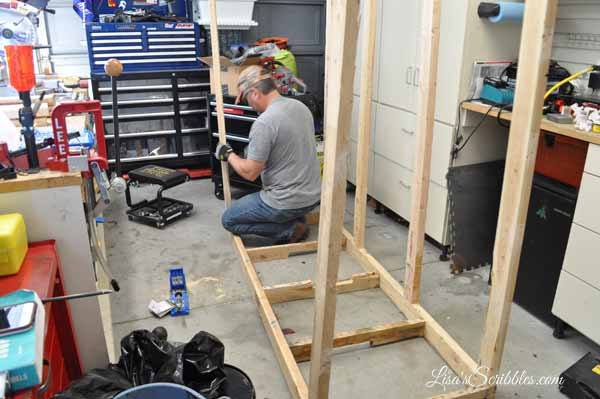
We used our Kreg jig to secure them to the bottom frame.
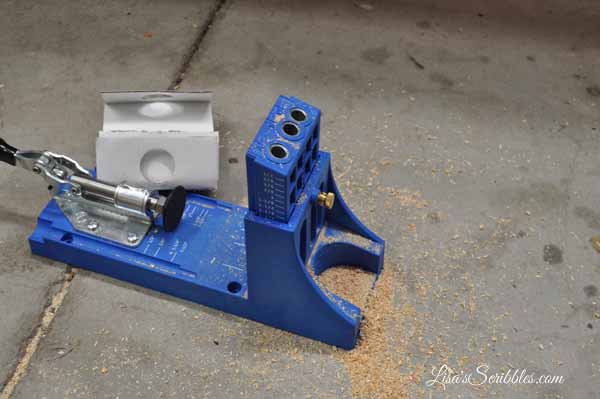
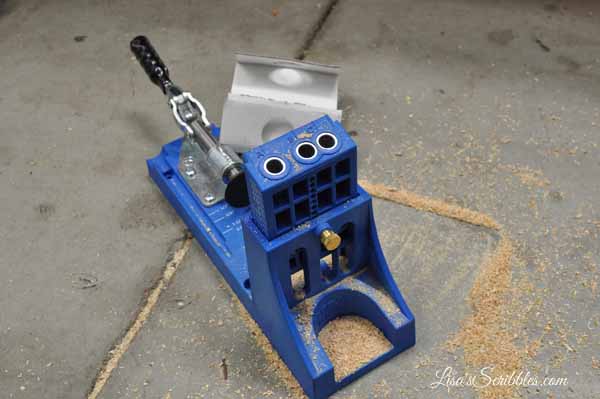
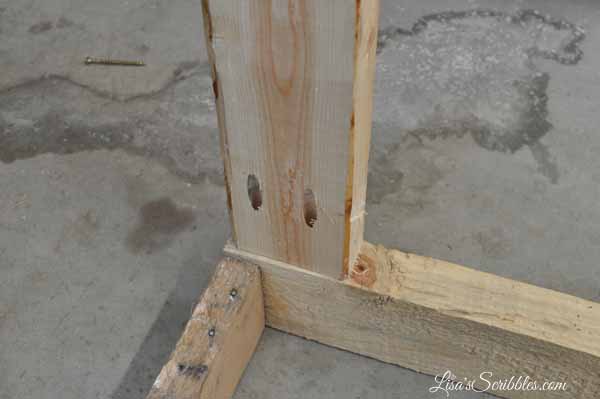
One thing to note, make sure you do both sides of your 2×4’s before attaching them to the frame.
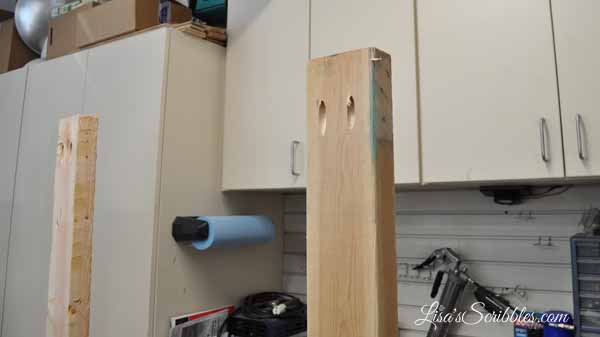
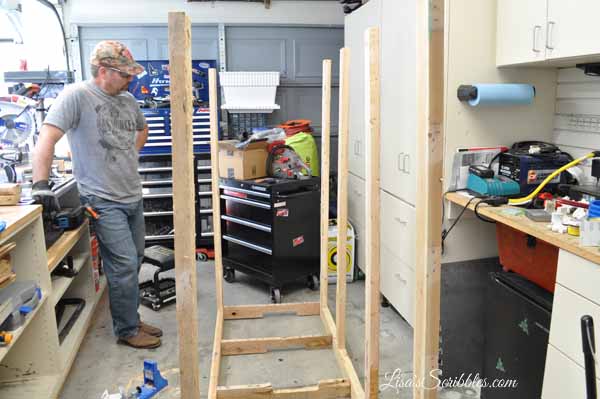
We then attached our roofing structure, again using wood from the pallets.
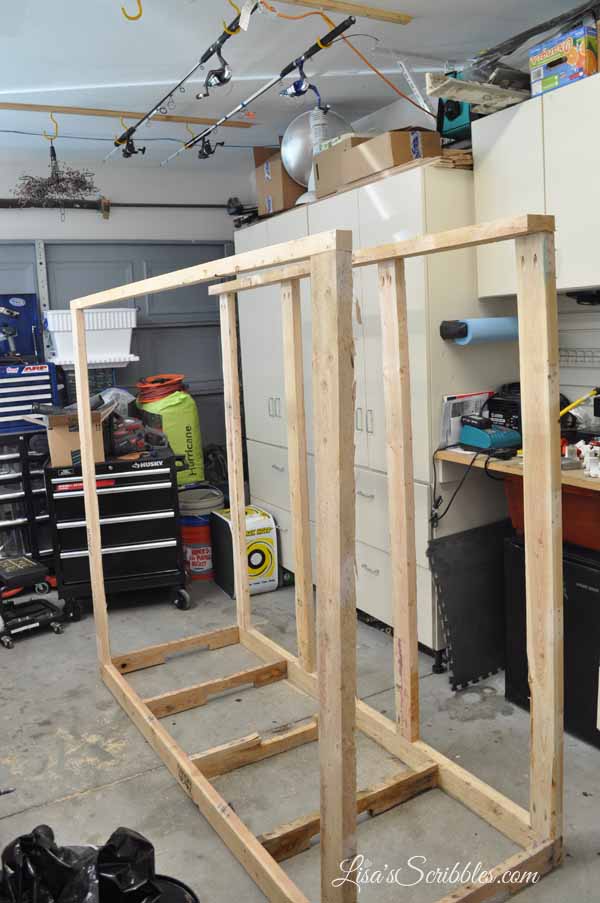
It’s a little wobbly at this point until you get your upper supports in place.
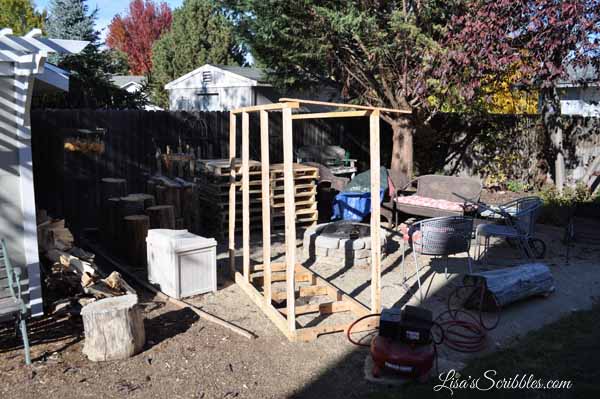
Before we attached our upper supports, we moved it outside because I was afraid it wouldn’t fit through the narrow garage door soon. The hubby took pity on me, and we moved it closer to its new home.
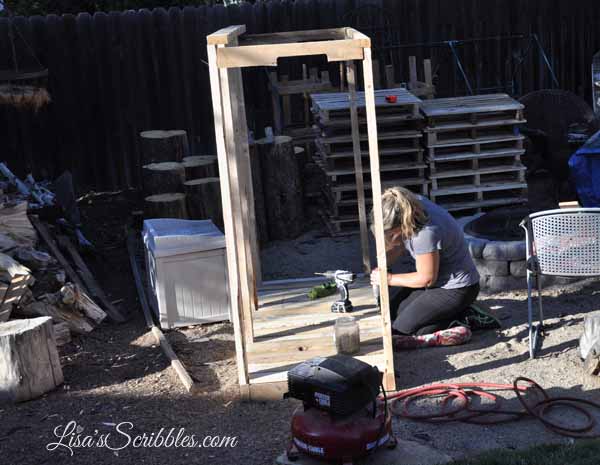
After adding the upper supports, we began to place the flooring on because we didn’t want the firewood to be sitting on the ground anymore. I predrilled my holes first and then used wood screws to secure it to the base.

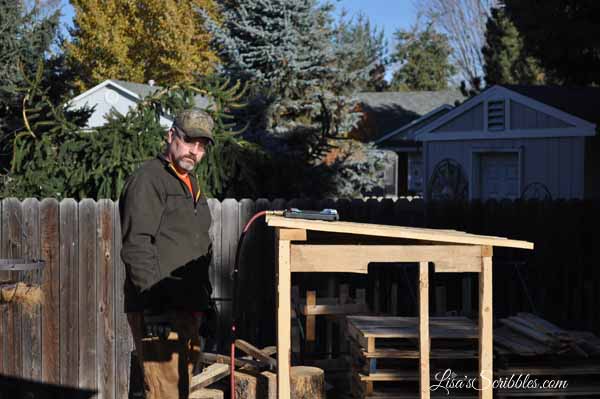
You see this guy? He’s soooo excited that I’m helping him…or he got hold of the camera and snapped himself a selfie for me to find. Silly guy!
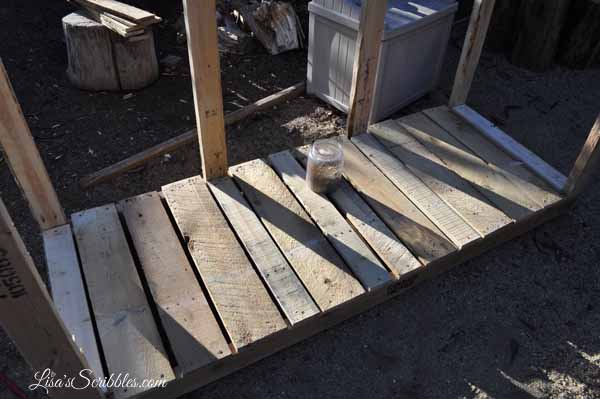
After the flooring was securely attached, we moved onto the roof. Now the hubby had a very specific design in mind, and I liked the architectural feeling it gives to the project.
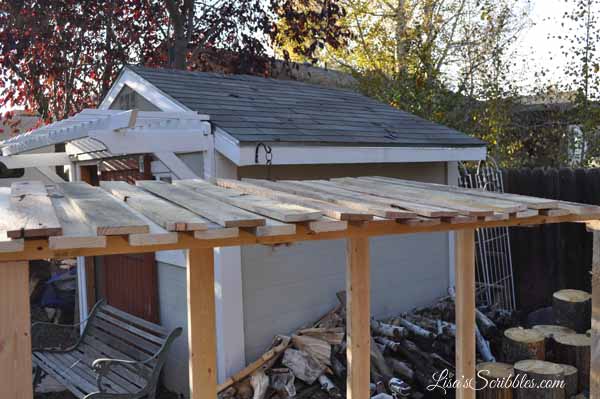
We attached the roofing using our pneumatic stapler and cut the pieces to 35″ so we’d have some overlapping. We also ensured that we had the roof on an angle so the water would run off.
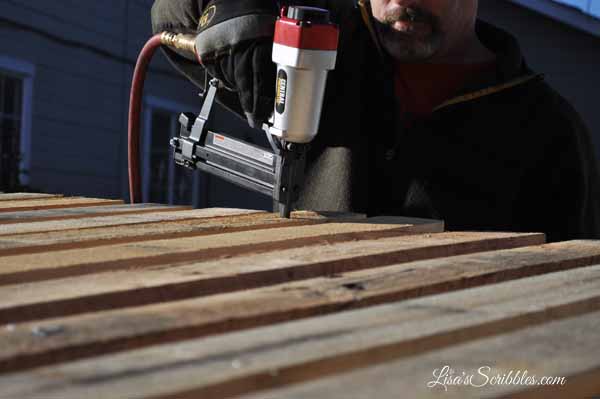
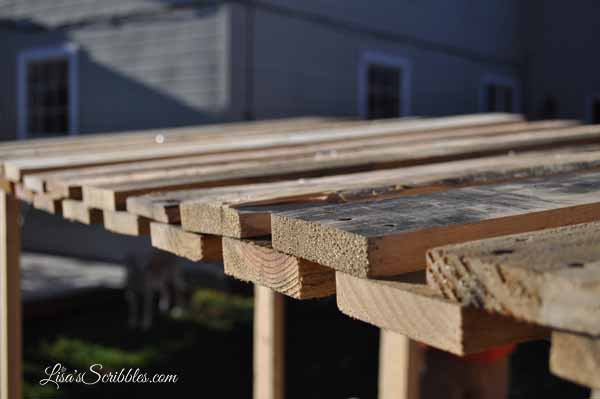
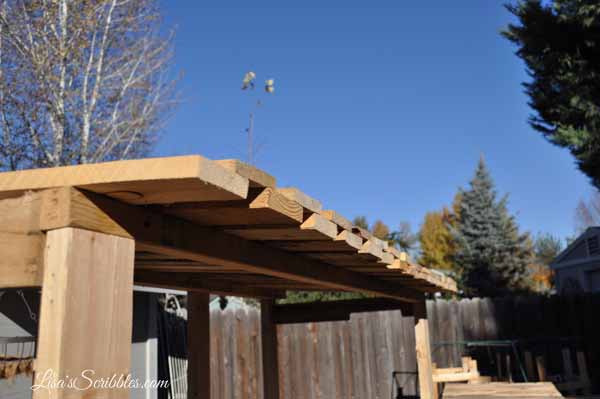
Yeah, and there’s the hubby looking at me and saying in his mind quit taking pictures and get over here and help me!
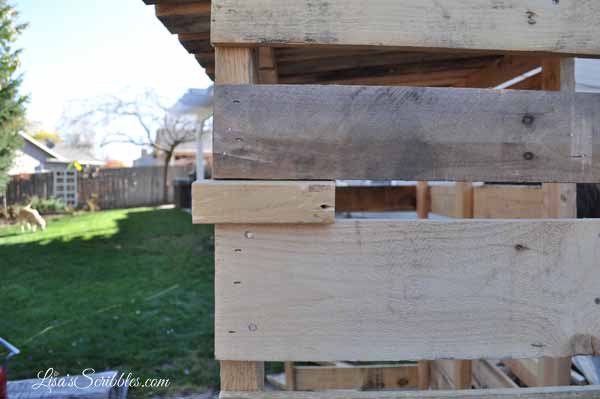
The next step was to cut and attach the side pieces. We used a 1.5×1.5 wood block as our spacer because we wanted the wood to breath so it’d dry out and not mold. Keep in mind that you do need to level off the first board so you’re not running crooked.
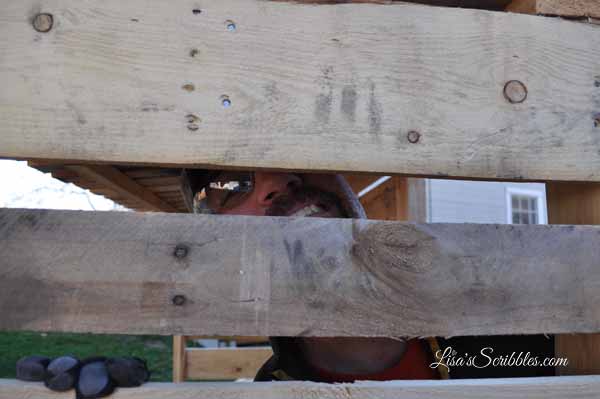
Yeah, there he is playing peek-a-boo instead of working.
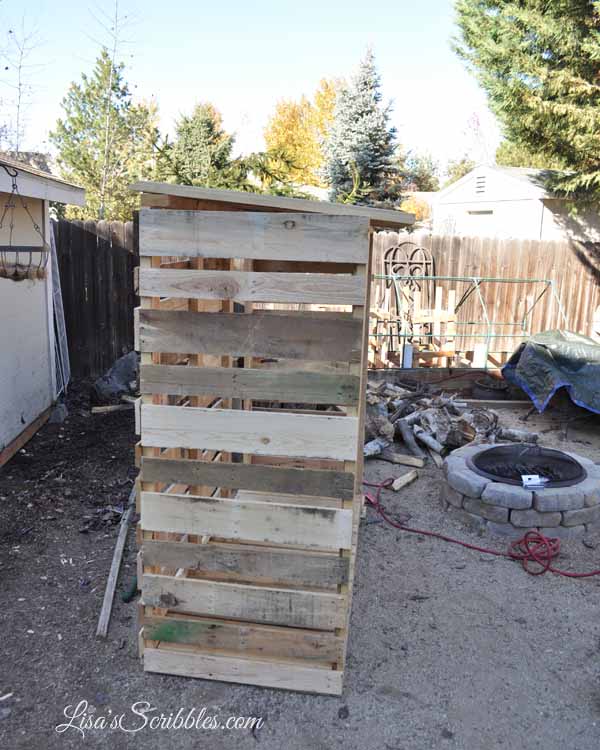
Looking pretty great, right?
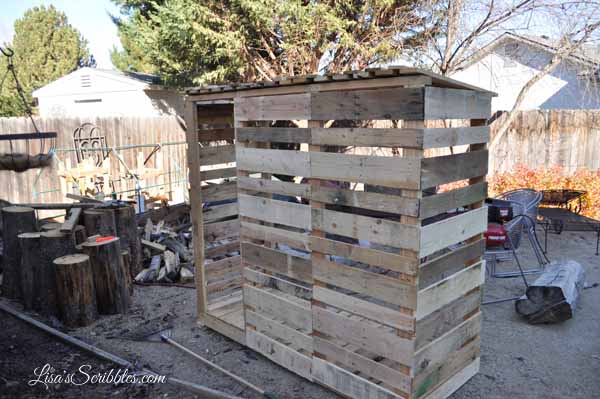
As you can see, we weren’t going to perfection here. Wood pallets come in all shapes and sizes, so you just have to work with the materials you have. Some pieces are thicker, and some are thinner.
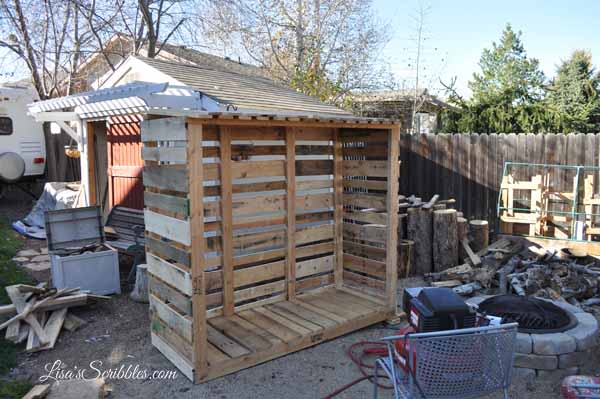
I gonna go ahead and call it…the hubby has some skills. I’ve been telling him this for years, but he always thought it was because I was trying to woo him into helping me, which I’m not going to deny, but it was the truth.
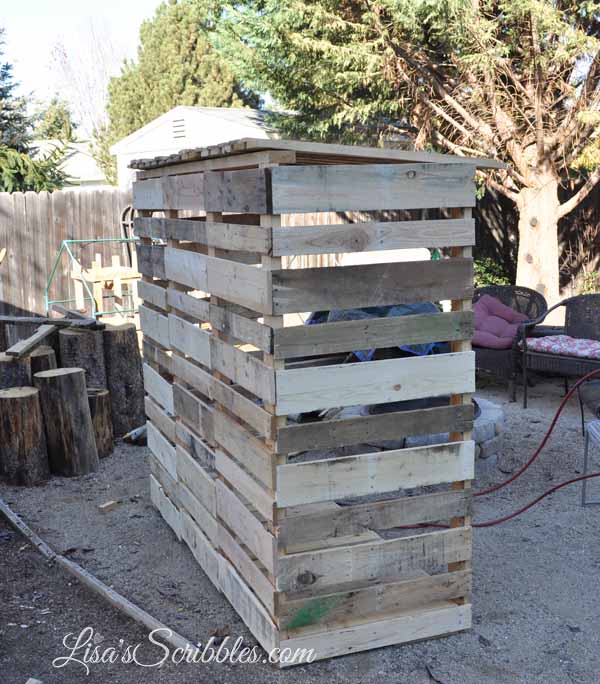
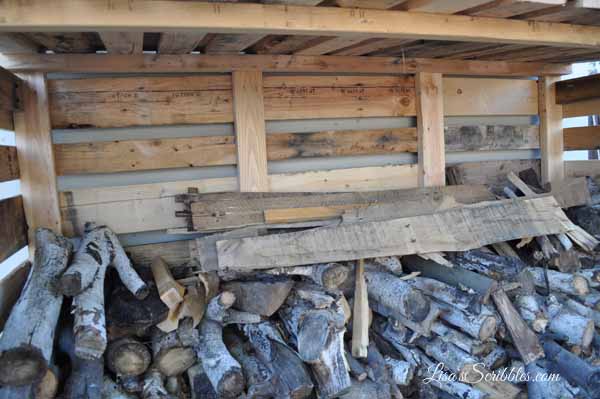
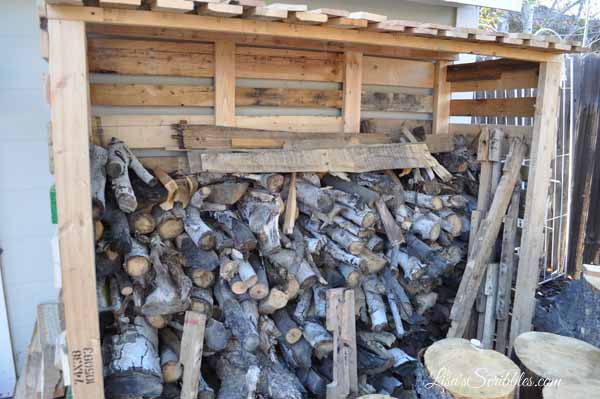
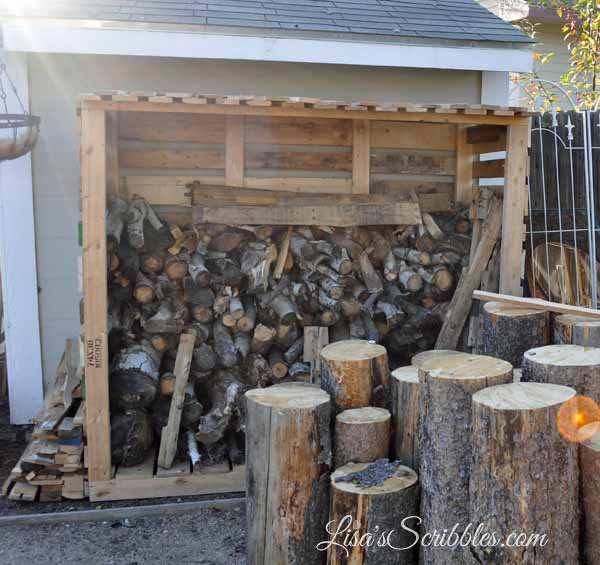
He took something from nothing and made a functional wood storage shed.
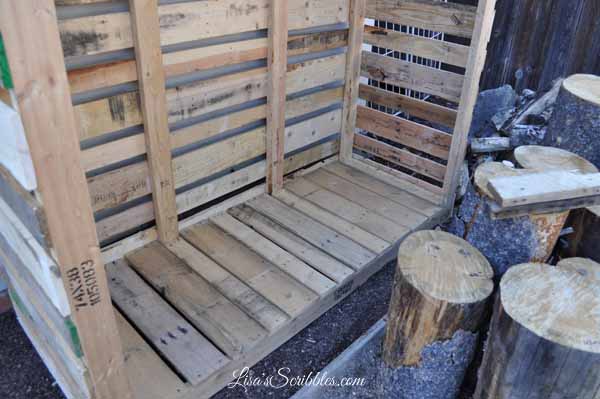
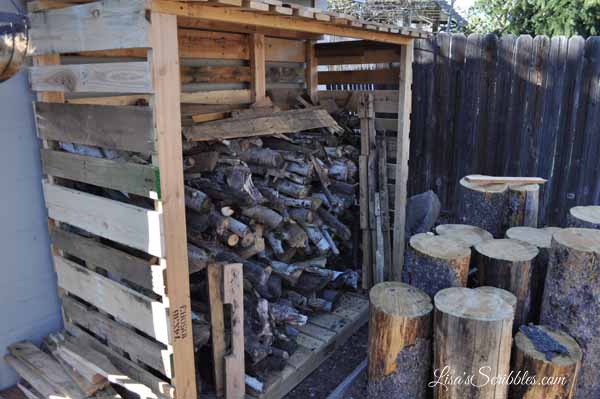
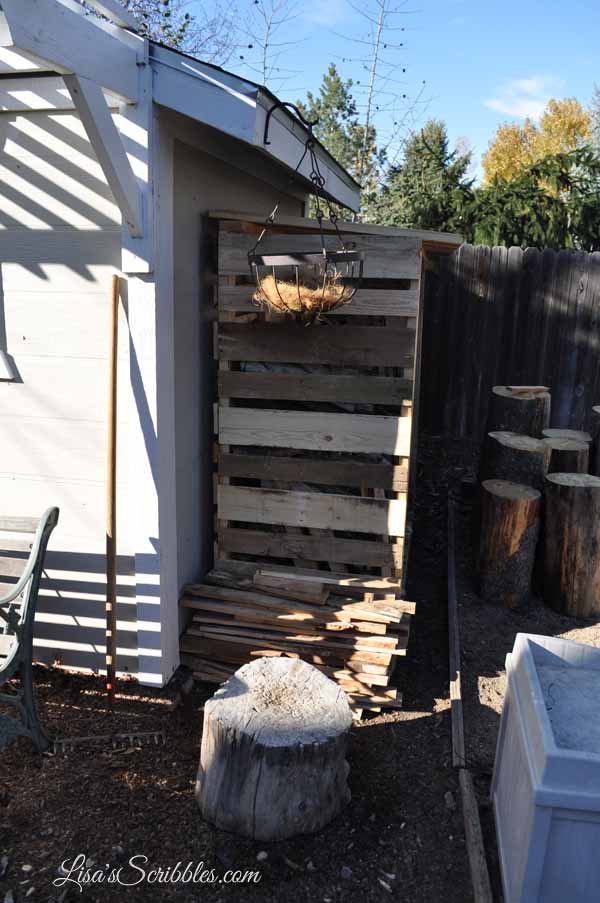
Much neater I’d say.
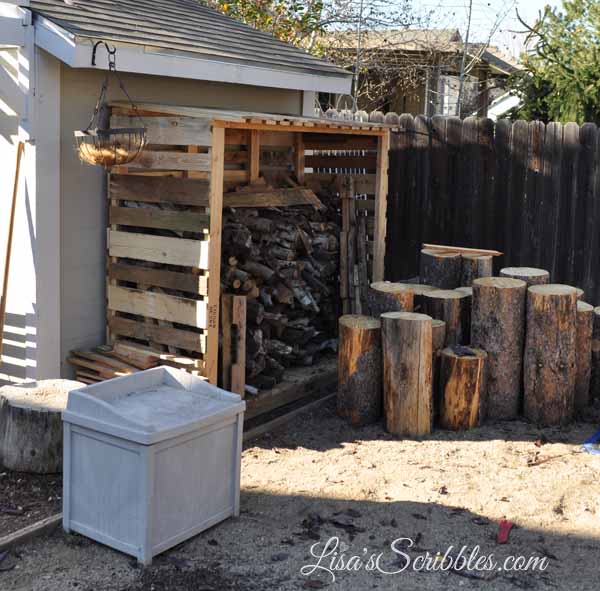
Neater and functional.
I got lucky with him! Until next time, laters!
