Tag Archives: DIY Christmas

DIY Christmas – Rustic Woodland Coasters

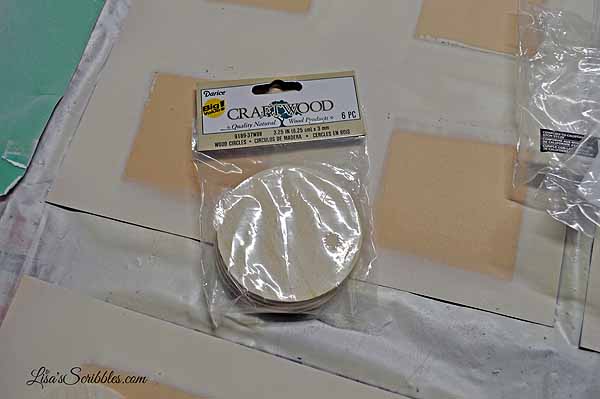
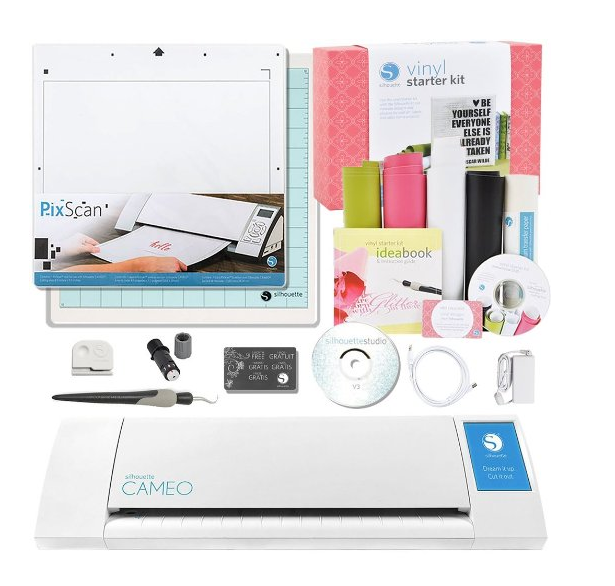
I think I’m on a roll with the whole Rustic Christmas theme this year, don’t you think? And I’ve got another one for you that’s fairly painless because you can either cut your own coasters or you can buy plain ones at places like Hobby Lobby, Michael’s, Target, Bed Bath & Beyond, Walmart and even Amazon carries them for anywhere from $4.99 to $14.99. Now how you decorate them will depend on #1 -your abilities, #2 – what tools & equipment you have on hand, say like a Cameo Silhouette machine

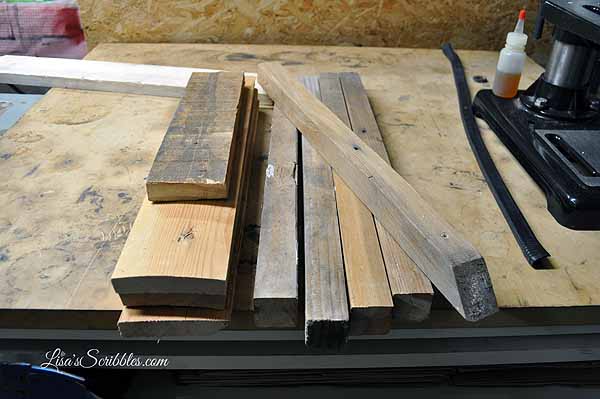
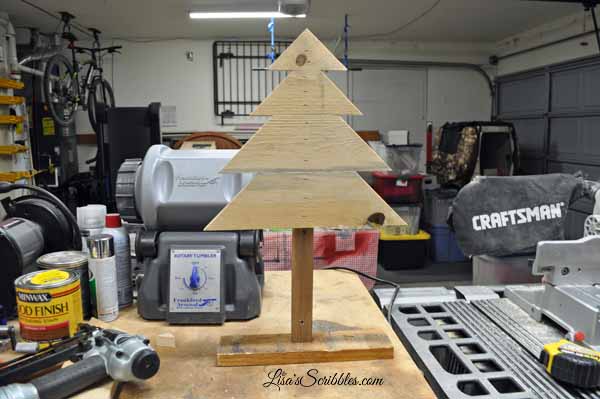
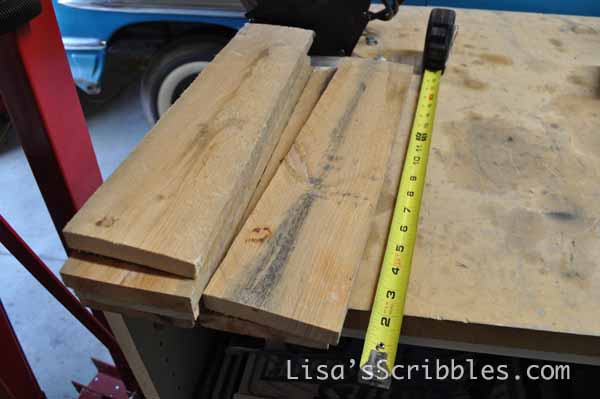
What got me started on this little project was all the wood my boys brought home this past fall. We’re going to be using part of it for my son’s upcoming wedding in April, but I also had some other ideas for the smaller pieces that I thought would make cute gifts.

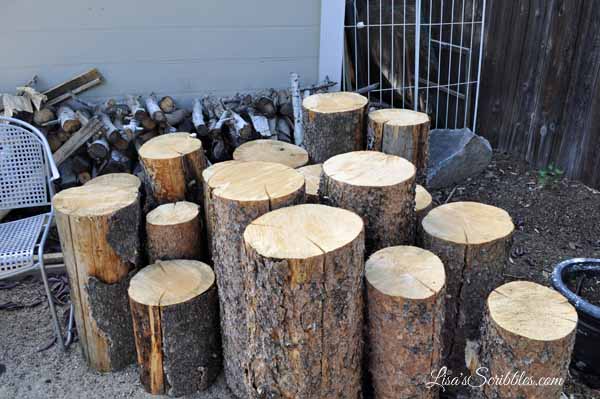
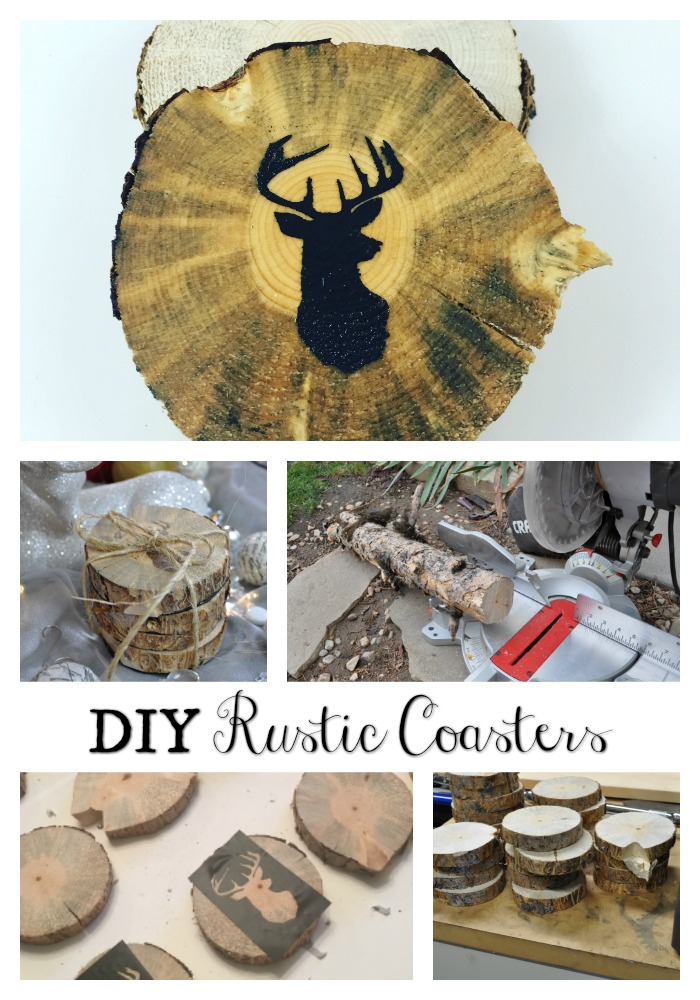
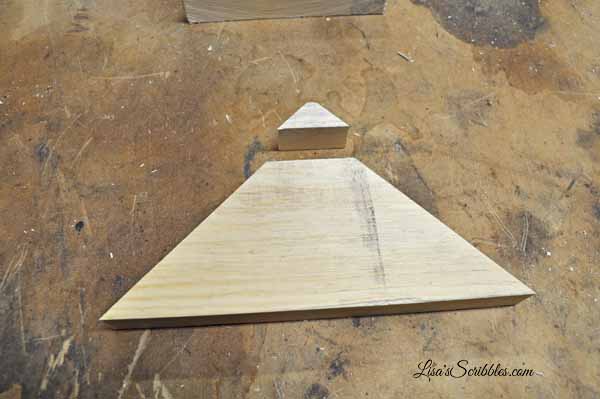
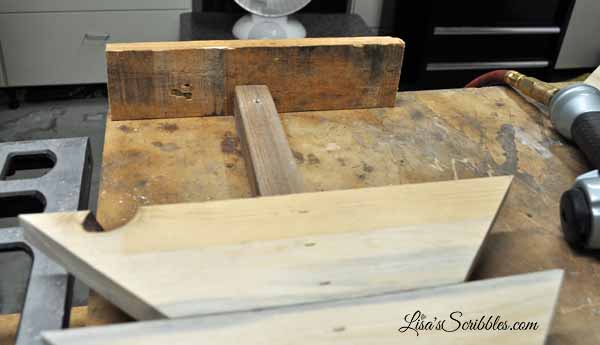
I dug through the pile of wood and located smaller branches that I knew would be perfect for my Rustic Woodland Coaster.

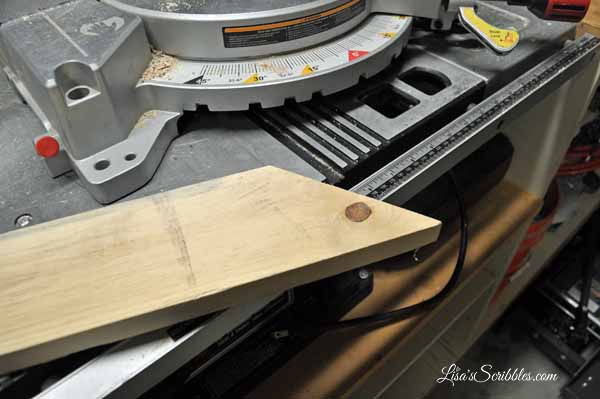
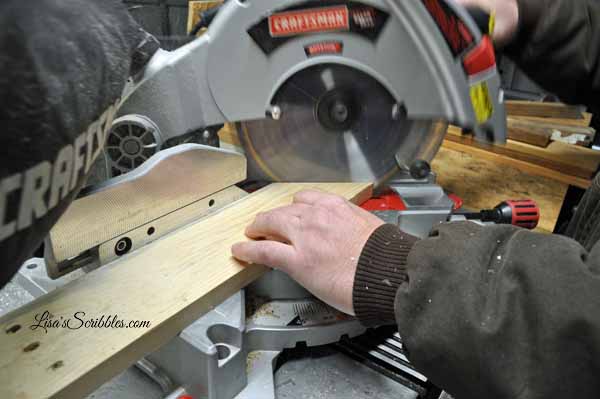
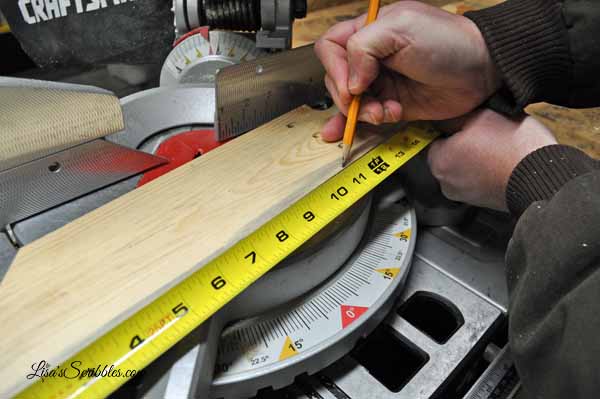
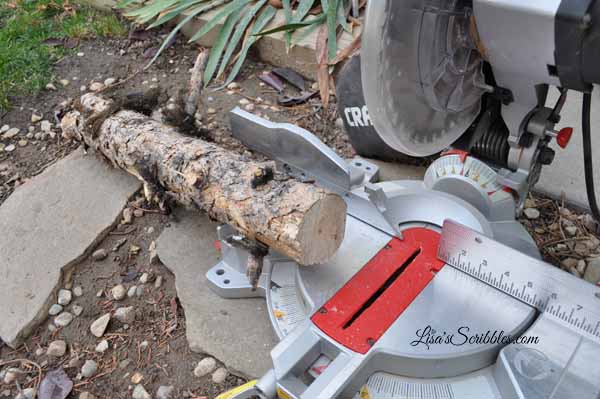
Most of the pieces had extra branches poking out from the sides, but it was a fairly easy remedy as I just cut them off with my chop saw before hand. 

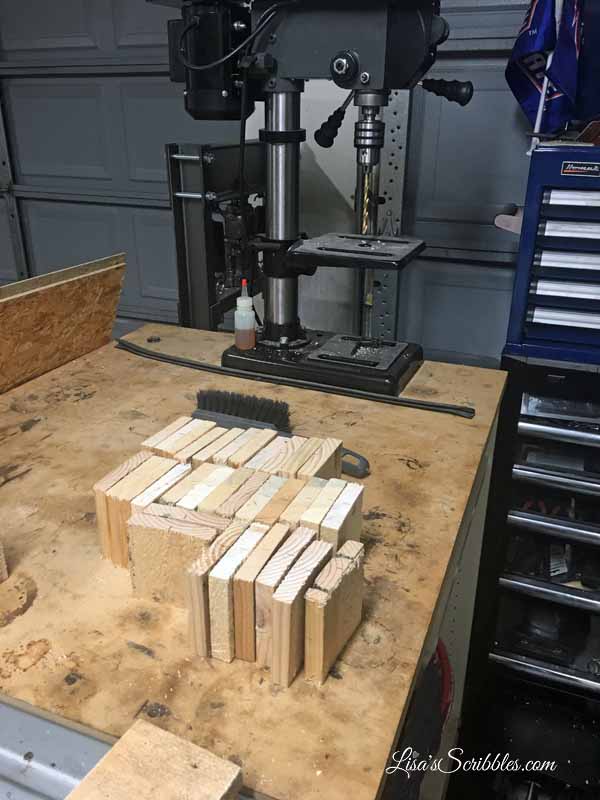
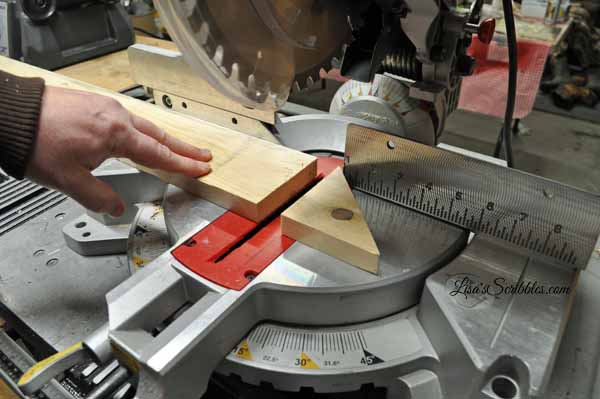
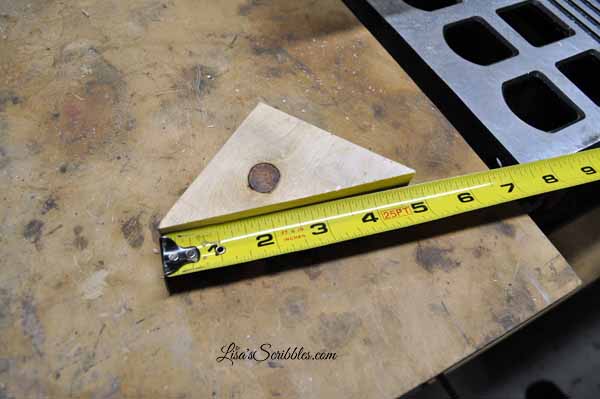
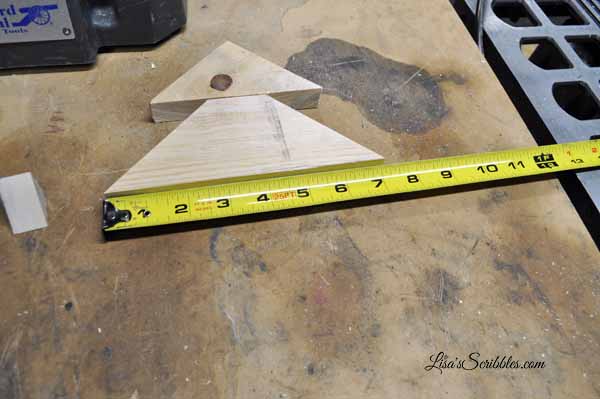
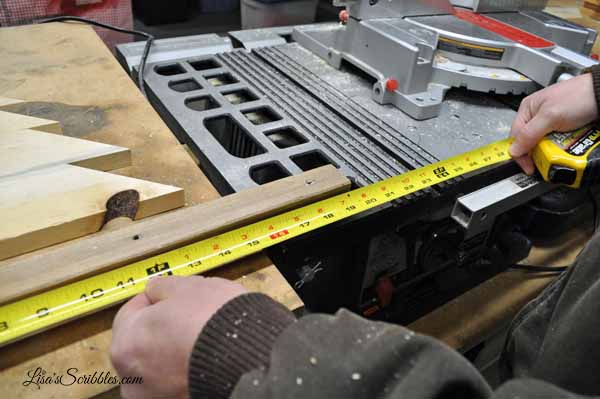
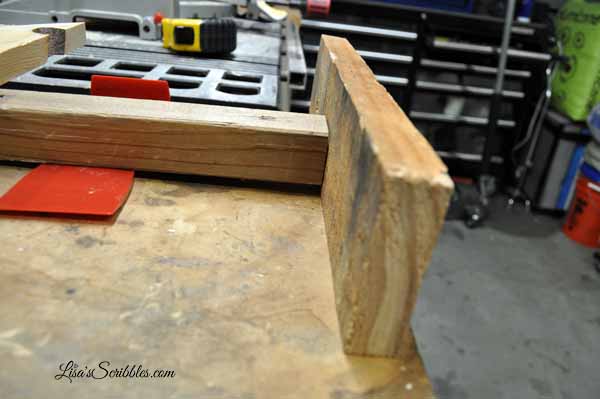
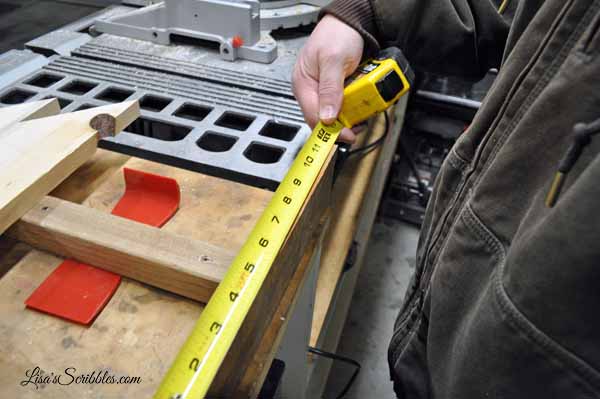
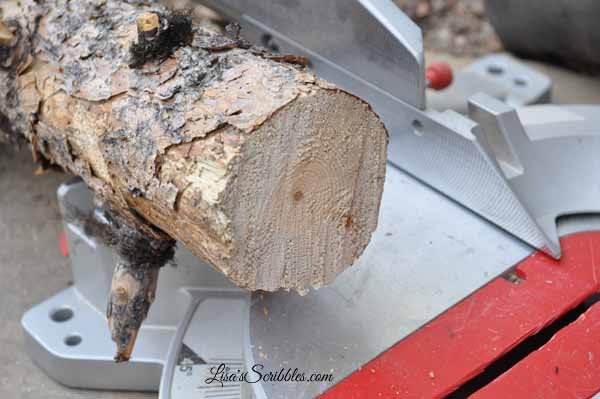
Once I was ready to do some assembly line cutting, I first measured out how thick I wanted them to be and settled in at 1/2 an inch. I use painters tape to mark out a line on my chop saw so I could just start cutting and not worry about measuring each one. Again, these are rustic, so having them perfect each time isn’t necessary. 

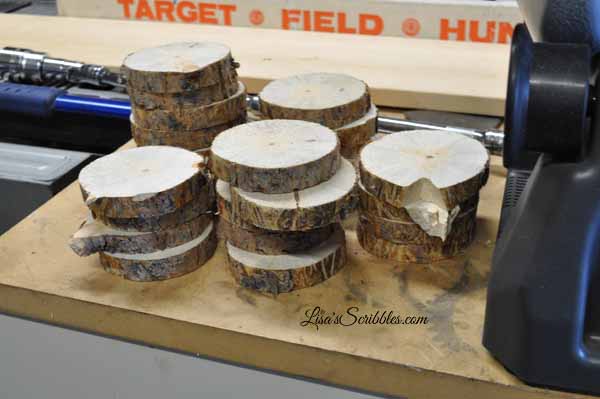
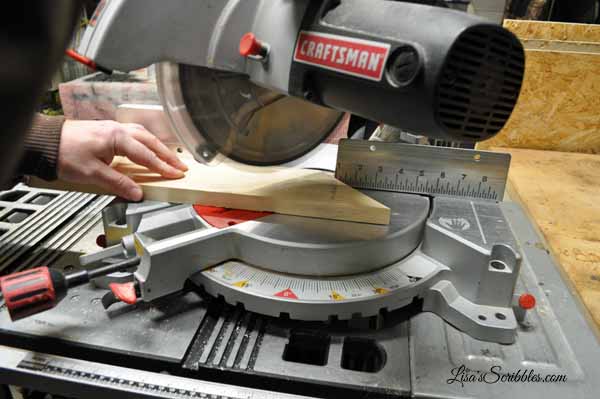
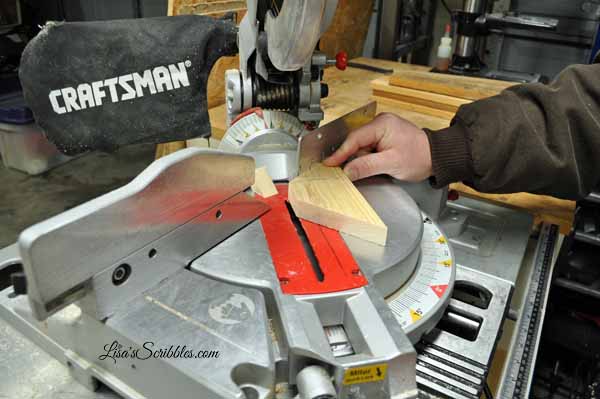
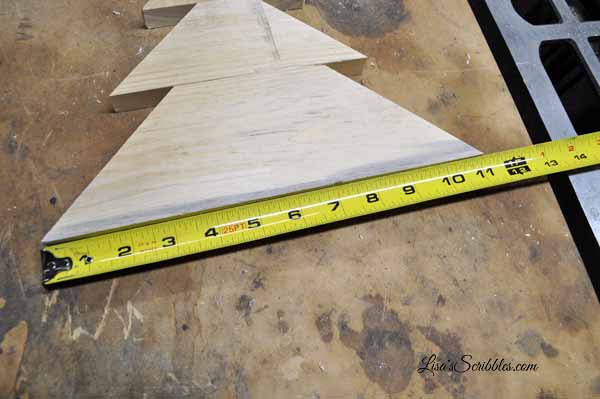
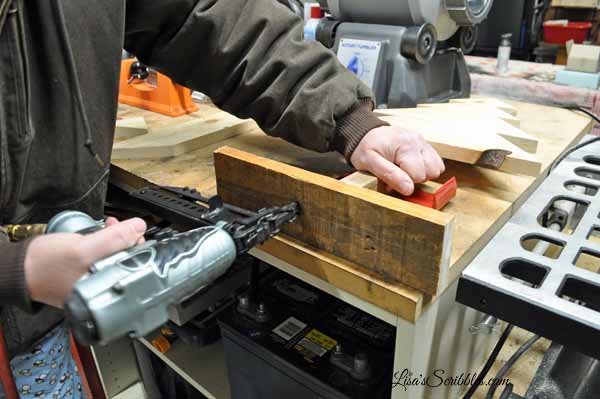
As you can see some of these had branches that still needed to be chopped off. It was easier on this particular branch to wait until they were in smaller pieces to cut them off. 

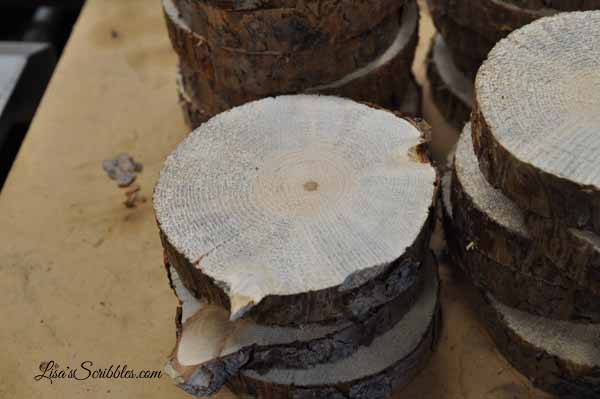
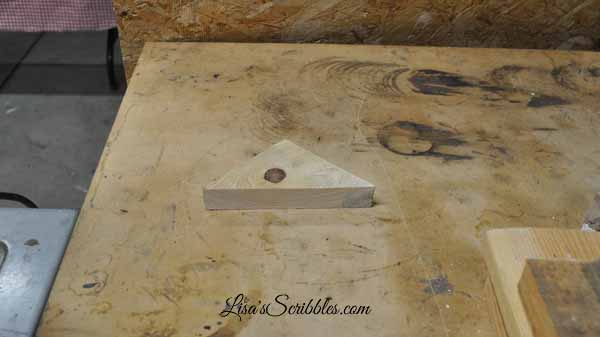
I got quite a stack from just one branch.

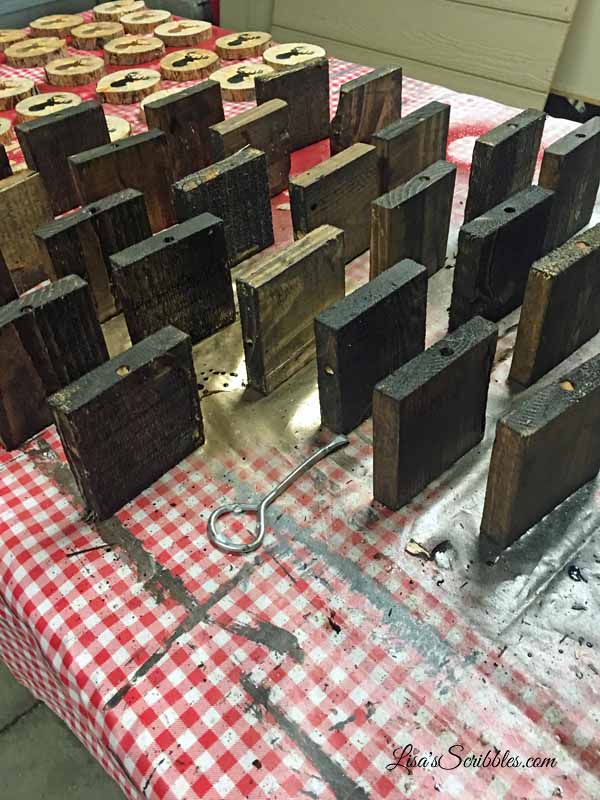
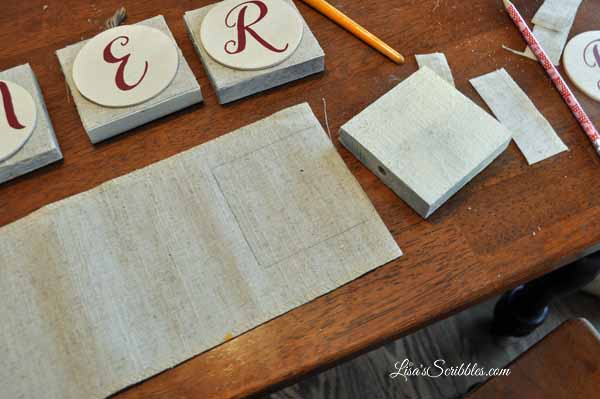
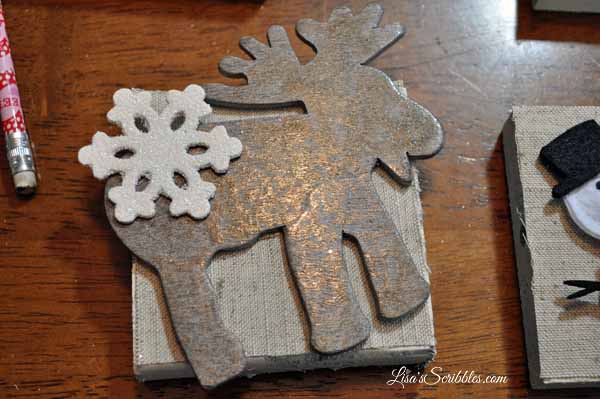
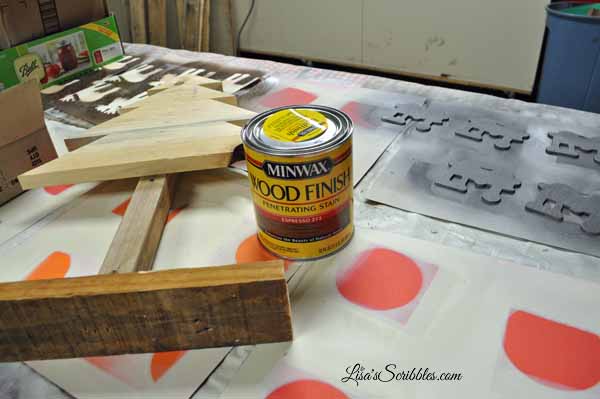
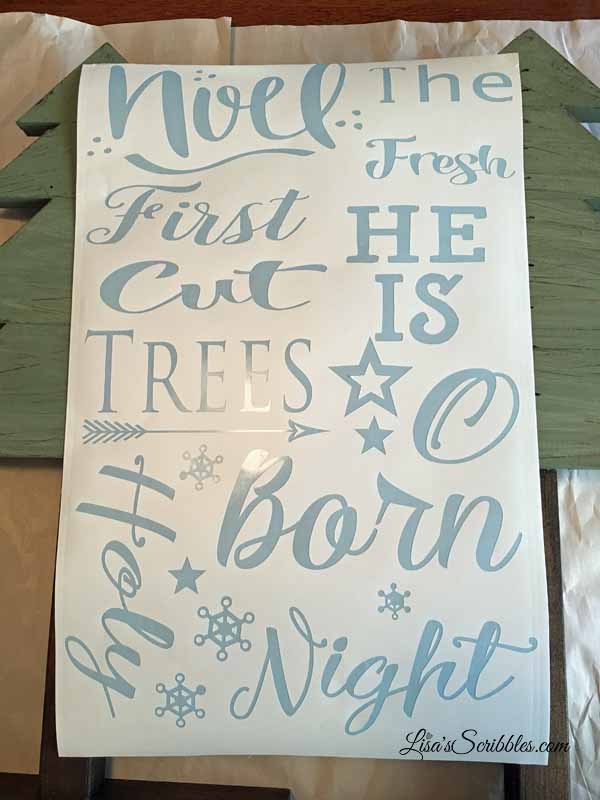
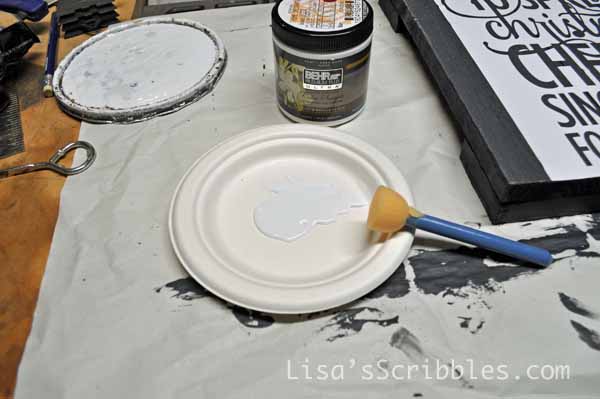
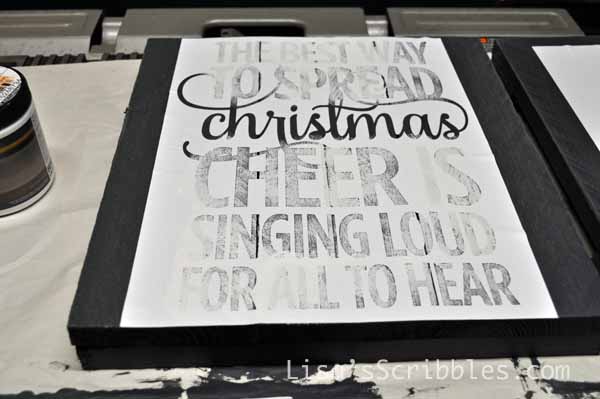
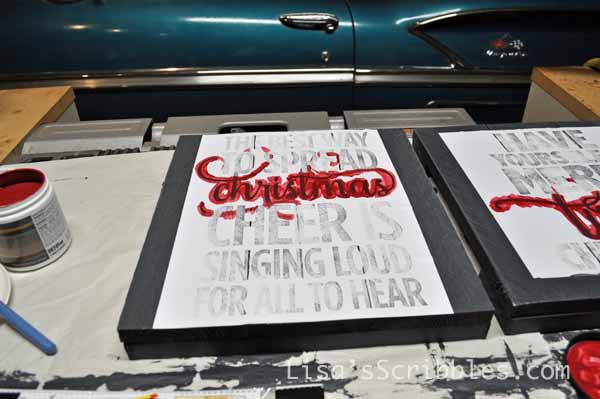
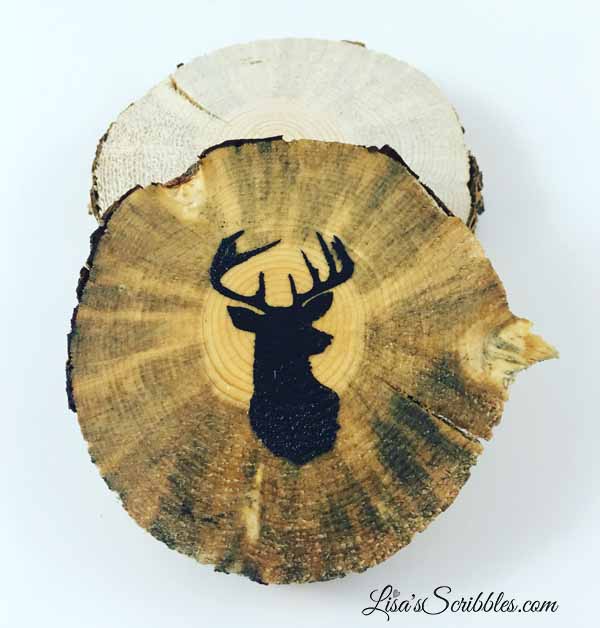
Then came the fun creative part. I made a deer stencil from my Cameo Silhouette and then used my basic black craft paint to fill it in. I let it dry and then pulled the stencil away to reveal a deer head. 

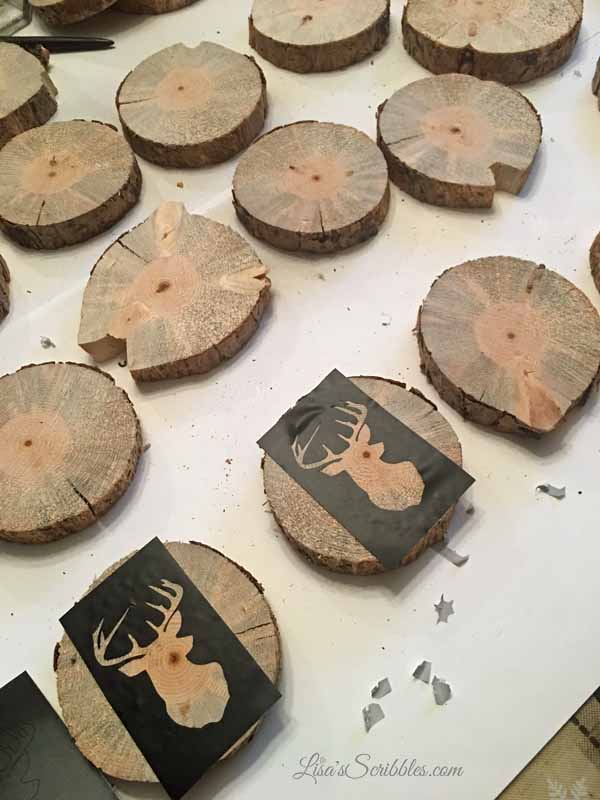
I had quite the assembly line going here too. 

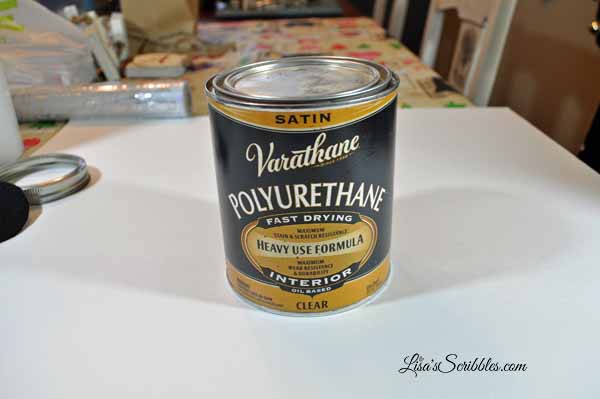
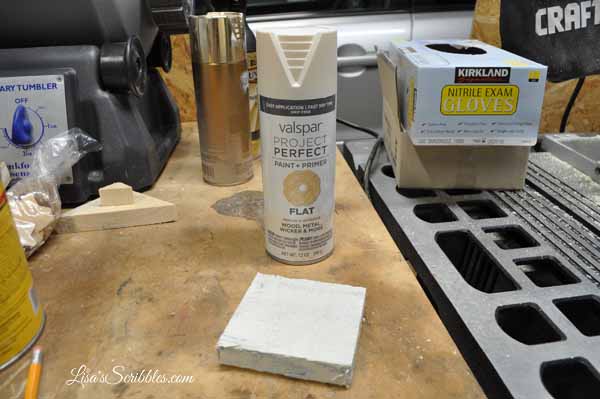
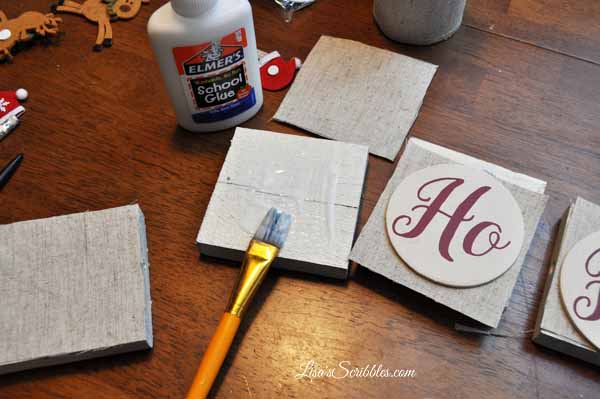
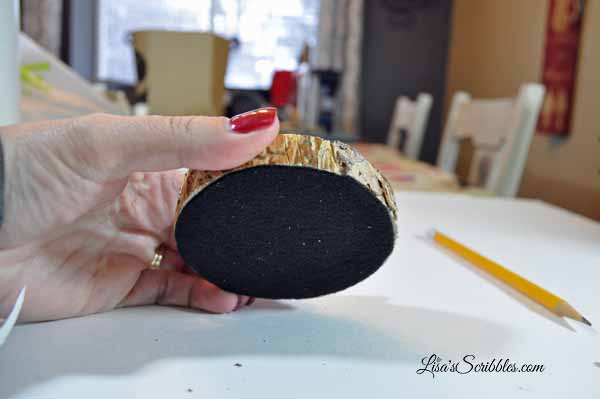
After they had dried, I added a top coat to protect them from moisture, but next was adding some felt to protect the bottoms from scratching wood surfaces. 

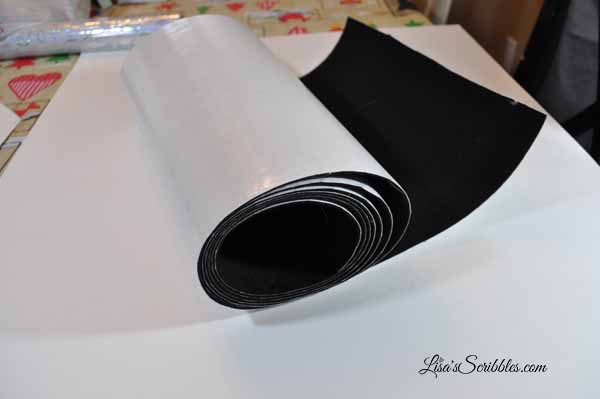
I purchased a roll of adhesive backed felt from Amazon and used a canning lid to cut out the round circles I’d need. 


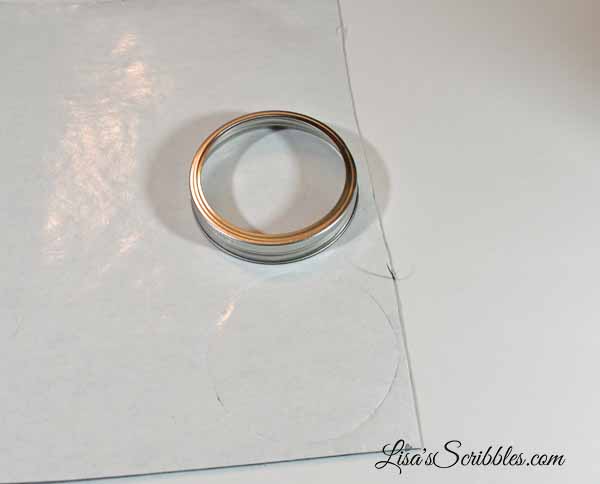
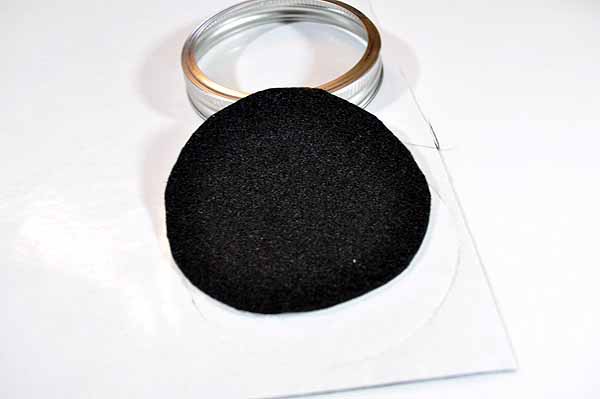
One thing to note it that all wood branches are not created equal. I know I shouldn’t need to explain myself, but I will. The canning lid is only a template, once you have your coaster ready, you’ll need to likely retrace around it and then cut off the extra felt. 

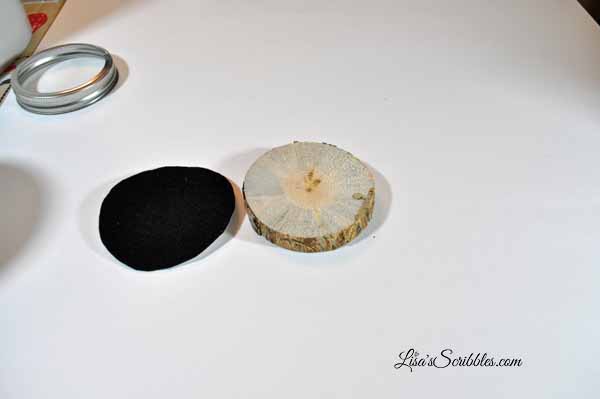
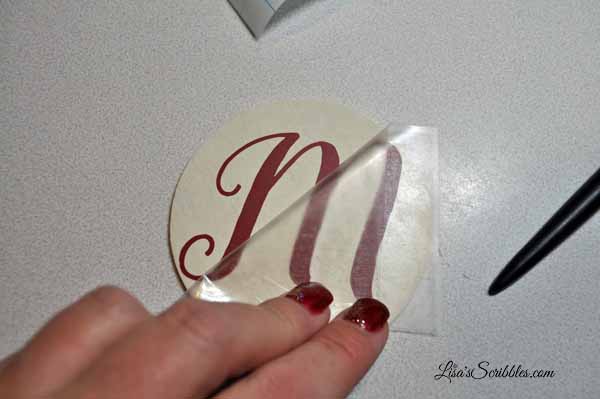
Once you’ve made your adjustments, then just peel away the paper backing and secure it to the coaster.

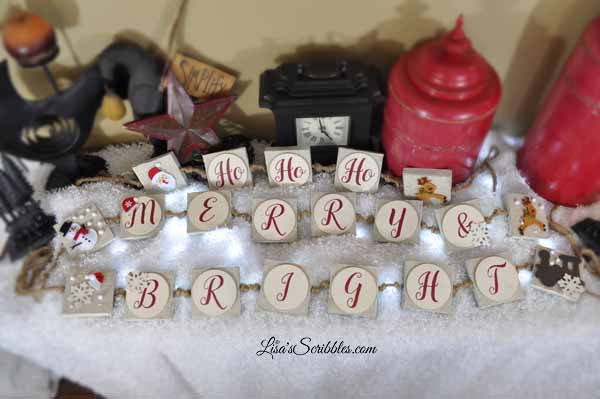
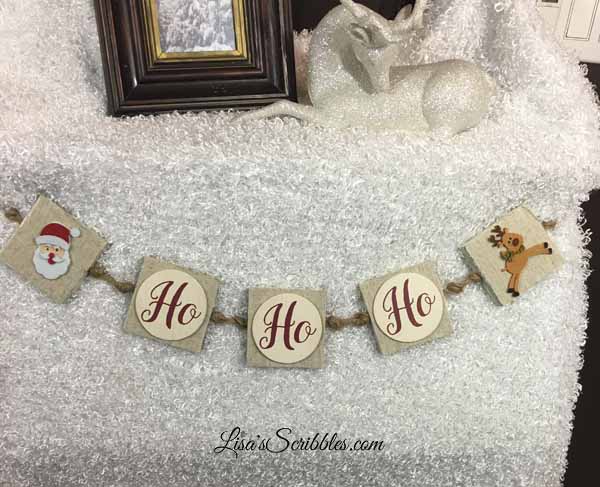
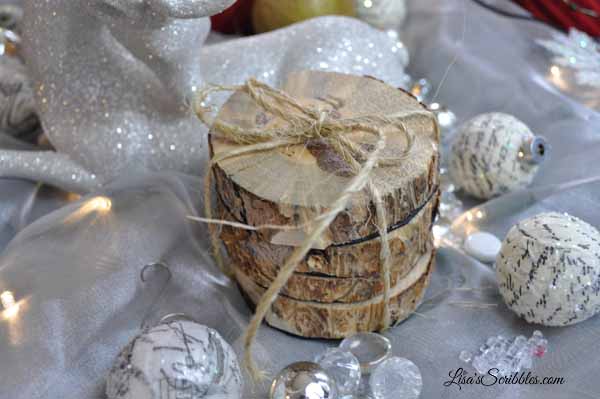
What you end up with is a custom, super cute Rustic Woodland Coaster.

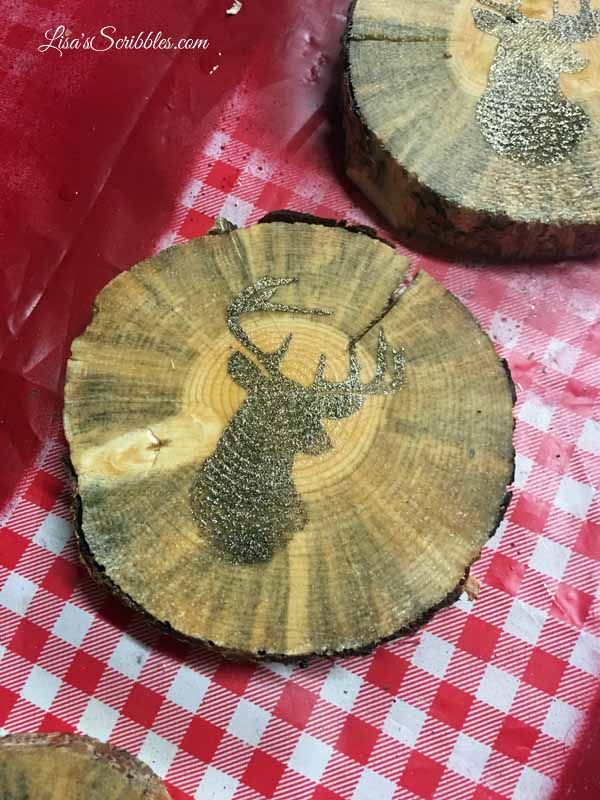
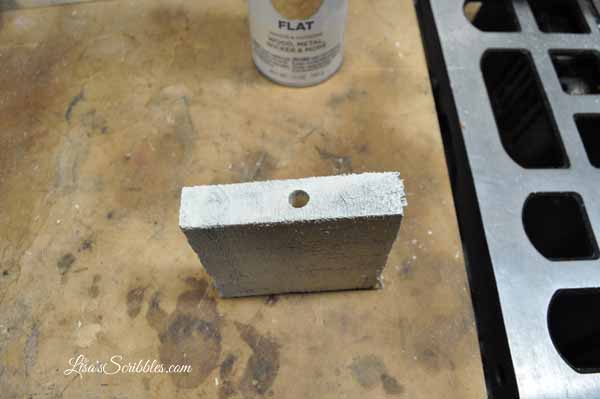
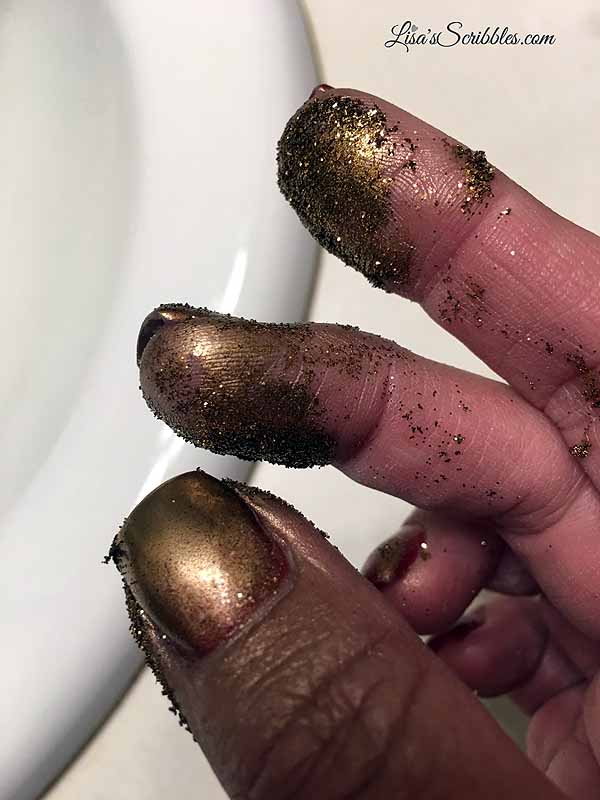
I used a bit of gold metallic paint on this one. 

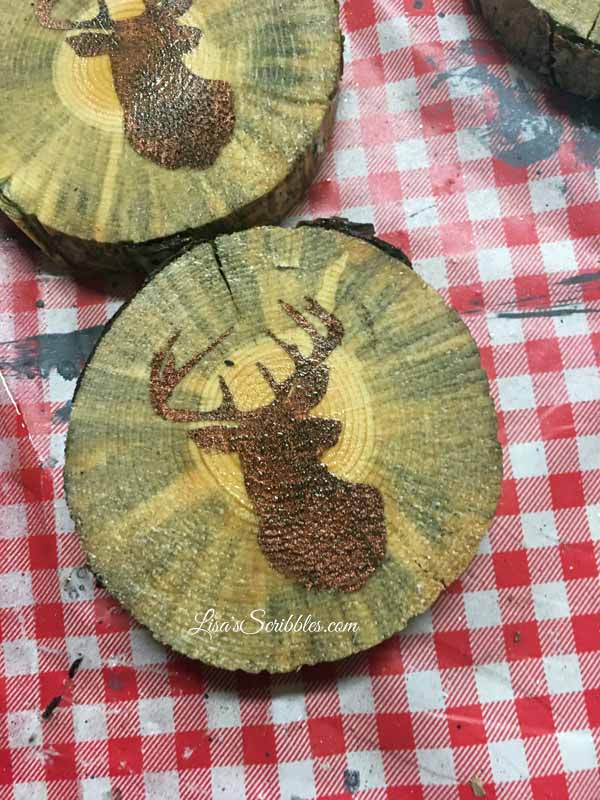
And with this coaster, I added red metallic paint.

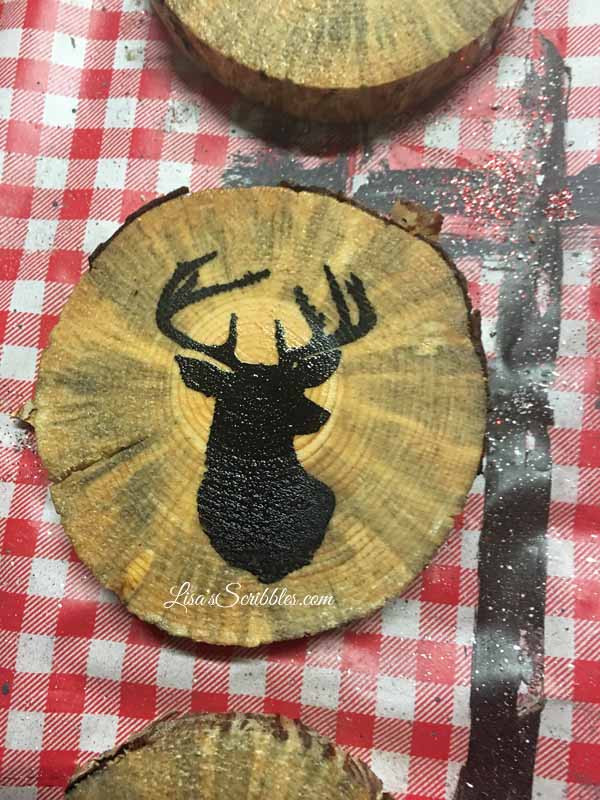
Of course the classic black always looks stunning too.

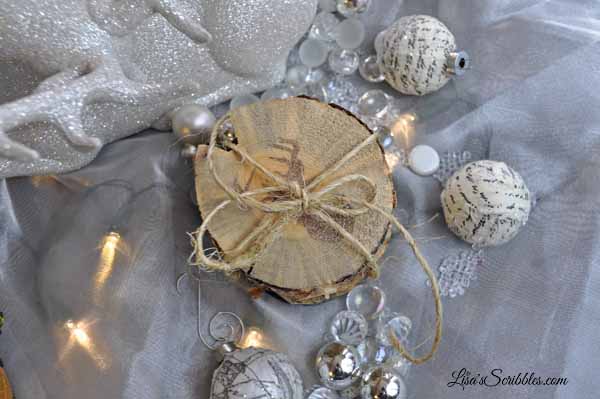
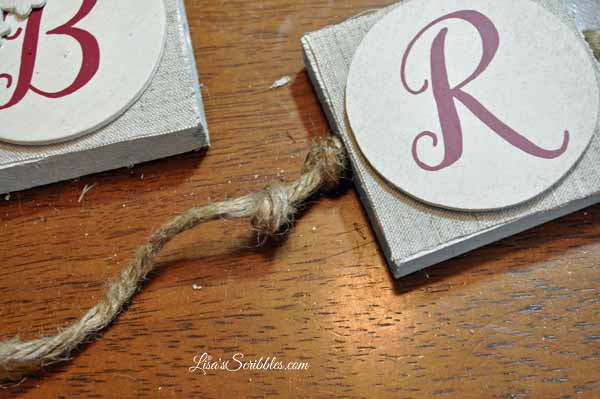
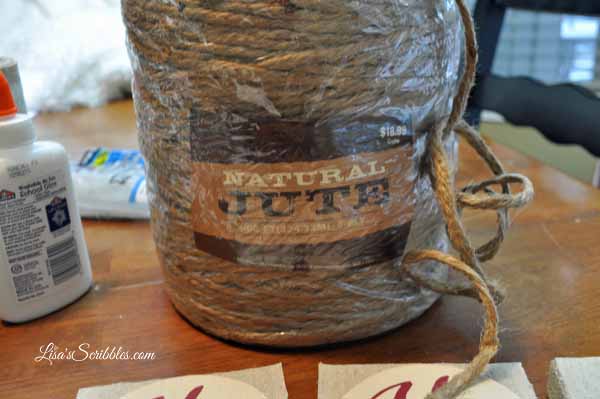
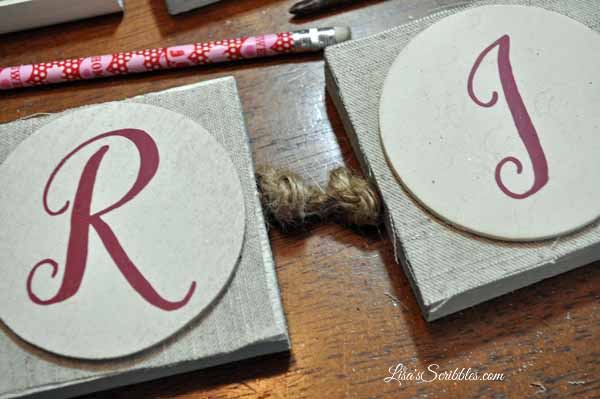
Afterward, you can tie them up with some twine in groups of four and give them away as Christmas gifts. 

I’m thinking this will be a nice addition to our family room too. What about you? Would you keep it or give it away?


Until next time… Toodles!

DIY Rustic Garland

As promised, here’s another post for your own DIY Christmas and this time I’m highlighting some homemade wood garland that takes on a rustic feel. It’s super cute and super easy to make too! You ready? Cuz I am!!!

So back in October I was in one of my local furniture stores and caught sight of some wood garland that made me take notice and brought out the creative side in me once more. Immediately I knew I had to make this and share it with you, my readers! 


Pretty cute, right? Well not only is it cute, but super easy to make too!

I started out with some pallet wood (I’ve got quite the stockpile anymore), and cut it into 3 1/4 x 3 1/4 inch squares.  I just took the width of the wood and cut it to the same length so I’d have squares. 

I then measured the wood (width size) and found the center point for me to drill holes. And see that drill press over there? I used it to make it easier and faster than using my hand drill, but if a hand drill is all you’ve got, then use it!

After drilling the holes, which I determined the proper size by the thickness of my jute, I stained them because I wanted the stain to show through a little bit on the painted wood. It gives it more of that rustic feel. I also didn’t choose a piece of pallet wood that was perfect, as in smooth and without flaws. I wanted this to be rustic and flawed, kinda like me…the flawed part that is cuz lord knows I’m not that rustic yet! 

I picked out an inexpensive flat paint that already had the primer built into it and chose to spray it because #1- I’d be faster, and #2- because the texture of the wood was pretty rough.

I next painted the small wood circles I used for the lettering on the garland. I purchased a pack of six wood discs for just a couple bucks at Walmart.

Again, I wasn’t perfect on the painting process, rustic is the key word here. After spraying them and letting them dry, it was time for the creativity to shine through! And boy did it!

I purchased some linen ribbon that came in a roll from Walmart because I liked the texture of it. You could also use some burlap, as I think that would be super cute too as a backdrop, or you can buy linen by the yard at Walmart for under $3 per yard.  I traced each square piece of wood separately on the material and then cut it out. 

Using some handy dandy Elmer’s glue, I spread it out across the wood and then adhered the fabric to it. 

Then the fun part, determining what I wanted my garland to say.

I used my Cameo Silhouette and cut out the letters to size, peeling away the backing so I was left with the vinyl lettering. 


Then using some contact paper, I adhered the lettering to the contact paper to transfer to the wood discs.


I then carefully peeled off the contact paper and as the vinyl adhered to the wood discs.

Using my glue gun I then glued them to the square, fabric covered blocks. And from there I got little creative with adding some additional pieces containing deer, Santa and the like. 

Pretty snazzy, right? This is where you can let your creativity soar! 

Once I was done with all the lettering and adding the additional touches, it was time to string my rustic garland.

I went for some thicker natural jute because I liked the look and feel of it. 

I was also sure to make loose knots on either side of each piece that was used.

I also made adjustable knots on the ends so I could lengthen or shorten it if needed depending on where I hung it. I also quickly found out that I didn’t have any one surface long enough to string them out properly! At least not where it wasn’t freezing cold outside for picture taking!


I’m thinking it’s pretty Merry & Bright? What about you? 


There you have it, a quick and easy DIY project you can make at home for your own decor or a gift for someone else. I think I’m keeping this one for a change, sorry family, maybe next year. 

Want/need another DIY Christmas project that’s sure to please? Well, wait till I make my next post… DIY Rustic Coasters!

Until next time…Toodles!

DIY Christmas – Rustic Trees

So I’ve been busy lately, really busy making Christmas gifts and rustic Christmas decor for the home. And let me tell you, you won’t be disappointed! So get ready, cuz over the next three blog posts, I’m going to be posting some DIY Christmas projects that might just help you out in a pinch for those final gifts or decor of your own.

Let’s start with my new little Rustic Christmas Trees. And then let me continue by telling you that they weren’t supposed to look like this…nope, they were supposed to be bigger! The hubby was helping me out this past weekend, and I brought in a bunch of pallet wood with a design in mind to create a large tree for the front porch. I got busy working on about 50 other projects, because who really wants to focus in on one thing at a time, and he began cutting some pieces for me. By the time I took notice and realized they were much small than I intended, I was absolutely in love with them! 

Pretty cute already, right? All it took was me seeing the pint-sized wonders, and I was all over it! I then hurriedly made my way out to the shed in search wood to use for the trunk and something to make a stand out of. It didn’t take me long to find some old spindles from a deck removal we did a few years back and some smaller pieces to be used for the base. 

Once I had everything I needed, we started the process of cutting the pallet wood using 45-degree angles. 

The first cut was at a 45-degree angle.

The second cut was straight giving us the top of the tree. 

The third cut was similar to the first.


I wanted everything at odd numbers, odds for some reason always look better.

For the second branch of the tree, we cut it at another 45-degree angle.

And here’s the important cut, you need to take off just a small cut on the top of the second piece of the tree, so it will butt up against the first.

Like so.

Pulling out the measuring tape, we ended up with 7-inches.

You keep repeating this process each time. The third branch is measured out at about 11-inhces and then cut at a 45-degree angle. 

With the final cut coming in at 13-inches.


I then took the old deck spindle and measured it to about 19-inches, taking care that both ends were square. 

We then placed them on the spindle and nailed them in place with my pneumatic stapler using long enough staples to go through all the wood and hold it securely. 

Once all the branches are attached, it was time to add the base so it could rest on a table top or floor without falling over.

Resting it directly against the back of the floor stand wouldn’t work, so we added a small spacer behind it to give us the right amount of clearance. 

We went with an 11-inch base to give it the support it needs, so it won’t easily topple over.

And secured it in place again with the pneumatic stapler.

See, it stands up all by itself. 

Now here’s where your creativity shines. I decided to stain the entire tree because I wanted parts of the stain to show through when I rough sanded it a little at the end.


Add some green paint and let dry.

I used my Cameo Silhouette to make a stencil so I could paint words on the trees. Now, if you’re good with painting free-hand letters, go for it! I don’t do that well with it so I use the tools I have to make it look good.

I also decided to add a wood star to the top of it and painted it gold. Little did I know that the bottle of glitter would explode and I’d be covered in it. lol

And little did I know that it would only take 5-minutes for little Miss Taylor Tot to hit the tree with her tail and break off a star…but have no worries, all is well and fixed. 

Fresh cut trees is rocking the star.

And He Is Born looks good with a little shimmering glitter.

And The First Noel? Sparkle, sparkle, sparkle.

I’m also thinking ‘O Holy Night looks good in a little silver.

A little glitter to make the season bright…yup, I like how they turned out. Don’t you? Another easy, peasy DIY Rustic Christmas decor item to add to your list. I know the list of people wanting one from me is quickly growing. 

And guess what’s coming your way tomorrow?

Until the next blog post… Toodles!

DIY Christmas – Custom Wood Signs

I’ve been on a roll this week with making wood signs, let me rephrase that, custom wood signs for my family and friends that fit some of them to a tee. You’ve seen them, they’re all over Pinterest, knock-offs from Pottery Barn, Pier One and the likes, plus original creations with a little twist like my friend, Judy does over at Vintage Street Designs. She’s got a store on Etsy and sells them at a reasonable price too! I’m not up for selling mine, just wanted to make them for Christmas and do a number of other projects around the house. I was able to score my Cameo Silhouette for an awesome Cyber Monday deal.

So this post, it’s not really a “how to” kinda post, it’s more like this is what you can do if you have a vinyl cutting machine–the creativity is limitless! 

As I mentioned, I scored my Cameo Silhouette on Amazon for an amazing Cyber Monday deal, and to my surprise, they’re still offering it as I’m posting. You can click here to check it out: Cameo Silhouette on Amazon.

Here’s what I got:

Screen Shot 2015-12-10 at 1.11.54 PM

It’s an awesome starter kit that also contained a $25 credit to the Silhouette store, which I used every penny of it up! It gave me enough sample materials to complete a few projects and get the hang of things, but believe me I’m still learning. 

To start off with I dug through my supply of scrap materials of wood, some of it from pallets and others from the remodels I’d completed, and put together signs all various shapes and sizes.

Christmas signs001

I first measure the length and cut 3 pieces of pallet wood.

Christmas signs002

I laid them out all nice and neatly in a row.

Christmas signs003

Then I used my nailer to add support strips on the top and bottom.

Christmas signs005

Then I took my sander and smoothed out the surface to try and make it as smooth as possible.

Christmas signs006

I then added a coat of paint in the color of my choice and let it dry.

Christmas signs008

I then used my Cameo and cut out the design onto the vinyl. I pulled off the letters, which left me with a stencil and then applied the application tape. You need this to transfer your stencil to your surface, it’s just too flimsy otherwise.Christmas signs009

I then aligned it and used my spreader to push it onto the surface.

Christmas signs010

The fun then begins as you pull the application tape off. I found that sometimes the vinyl stuck really well to the surface, and other times not so much. So take care when you peel it off, go slow so you don’t tear the vinyl in the process.Christmas signs011

This is what you’re left with, a beautiful stencilChristmas signs012

I used a stencil brush and dabbed it onto the surface.Christmas signs015

I also choose to mix mine up a little and stenciled “Christmas” in red paint and then added glitter.

Christmas signs017


Christmas signs019

Yup, a little glitter goes a long ways!

Christmas signs021

After the paint was dry, I peeled off the vinyl and here’s what I was left with. Pretty cute, right?

Christmas signs024

I got on a roll and the designs kept flowing!

Christmas signs025


Christmas signs026


Christmas signs027


Christmas signs028


Christmas signs029


Christmas signs030


Christmas signs031


Christmas signs032


Christmas signs033


Christmas signs037

So again, if you’re family or friends and reading this, act surprised when you receive your Christmas present this year. Off to finish the rest off!

Toodles!

DIY Christmas – Glass Ornament Decoupage

So I’m at it again, this time it’s glass ornaments I’ve had lying around forever. A few years back I found a pin on Pinterest showing old book pages being decoupaged to glass ornaments and I thought that would be pretty cool…until I tried it. In theory, it should have worked, but in reality it didn’t. Why? The old book pages were too thick to adhere to the glass bulb, so I tossed the idea aside until recently when I was cleaning out a cabinet in my office and came across the ornaments again. An idea struck me and that’s where it all started.

To begin with I gathered up the remaining glass ornaments.


Christmas ornaments013

Then the supplies of decoupage glue, tissue paper and glitter of course. 

Christmas ornaments014


Christmas ornaments012


Christmas ornaments015

I cut my tissue paper into strips and then into smaller squares or rectangles. 

Christmas ornaments017

I then pulled the ornament hanger clip off and found a straw to help hold it upright while I coated the glass bulb with the decoupage glue. FYI – your fingers will get coated with the glue and glitter. 

Christmas ornaments020


Christmas ornaments022

Once the bulb was completely coated, I then applied strips of the tissue paper randomly over the surface ensuring it was completely covered. You will overlap the tissue, it’s all good in the end, I promise. 

Christmas ornaments023

As I applied the tissue paper I spread more of the decoupage over the tissue paper to smooth it down. 

Christmas ornaments024

Once it was completely covered in the tissue paper, I then sprinkled on some glitter because everyone needs a little bling in their life! Okay, besides needing bling in your life, I did it so it would sparkle when the Christmas tree lights and sunlight hit them. 

Christmas ornaments016

Once dry, I then reattached the ornament hanging clip to the top and smiled at my creation. 

Christmas ornaments031

Pretty cute, right?

Christmas ornaments028


Christmas ornaments027


Christmas ornaments029

And how do they look on the tree? Well, you tell me… 

Christmas ornaments010


Christmas ornaments009


Christmas ornaments032


Christmas ornaments006

I liked them so much I grabbed some mini silver ornaments I’d used in the past and decoupaged them too!

Christmas ornaments008

Some made it to the tree while others became table top ornament decorations.

Christmas ornaments007


Christmas ornaments001


Christmas ornaments002


Christmas ornaments003


Christmas ornaments005

Makes you want to repurpose some of your old ornaments, doesn’t it? 

Toodles!


DIY Christmas – Custom Decor Candles

Want to give your friend or family member that special gift that comes from the heart? Well, I got another idea for you to run with for your DIY Christmas – A Custom Decor Candle. Yeah, I know Scentsy is the big thing now, everything wickless, but sometimes your want to have a candle to add to your decor because it’s simply so beautiful. I have an easy way to either update your old candles, or create a magical gift for the family and friends in your life. 

candle-creations026

So I made these little beauties at the same time as I was Upcycling glass jars for Christmas gifts. I used some of the same supplies; ribbons, embellishments, old earrings and some upholstery tacks.

candle-creations041

I started with some candles I purchased at Walmart. The large ones are scented, the smaller are unscented. Hobby Lobby had candles as well, but I was looking for the least expensive variety.

candle-creations040

I gathered together my supplies.
candle-creations039

Ribbons, tacks, some jewelry making supplies. 

candle-creations008

A few things from the paper crafting aisle as well.

candle-creations038

Cuz seriously, who doesn’t want some bling in their life?

candle-creations012

I then used the ribbon of choice and secured in the back with some upholstery tacks. They add a nice touch too, don’t you think?

candle-creations017

After securing the ribbon, I embellished with a variety of my supplies.

candle-creations025

A little paper crafting supplies with the flowers that I attached using a glue gun, and then some bling to dress it up.

candle-creations032

I used a tack on the front to hold the tassel and key in place for this one. 

candle-creations028

And this got a little of everything.

candle-creations019

And then I decided to mix things up by using some wire.

candle-creations018

After adding a little bit of jewelry to the front, I secured it by twisting the wire on the back.

candle-creations030


candle-creations023

A little bling, a little ribbon and wa-lah! You’ve got yourself a beautiful handmade gift that will be cherished. 

candle-creations016


candle-creations015


candle-creations014

This little embellishment was an old earring from my niece that I added the charm to.

candle-creations020


candle-creations011


candle-creations029

Now who wouldn’t want to display them on a shelf or tray in the bathroom? Or even in the living room or dining room. 

candle-creations027

Yeah, I’m gifting these away this year. So if you’re family/friends and you’re seeing this post, guess what’s coming your way!

Toodles!