Category Archives: Seasonal

Fence Picket Pumpkins

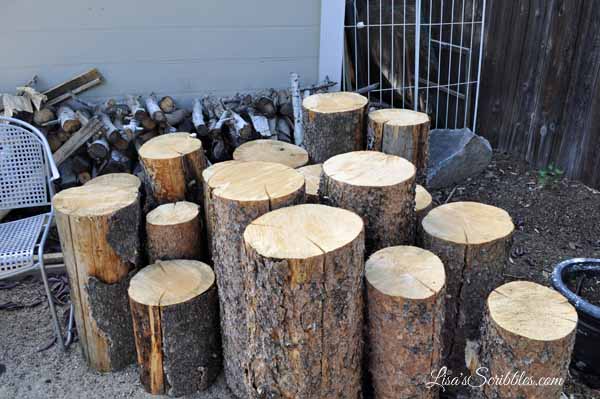
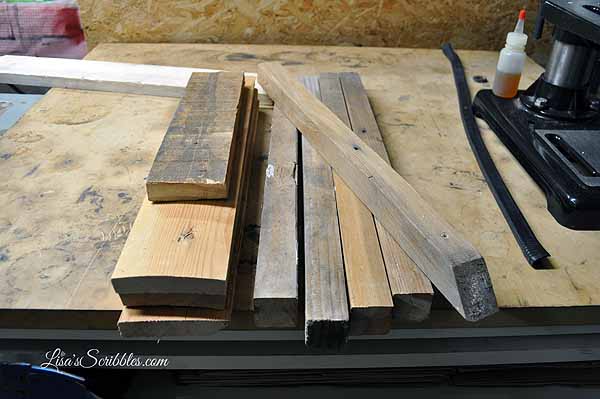
This is what happens when you tear down a fence and have tons of old fence pickets that can either go to the dump or be recycled. This is also what happens when you save them and the hubby gives you that exasperated face and says, “What are you up to now?” Of course, I relay my plan and get “that look”, you all know what I mean. It’s a cross between you’re crazy and this is what I’ve had to put up with for thirty years. Yup, my most favorite expression on my hubby’s face.

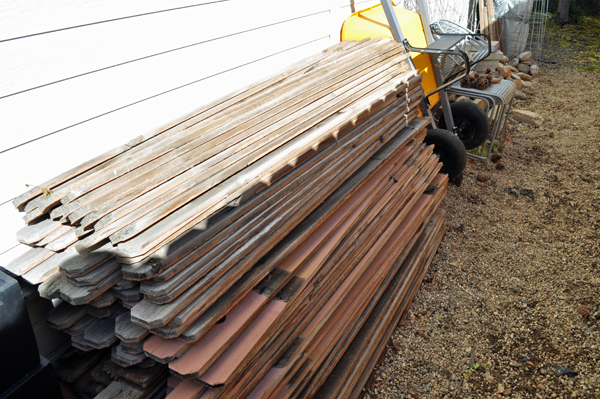
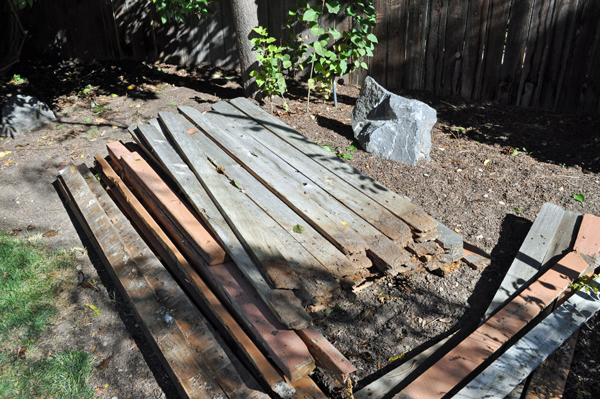
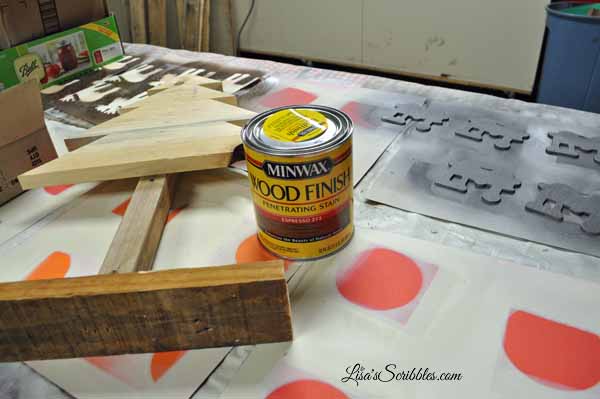
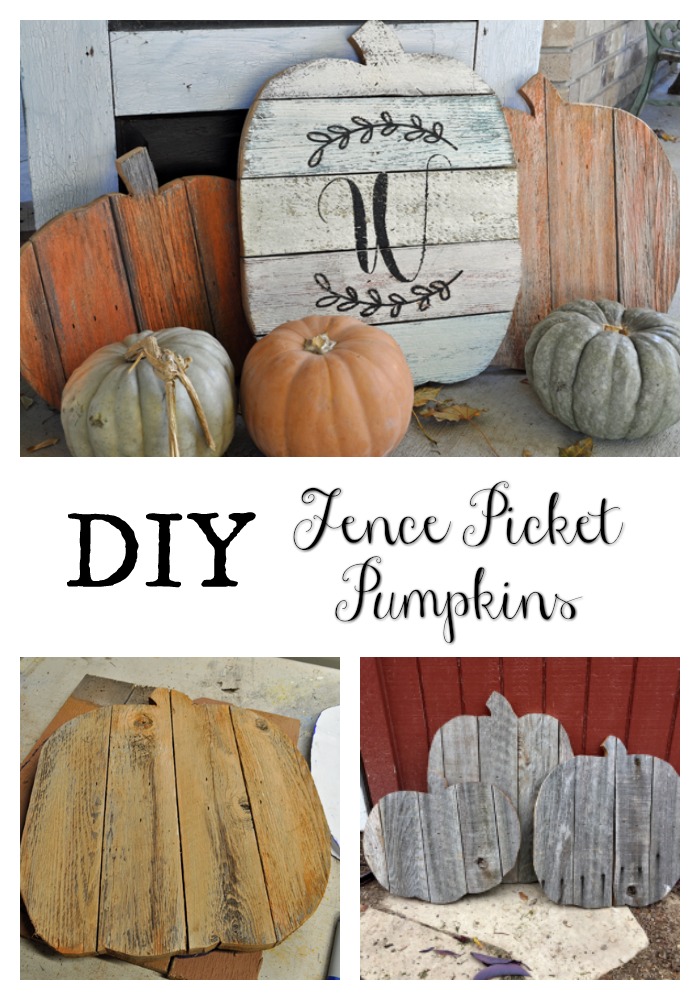
So anyhow…I had a ton of old, perfectly weathered I might add, fence pickets that needed to be dealt with, which is where I started my search online getting all kinds of ideas of what these could become. Since it’s fall, and since I was seriously lacking in the fall decor area for the front porch, I decided to go for some pumpkins because they could take me all the way through Thanksgiving. I’d seen lots of ideas using pallets, but something about these cedar fence pickets with all their texture told me this was the right choice. And the bonus part? The pickets already had an orange stain on them! 

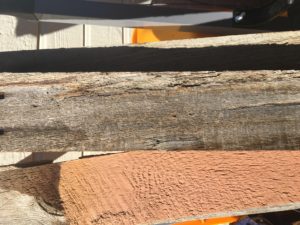
Don’t worry, that orange stain was on the neighbor’s side of the fence not mine for the last 22 years. Whew! 

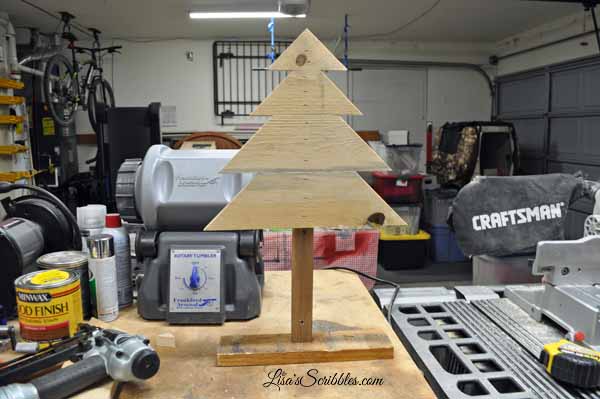
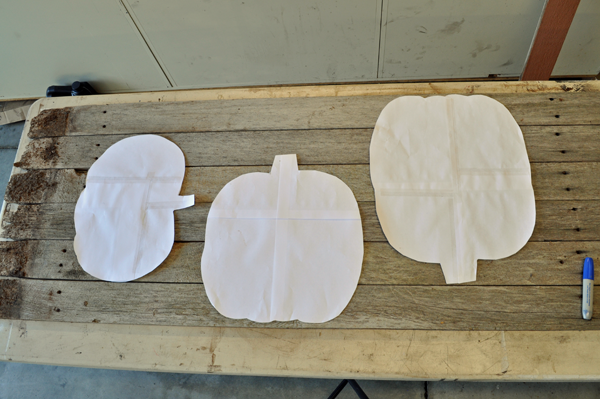
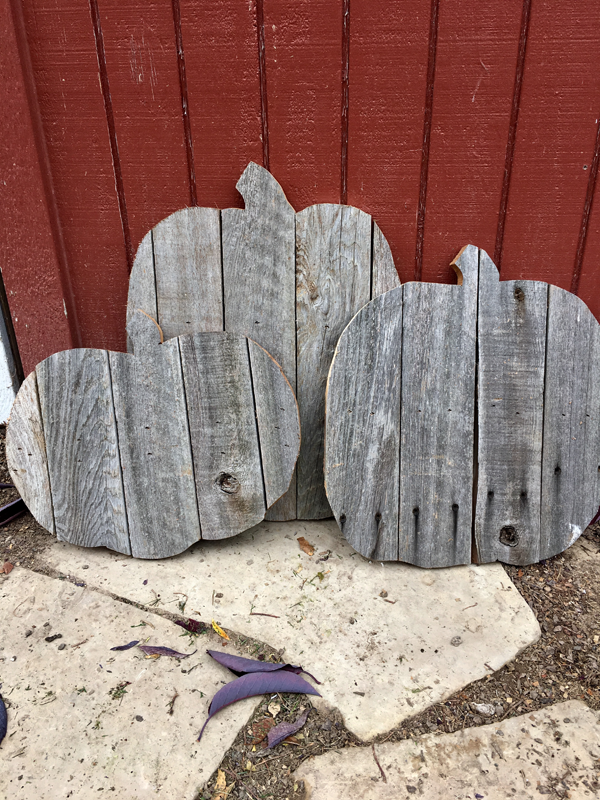
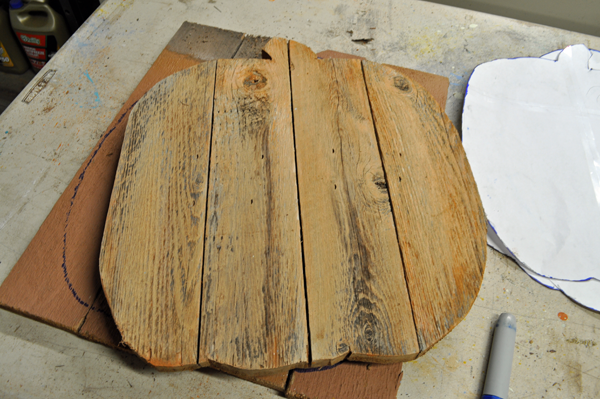
To begin with, I created my pumpkin templates by taping 4 sheets of 8.5×11 paper together. I then drew pumpkins and cut out the shapes. The pumpkin sizes are 13″, 16″ and 19″ from the stem to the base.

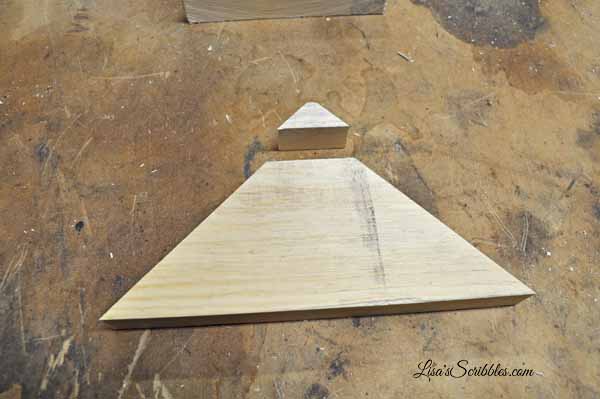
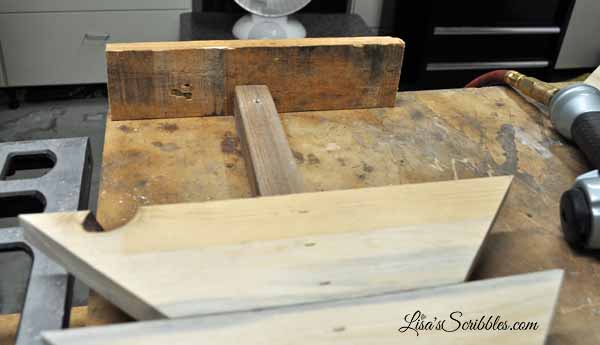
This first batch of pumpkins and their stems needed some improvements, which as you can see below I fixed. 

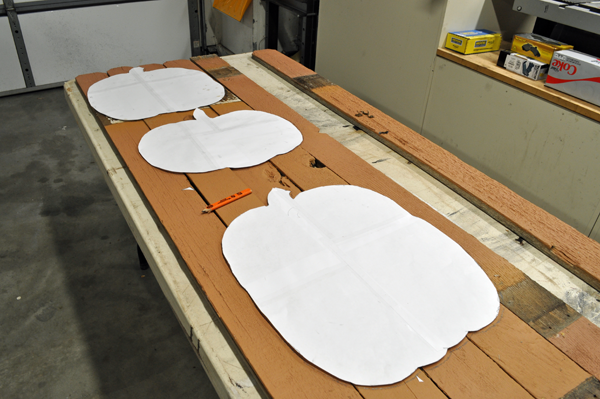
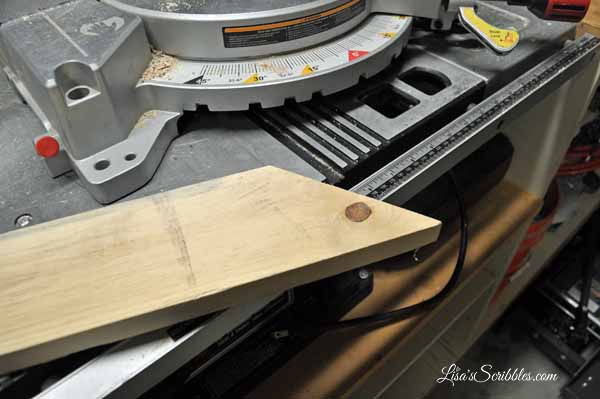
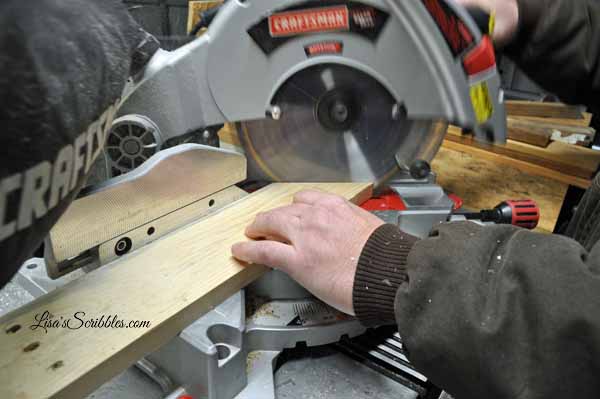
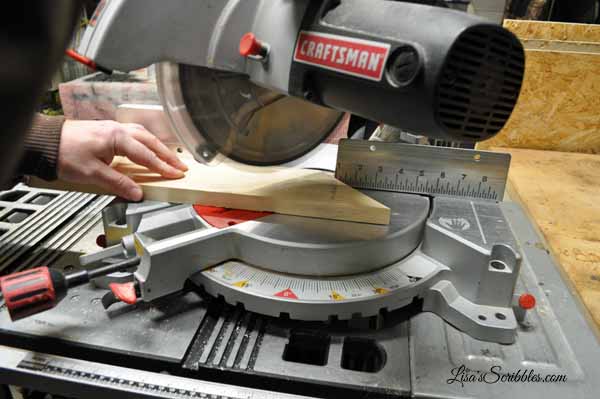
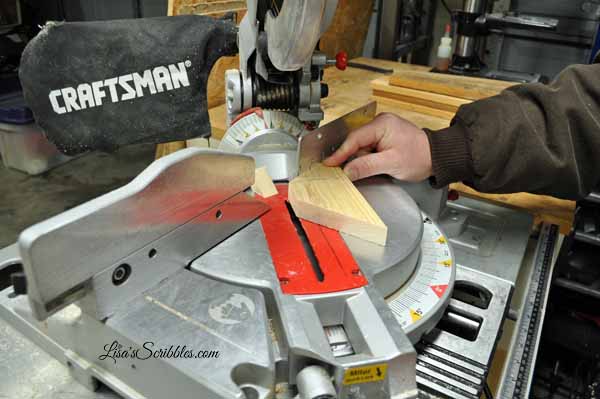
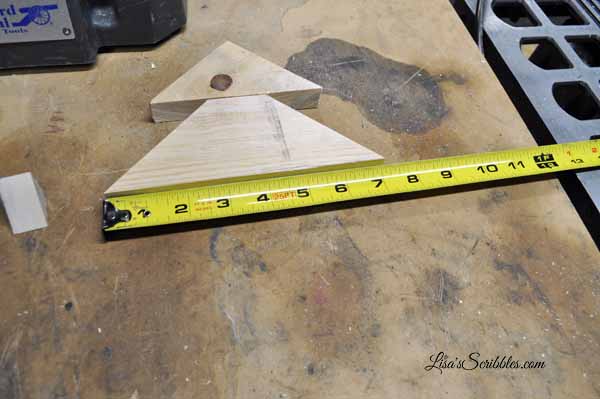
The first go around I made the smaller pumpkins with the boards in the vertical position and the large one horizontal. I later decided I liked them all better with the vertical positioning best because it gave the most “realistic” appeal. I also found that if I cut the fence pickets down before tracing the pattern it made my life easier when it came to cutting the pumpkin shape. 

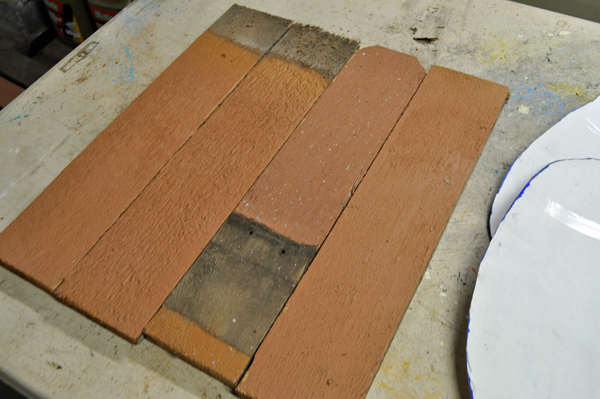
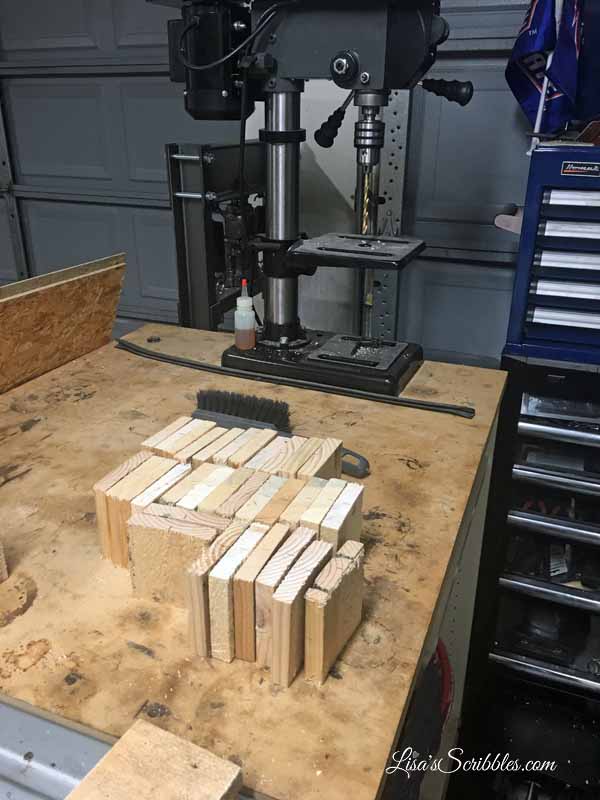
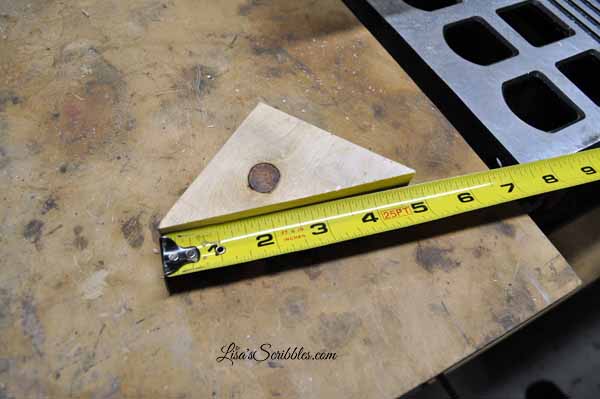
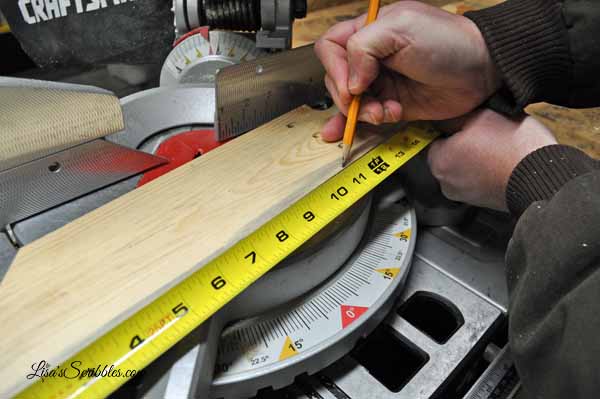
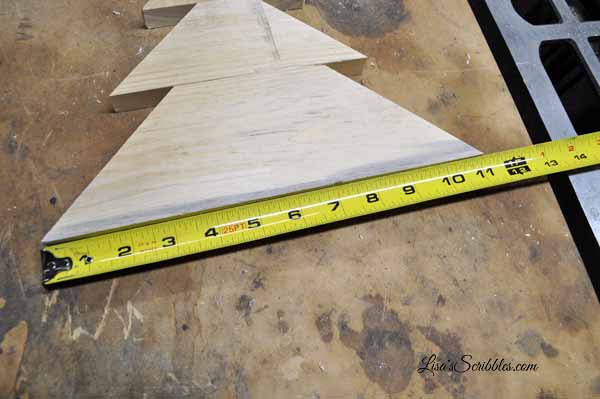
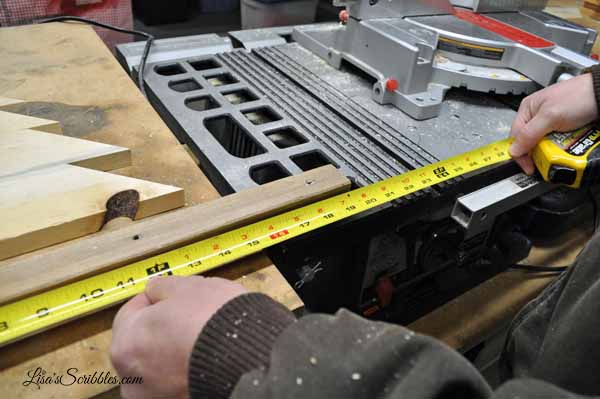
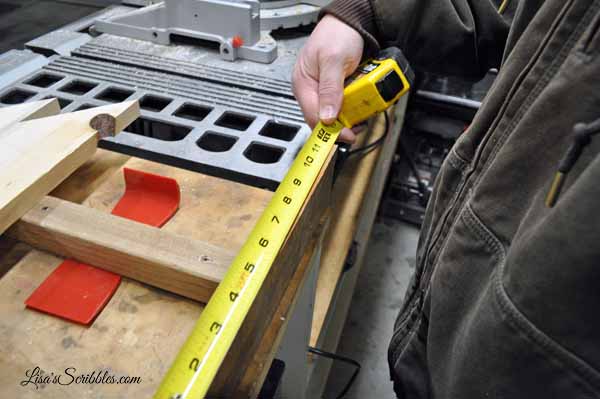
I used 4 fence pickets for each pumpkin and could get a total of three pumpkins out of the four pickets.  I made my picket cuts at 16″, 18″ and 20″. This gave me plenty of room to trace around them. 

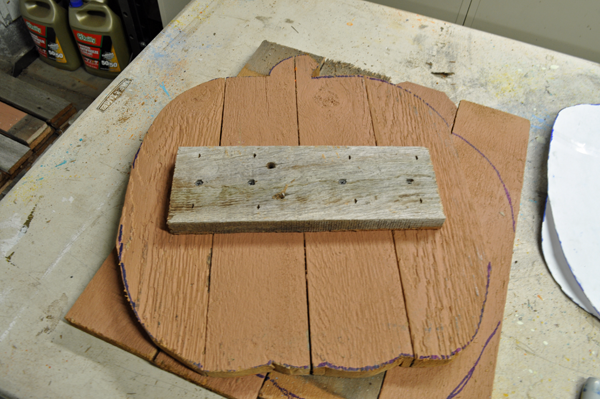
*Important note here, be sure to trace the pumpkin on the back of the material. This will make it easier not only to cut but also to add your support and ensure everything lines up properly.

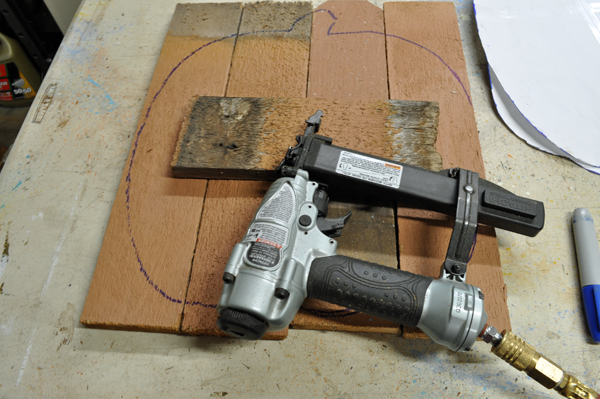
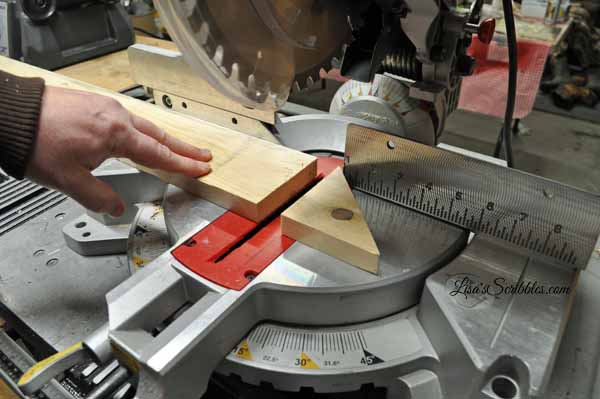
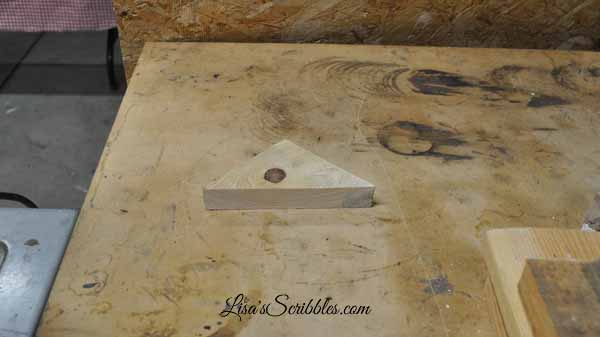
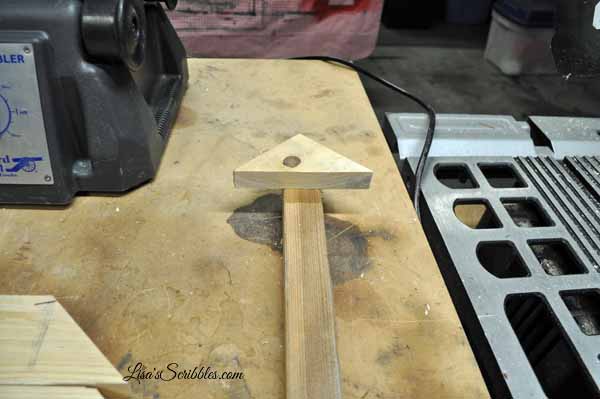
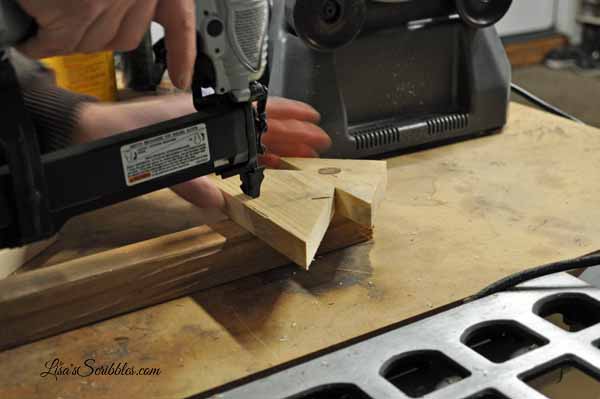
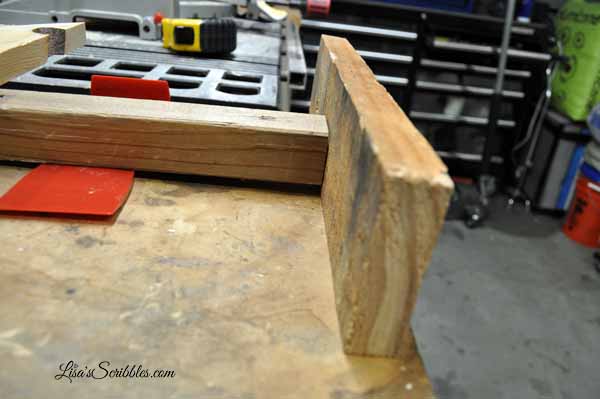
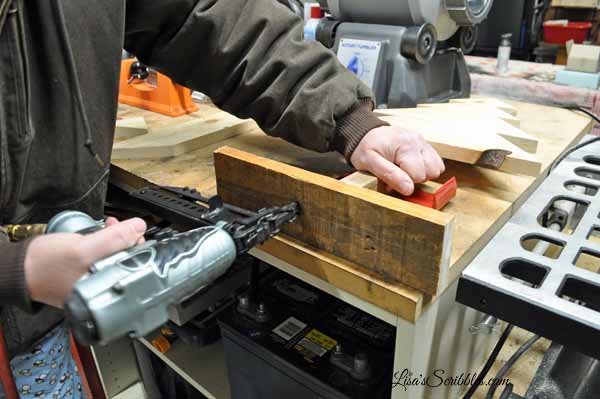
I used the scrap pieces from the fence pickets to add the support. I glued them in place and then used 2 1/2″ staples to secure it together. 

I then found it best to use my jigsaw to make the cuts. You see this picture here? This was the first one I did and traced it on the front…much harder this way. And, FYI, this is my grandfather’s jigsaw that was passed down to me. Somehow I think he’d be proud to know I use it as much as I do. 

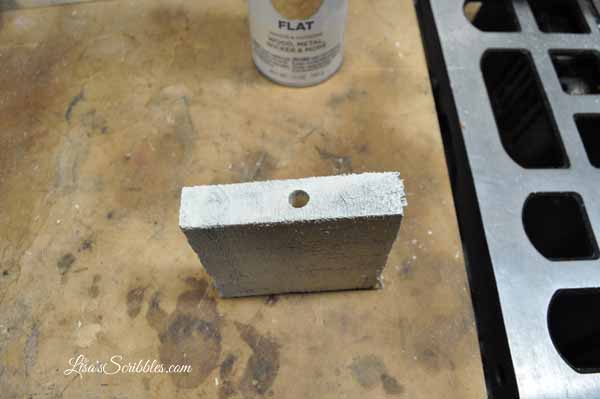
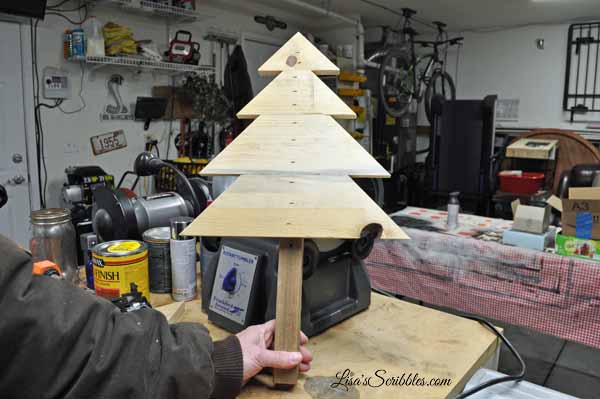
This is what the backside of your pumpkin will look like once you’re done. 

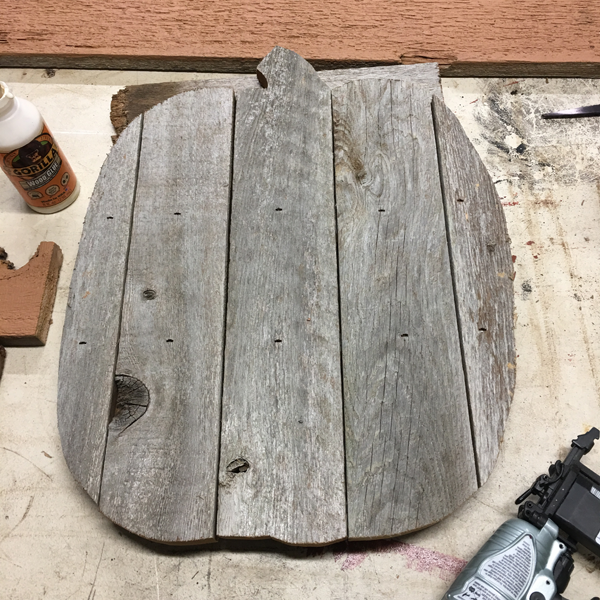
Another important note, I used two support brackets on the larger pumpkin to give it some stability. I also didn’t make a base for these pumpkins as I wanted them to lean against something, but you could create a base quite easily if you wanted. 

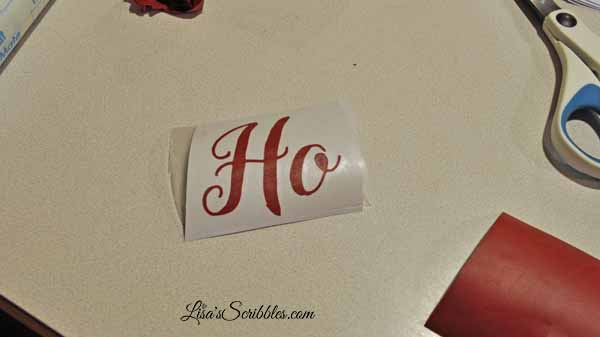
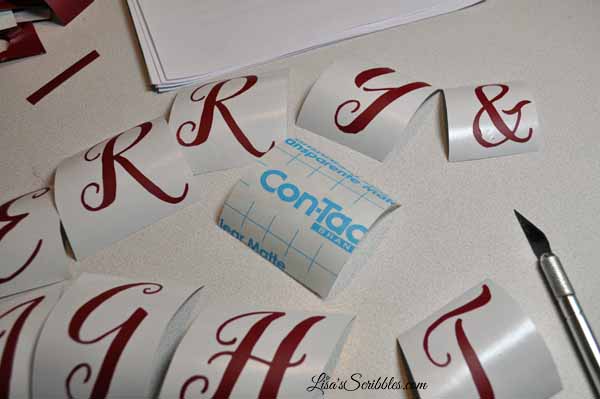
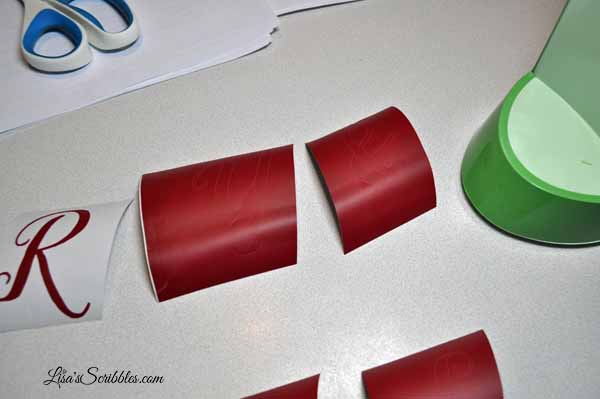
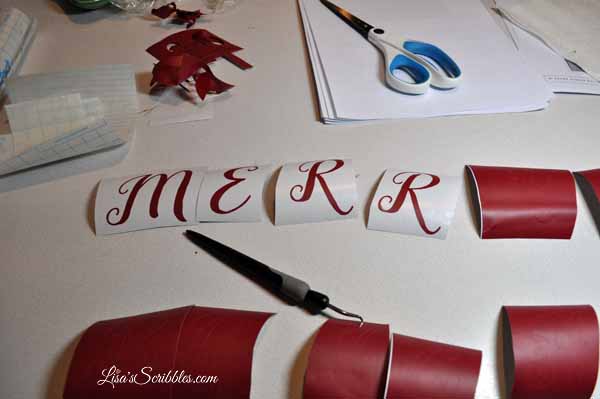
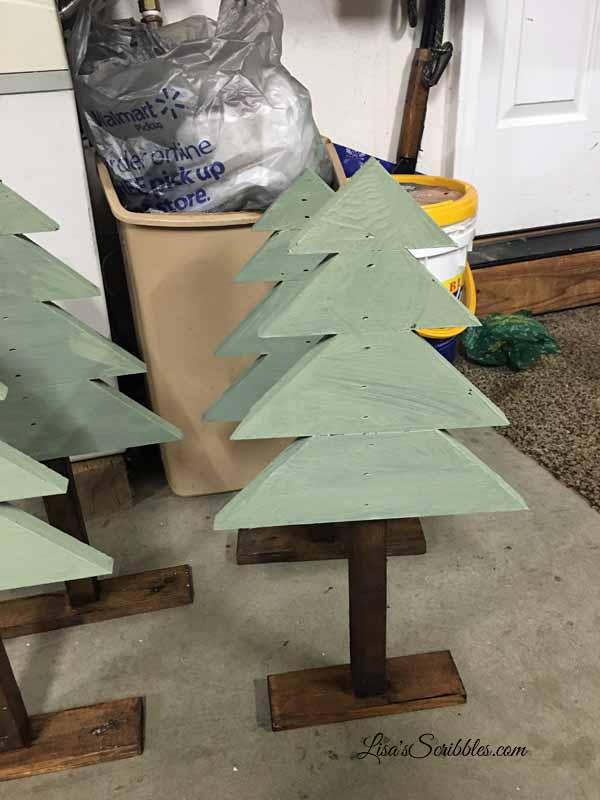
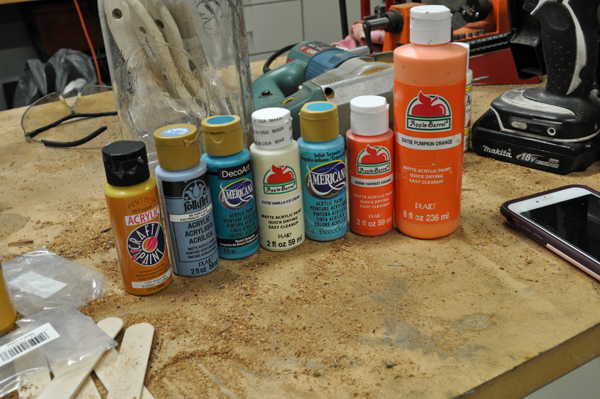
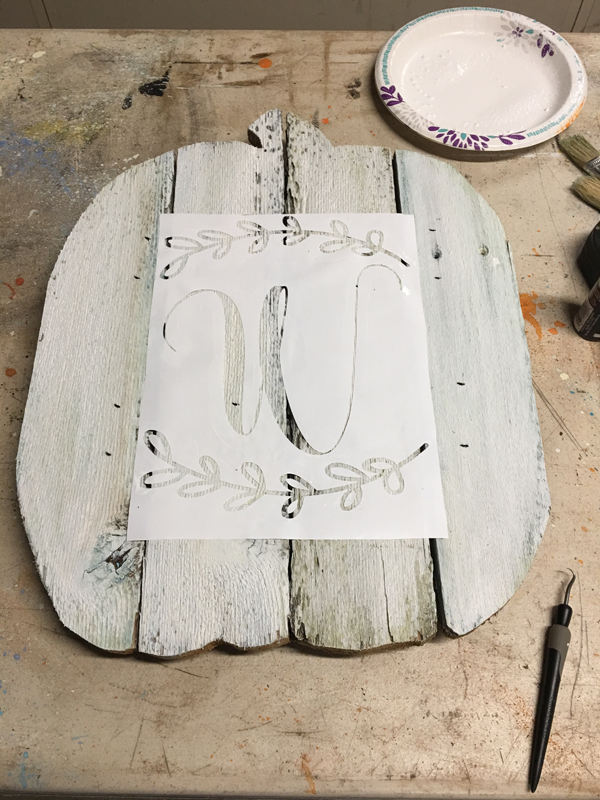
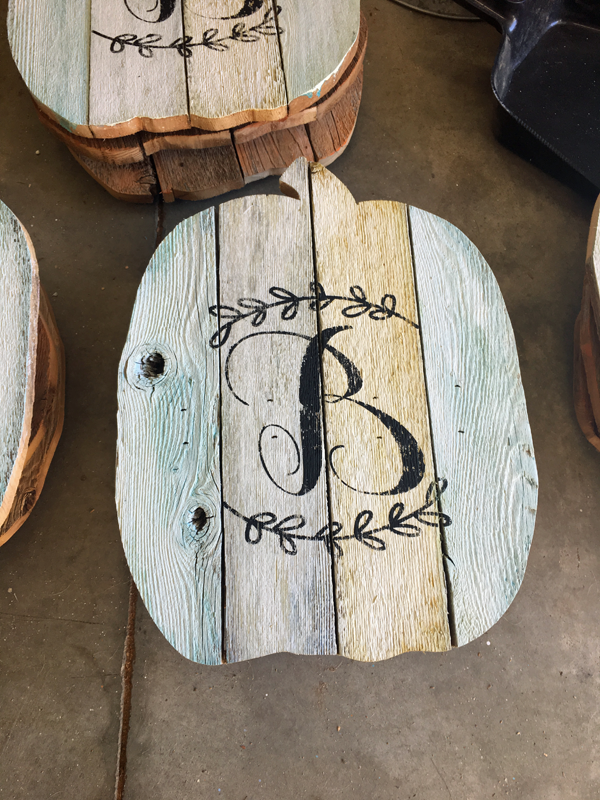
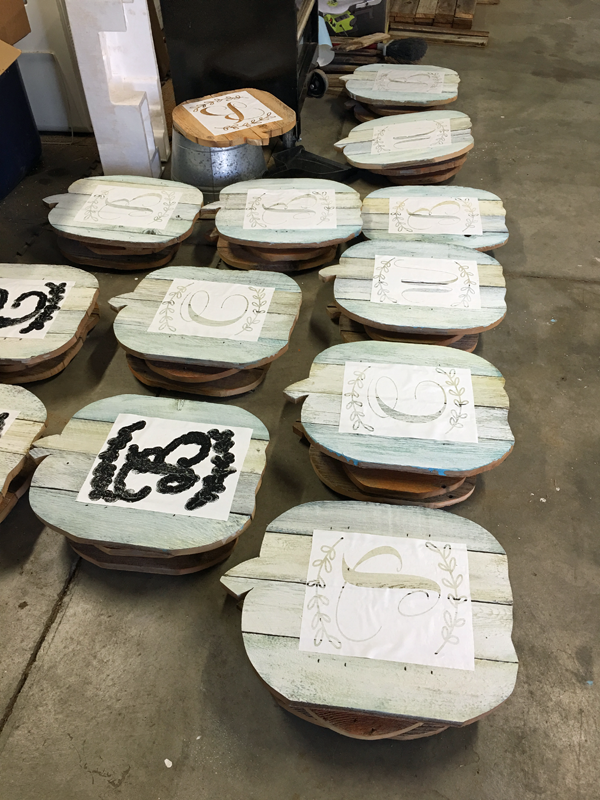
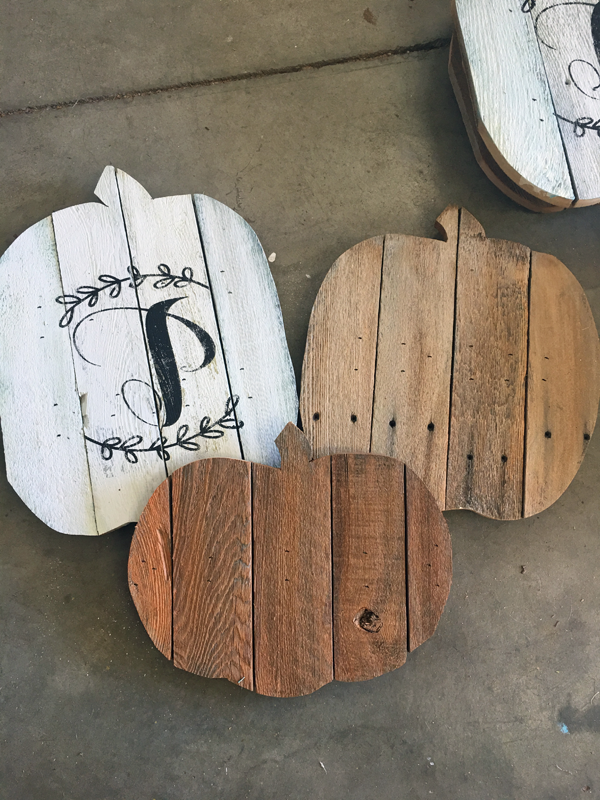
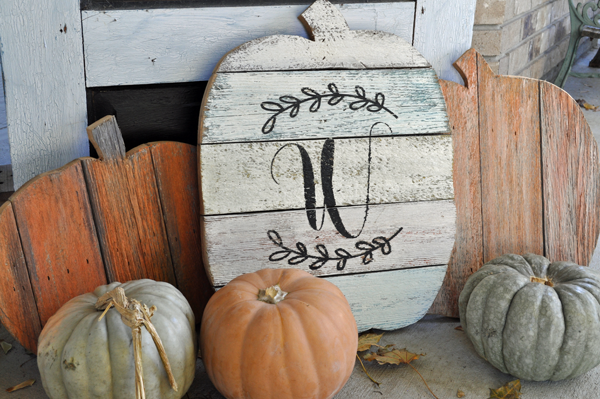
Now here comes the fun part, you can either leave them as they are, or you can paint them and stencil on them like I did. 

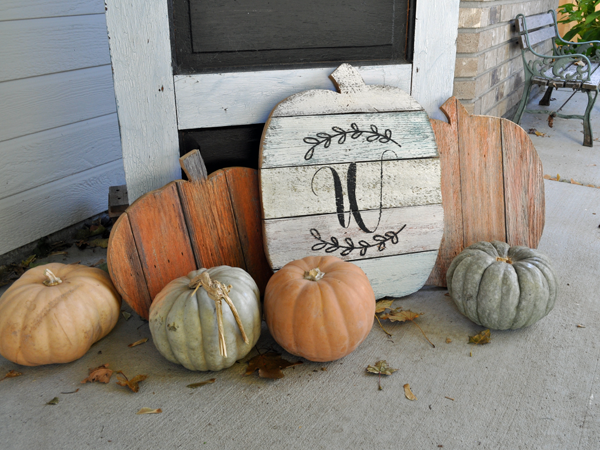
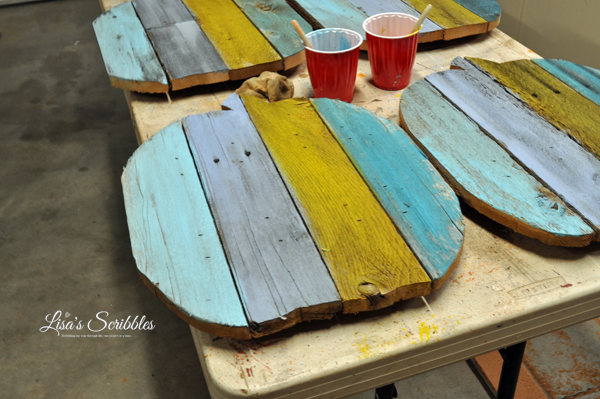
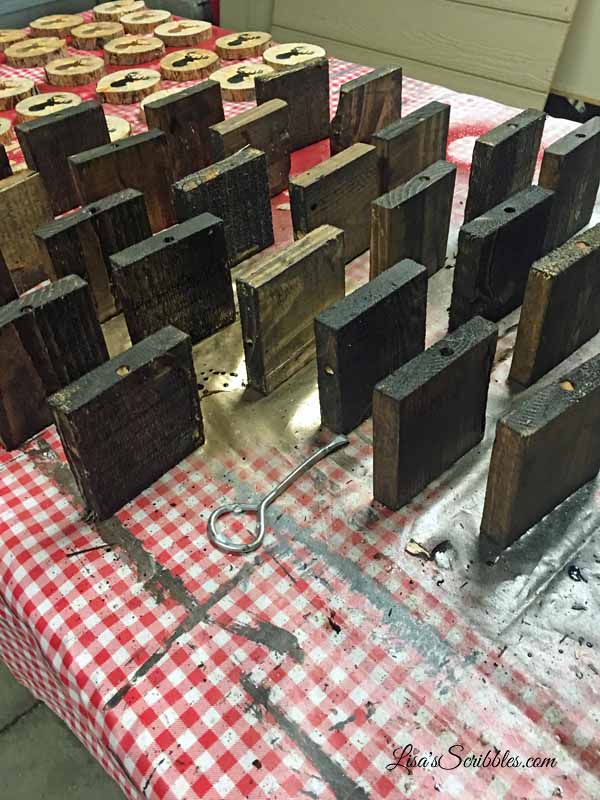
A little bright I know, but I then whitewashed them and they turned out so cute! 

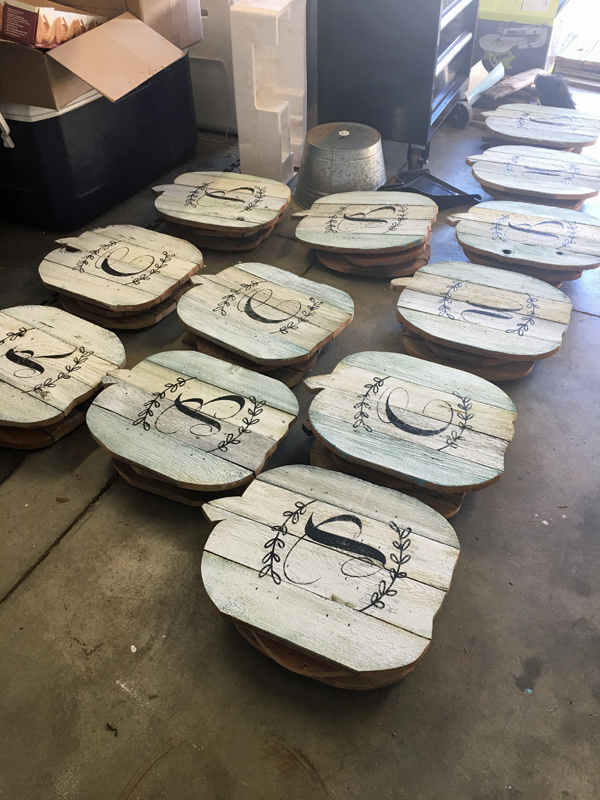
Add a stencil and it changes even more.

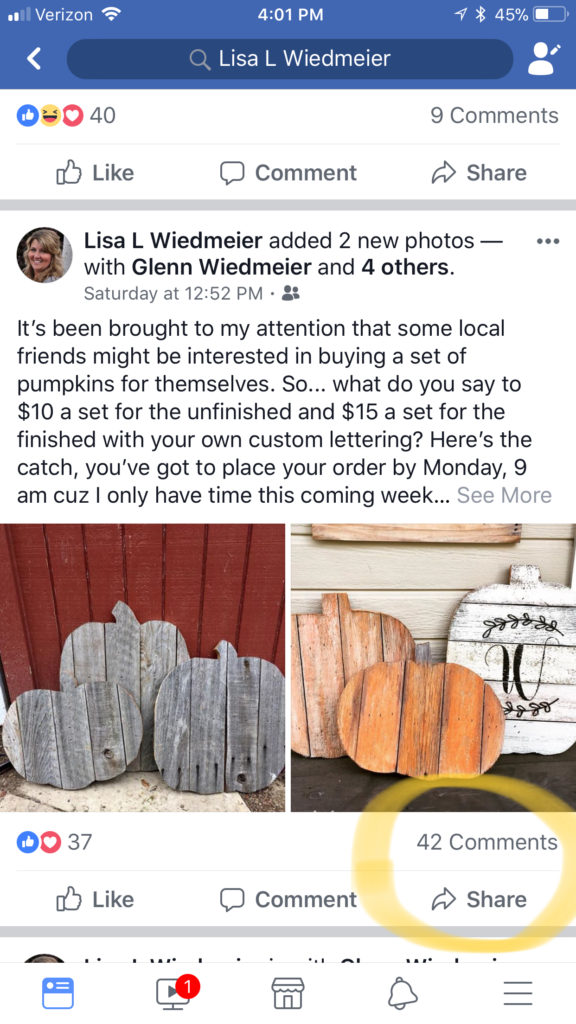
Then post your finished project on Facebook and see what happens…your friends will go crazy for them! Seriously! On a whim, I threw out a post saying I’d sell some to my local friends–my local friends totally blew me out of the water with a number of orders that came pouring int! Seriously, (yes I said it twice and just a few sentences apart!) I had to stop them at 15!! And you know what? I’m still getting messages asking if I’ve opened up orders again!


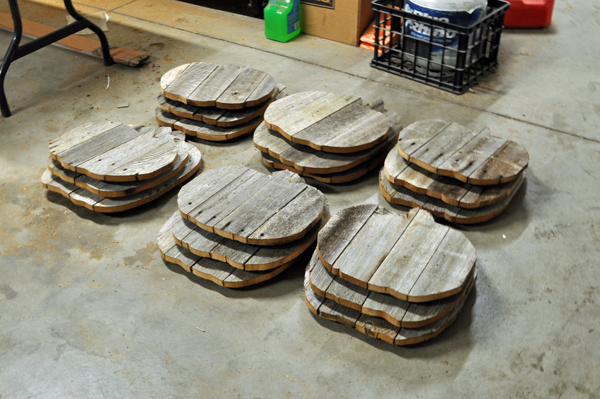
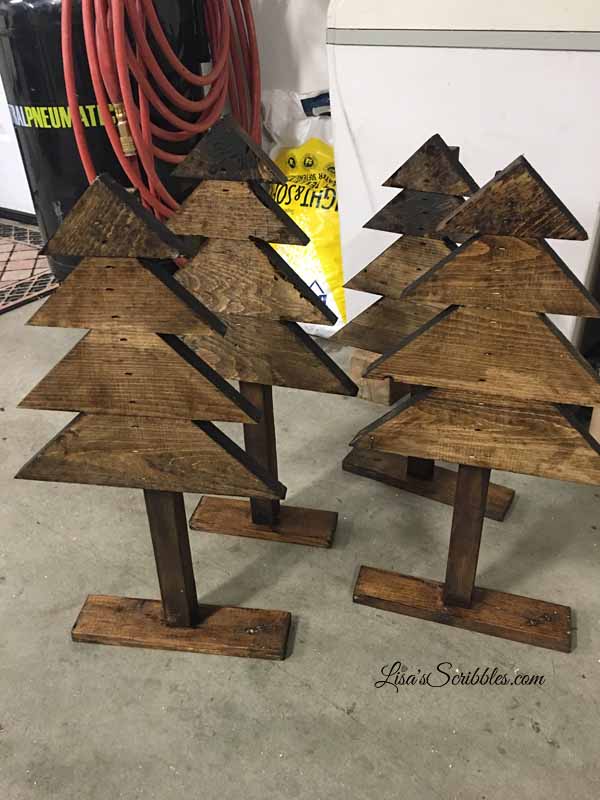
I was starting my own wooden pumpkin patch in the garage! Which of course the hubby made reference to that he couldn’t walk through it.

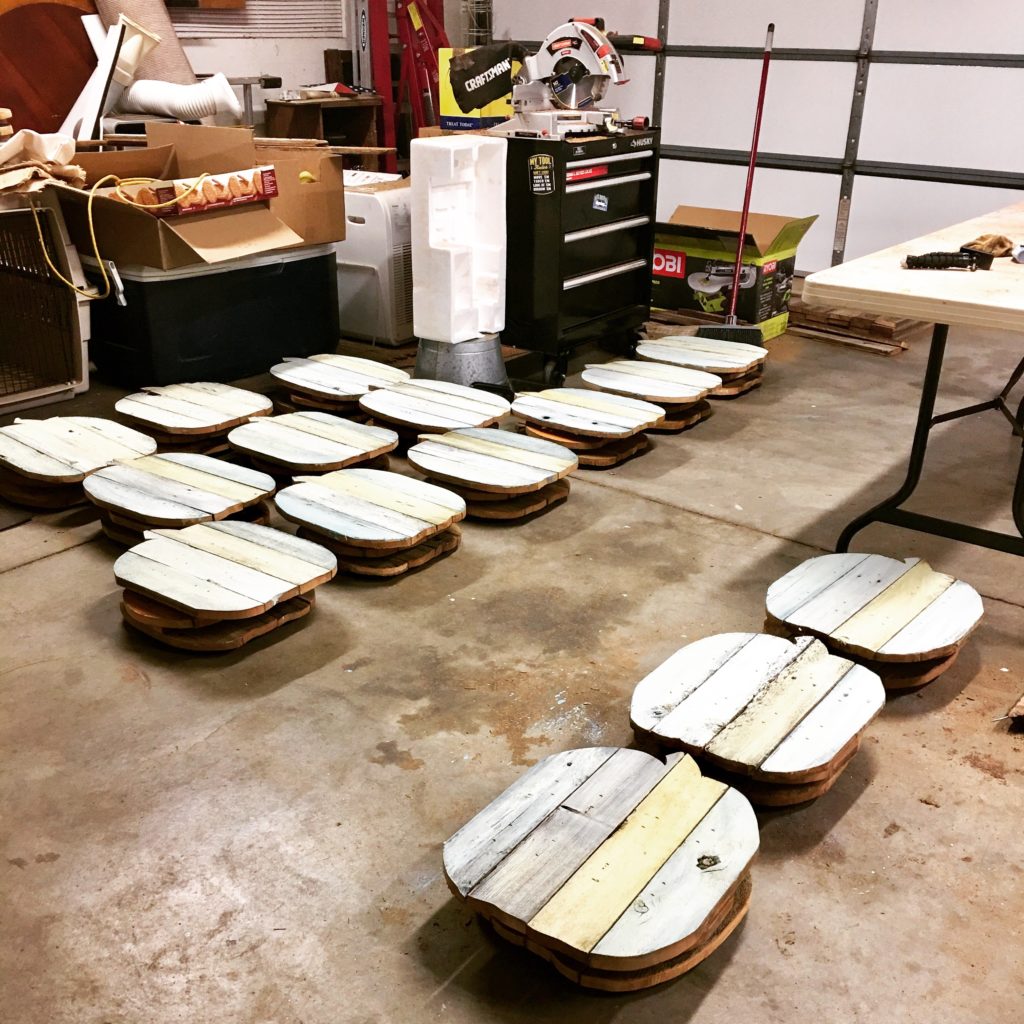
I clearly see a path though, don’t you? 

They’re like bunnies and multiply!


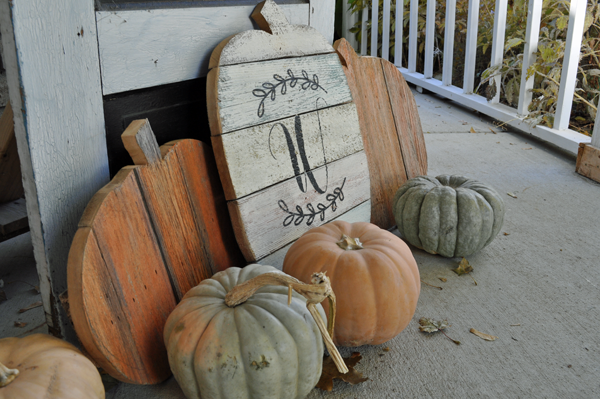
Makes you want to start your own wooden pumpkin patch, doesn’t it? 

Toodles!

Pom-Pom Fall Wreath

I know it’s been over 8 months since I’ve posted last, but sometimes life happens and inspiration has to take a back seat whether it’s what we want or not…

So, moving on, I just have to say that I’ve fallen in love with this cute Pom-Pom Fall wreath. It’s funny how things come back around and get an update in the process. I remember making Pom-Pom’s as a kid and putting them on my roller skates and now look at what other talented crafters are doing with them! So much inspiration to behold! I can’t say this is my original creation, as I first caught the idea from Michael’s Craft stores, but like everything I do I put my own twists on them and create something perfect for my taste. So sit back and #fallforthis cute Fall Pom-Pom Wreath!

I’m first not going to say this was one of those “cheap” crafts because it wasn’t. I’m not a knitter so I didn’t have yarn on hand to use, I did have to go out and buy the yarn and I have to admit that I got a little crazy with it, cuz that’s just the way I roll when I’m in the craft stores. With all that said, I was able to use a 20% off my entire purchase coupon at Michael’s, so that helped a bit. 

To begin with, I choose lighter colored yarn and used the smaller of the two styrofoam wreaths. 

I also made an investment in these little pom-pom tools. I liked the size variations and the overall design. The directions on the package themselves were a bit confusing, but once I got the general idea of it, it went pretty smoothly. You can watch the short video I made to show you. 

I know it’s a super fast video and I can hear the questions already, so I’m just to throw some answers out there… Depending on the thickness of the yarn itself determined how many times I wrapped it around the tool. Thinner yarns were wrapped 3-4 times, thicker were wrapped 2 times. I choose not to go too thick on them because I was hot gluing them to the wreath form and needed them to get a little flat on one side to lay down properly. I was lazy and didn’t want to trim down the backs of the pom-poms when I could push the fluff to the one side.

I sat in front of the tv while I wound the yarn around the tool, it didn’t take much effort and I really didn’t need to concentrate too hard on it either. 

Once I had a stack of them made, I pulled them all together and then chopped off the longer pieces I used to tie them with so they’d be uniform in size when I placed them on the wreath. 

I grabbed my glue gun and got ready to attach the pom-poms.

I had two different sized wreaths that I tried. I liked the smaller, half rounded wreath as I felt I didn’t have to use as many pom-poms and they lay a bit better on it as well too. 

There was no particular reason for the way I placed the pom-poms on. I just eye-balled them to get the look I wanted. 

Before I got too far I added a holder to the top to hang it from. Check out my video below to watch me make the larger version of this wreath. 

It didn’t take too long for the wreath to take shape. On this second one, I decided to add a bit more color by choosing deeper hues of yarn that resemble fall more for me.
 
 
Pretty cute, right? 
 
I got pretty inspired by this project, so be prepared to see more pom-pom oriented projects in the near future. 
 
 
Toodles!  

DIY Christmas – Rustic Woodland Coasters

I think I’m on a roll with the whole Rustic Christmas theme this year, don’t you think? And I’ve got another one for you that’s fairly painless because you can either cut your own coasters or you can buy plain ones at places like Hobby Lobby, Michael’s, Target, Bed Bath & Beyond, Walmart and even Amazon carries them for anywhere from $4.99 to $14.99. Now how you decorate them will depend on #1 -your abilities, #2 – what tools & equipment you have on hand, say like a Cameo Silhouette machine

What got me started on this little project was all the wood my boys brought home this past fall. We’re going to be using part of it for my son’s upcoming wedding in April, but I also had some other ideas for the smaller pieces that I thought would make cute gifts.

I dug through the pile of wood and located smaller branches that I knew would be perfect for my Rustic Woodland Coaster.

Most of the pieces had extra branches poking out from the sides, but it was a fairly easy remedy as I just cut them off with my chop saw before hand. 

Once I was ready to do some assembly line cutting, I first measured out how thick I wanted them to be and settled in at 1/2 an inch. I use painters tape to mark out a line on my chop saw so I could just start cutting and not worry about measuring each one. Again, these are rustic, so having them perfect each time isn’t necessary. 

As you can see some of these had branches that still needed to be chopped off. It was easier on this particular branch to wait until they were in smaller pieces to cut them off. 

I got quite a stack from just one branch.

Then came the fun creative part. I made a deer stencil from my Cameo Silhouette and then used my basic black craft paint to fill it in. I let it dry and then pulled the stencil away to reveal a deer head. 

I had quite the assembly line going here too. 

After they had dried, I added a top coat to protect them from moisture, but next was adding some felt to protect the bottoms from scratching wood surfaces. 

I purchased a roll of adhesive backed felt from Amazon and used a canning lid to cut out the round circles I’d need. 


One thing to note it that all wood branches are not created equal. I know I shouldn’t need to explain myself, but I will. The canning lid is only a template, once you have your coaster ready, you’ll need to likely retrace around it and then cut off the extra felt. 

Once you’ve made your adjustments, then just peel away the paper backing and secure it to the coaster.

What you end up with is a custom, super cute Rustic Woodland Coaster.

I used a bit of gold metallic paint on this one. 

And with this coaster, I added red metallic paint.

Of course the classic black always looks stunning too.

Afterward, you can tie them up with some twine in groups of four and give them away as Christmas gifts. 

I’m thinking this will be a nice addition to our family room too. What about you? Would you keep it or give it away?


Until next time… Toodles!

DIY Rustic Garland

As promised, here’s another post for your own DIY Christmas and this time I’m highlighting some homemade wood garland that takes on a rustic feel. It’s super cute and super easy to make too! You ready? Cuz I am!!!

So back in October I was in one of my local furniture stores and caught sight of some wood garland that made me take notice and brought out the creative side in me once more. Immediately I knew I had to make this and share it with you, my readers! 


Pretty cute, right? Well not only is it cute, but super easy to make too!

I started out with some pallet wood (I’ve got quite the stockpile anymore), and cut it into 3 1/4 x 3 1/4 inch squares.  I just took the width of the wood and cut it to the same length so I’d have squares. 

I then measured the wood (width size) and found the center point for me to drill holes. And see that drill press over there? I used it to make it easier and faster than using my hand drill, but if a hand drill is all you’ve got, then use it!

After drilling the holes, which I determined the proper size by the thickness of my jute, I stained them because I wanted the stain to show through a little bit on the painted wood. It gives it more of that rustic feel. I also didn’t choose a piece of pallet wood that was perfect, as in smooth and without flaws. I wanted this to be rustic and flawed, kinda like me…the flawed part that is cuz lord knows I’m not that rustic yet! 

I picked out an inexpensive flat paint that already had the primer built into it and chose to spray it because #1- I’d be faster, and #2- because the texture of the wood was pretty rough.

I next painted the small wood circles I used for the lettering on the garland. I purchased a pack of six wood discs for just a couple bucks at Walmart.

Again, I wasn’t perfect on the painting process, rustic is the key word here. After spraying them and letting them dry, it was time for the creativity to shine through! And boy did it!

I purchased some linen ribbon that came in a roll from Walmart because I liked the texture of it. You could also use some burlap, as I think that would be super cute too as a backdrop, or you can buy linen by the yard at Walmart for under $3 per yard.  I traced each square piece of wood separately on the material and then cut it out. 

Using some handy dandy Elmer’s glue, I spread it out across the wood and then adhered the fabric to it. 

Then the fun part, determining what I wanted my garland to say.

I used my Cameo Silhouette and cut out the letters to size, peeling away the backing so I was left with the vinyl lettering. 


Then using some contact paper, I adhered the lettering to the contact paper to transfer to the wood discs.


I then carefully peeled off the contact paper and as the vinyl adhered to the wood discs.

Using my glue gun I then glued them to the square, fabric covered blocks. And from there I got little creative with adding some additional pieces containing deer, Santa and the like. 

Pretty snazzy, right? This is where you can let your creativity soar! 

Once I was done with all the lettering and adding the additional touches, it was time to string my rustic garland.

I went for some thicker natural jute because I liked the look and feel of it. 

I was also sure to make loose knots on either side of each piece that was used.

I also made adjustable knots on the ends so I could lengthen or shorten it if needed depending on where I hung it. I also quickly found out that I didn’t have any one surface long enough to string them out properly! At least not where it wasn’t freezing cold outside for picture taking!


I’m thinking it’s pretty Merry & Bright? What about you? 


There you have it, a quick and easy DIY project you can make at home for your own decor or a gift for someone else. I think I’m keeping this one for a change, sorry family, maybe next year. 

Want/need another DIY Christmas project that’s sure to please? Well, wait till I make my next post… DIY Rustic Coasters!

Until next time…Toodles!

DIY Christmas – Rustic Trees

So I’ve been busy lately, really busy making Christmas gifts and rustic Christmas decor for the home. And let me tell you, you won’t be disappointed! So get ready, cuz over the next three blog posts, I’m going to be posting some DIY Christmas projects that might just help you out in a pinch for those final gifts or decor of your own.

Let’s start with my new little Rustic Christmas Trees. And then let me continue by telling you that they weren’t supposed to look like this…nope, they were supposed to be bigger! The hubby was helping me out this past weekend, and I brought in a bunch of pallet wood with a design in mind to create a large tree for the front porch. I got busy working on about 50 other projects, because who really wants to focus in on one thing at a time, and he began cutting some pieces for me. By the time I took notice and realized they were much small than I intended, I was absolutely in love with them! 

Pretty cute already, right? All it took was me seeing the pint-sized wonders, and I was all over it! I then hurriedly made my way out to the shed in search wood to use for the trunk and something to make a stand out of. It didn’t take me long to find some old spindles from a deck removal we did a few years back and some smaller pieces to be used for the base. 

Once I had everything I needed, we started the process of cutting the pallet wood using 45-degree angles. 

The first cut was at a 45-degree angle.

The second cut was straight giving us the top of the tree. 

The third cut was similar to the first.


I wanted everything at odd numbers, odds for some reason always look better.

For the second branch of the tree, we cut it at another 45-degree angle.

And here’s the important cut, you need to take off just a small cut on the top of the second piece of the tree, so it will butt up against the first.

Like so.

Pulling out the measuring tape, we ended up with 7-inches.

You keep repeating this process each time. The third branch is measured out at about 11-inhces and then cut at a 45-degree angle. 

With the final cut coming in at 13-inches.


I then took the old deck spindle and measured it to about 19-inches, taking care that both ends were square. 

We then placed them on the spindle and nailed them in place with my pneumatic stapler using long enough staples to go through all the wood and hold it securely. 

Once all the branches are attached, it was time to add the base so it could rest on a table top or floor without falling over.

Resting it directly against the back of the floor stand wouldn’t work, so we added a small spacer behind it to give us the right amount of clearance. 

We went with an 11-inch base to give it the support it needs, so it won’t easily topple over.

And secured it in place again with the pneumatic stapler.

See, it stands up all by itself. 

Now here’s where your creativity shines. I decided to stain the entire tree because I wanted parts of the stain to show through when I rough sanded it a little at the end.


Add some green paint and let dry.

I used my Cameo Silhouette to make a stencil so I could paint words on the trees. Now, if you’re good with painting free-hand letters, go for it! I don’t do that well with it so I use the tools I have to make it look good.

I also decided to add a wood star to the top of it and painted it gold. Little did I know that the bottle of glitter would explode and I’d be covered in it. lol

And little did I know that it would only take 5-minutes for little Miss Taylor Tot to hit the tree with her tail and break off a star…but have no worries, all is well and fixed. 

Fresh cut trees is rocking the star.

And He Is Born looks good with a little shimmering glitter.

And The First Noel? Sparkle, sparkle, sparkle.

I’m also thinking ‘O Holy Night looks good in a little silver.

A little glitter to make the season bright…yup, I like how they turned out. Don’t you? Another easy, peasy DIY Rustic Christmas decor item to add to your list. I know the list of people wanting one from me is quickly growing. 

And guess what’s coming your way tomorrow?

Until the next blog post… Toodles!

Hometalk & Lisa’s Scribbles

A thing happened this week. What thing happened you ask? Well, let me tell you what thing took place…I was invited to do a live Facebook demo for Hometalk!! Is this a big deal? Kinda? Am I thrilled beyond belief that they think I’m good enough to do a demo? Oh yeah!! Am I a bit nervous about doing a live Facebook demo for Hometalk? Need you ask?

Let me take you back a few years, to December 2013. I created a post for my DIY Christmas project, and it was how to create Candy Jars for gifts. I was touting that you can recycle old jars you have lying around. Okay, I’m probably the weird one here who keeps those old spaghetti and pickles jars, but it works for me, I like to come up with different uses for them–and did. 

I decided two years later to share this post on Hometalk in December 2015. What happened next isn’t what I expected. Since that post went live, it’s been viewed over 543K times on Hometalk. Shared to Facebook 852 times, pinned to Pinterest 6.5K times, and saved on Hometalk 512 times and the comments? 175 and the totals are still rising! 

DSC_0148

Check out the link here: Hometalk DIY Candy Jars

So as a followup to this well-received post, I did an updated version to my DIY Christmas posts in December 2015 titled UpCycling Glass Jars. Well, guess what happened next? It’s been going crazy too!

So far my Upcycling Glass Jars post on Hometalk has been viewed 156K times, shared on Facebook 192 times, pinned to Pinterest 1.9K times, and saved on Hometalk 117 times! 

Glass Jar Upcycing026

Check it out here: DIY Christmas Upcycling Glass Jars

So when Hometalk was looking for bloggers to put themselves out there with their projects, I took the plunge and submitted a couple of projects. While they loved the ideas, they asked me instead to do a demo on how I make my Candy Jars/Upcycled Glass jar projects! 

What does this mean for you? You get to watch me live on Facebook on, Monday, December 5th, at 7 p.m. EST or 5 p.m. MTN time and see how this creative, crazy crafty mind of mine works! And boy do I have some fun updates on the project as well. Come October every year I need to be banned from places like Hobby Lobby and Michaels–according to my hubby who of course thinks I go crazy there. Me? I have no idea what he’s talking about…

What else does this mean? I mean that I’m more than an author, I’m a DIY’er too. It also means that the more I put myself out there by marketing me, the more potential readers that I get to bring into the fold. And who doesn’t want more CATTS* suffers like the rest of you?  I do! 

*Chronic Addicition to Timeless Series