Category Archives: Lisa’s Scribbles

It’s the things that inspire creativity in me like reworking furniture, remodeling a house, baking/cooking, and gardening.

Hometalk & Lisa’s Scribbles

A thing happened this week. What thing happened you ask? Well, let me tell you what thing took place…I was invited to do a live Facebook demo for Hometalk!! Is this a big deal? Kinda? Am I thrilled beyond belief that they think I’m good enough to do a demo? Oh yeah!! Am I a bit nervous about doing a live Facebook demo for Hometalk? Need you ask?

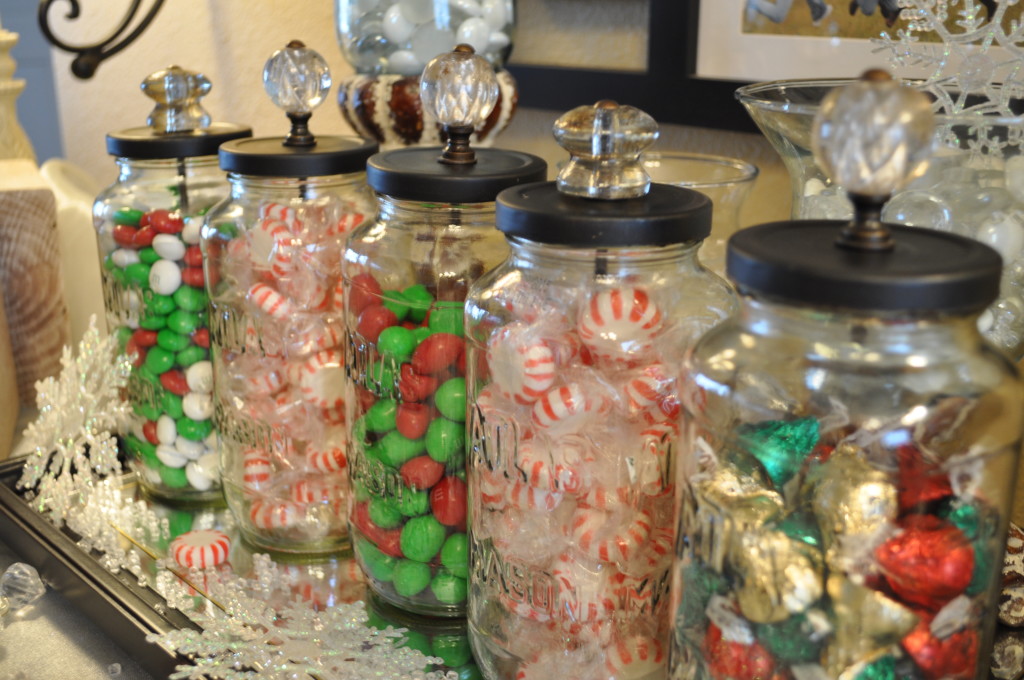
Let me take you back a few years, to December 2013. I created a post for my DIY Christmas project, and it was how to create Candy Jars for gifts. I was touting that you can recycle old jars you have lying around. Okay, I’m probably the weird one here who keeps those old spaghetti and pickles jars, but it works for me, I like to come up with different uses for them–and did. 

I decided two years later to share this post on Hometalk in December 2015. What happened next isn’t what I expected. Since that post went live, it’s been viewed over 543K times on Hometalk. Shared to Facebook 852 times, pinned to Pinterest 6.5K times, and saved on Hometalk 512 times and the comments? 175 and the totals are still rising! 
DSC_0148

Check out the link here: Hometalk DIY Candy Jars

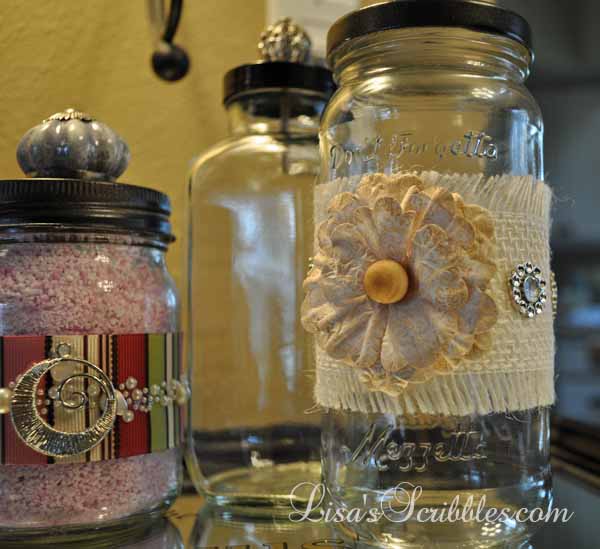
So as a followup to this well-received post, I did an updated version to my DIY Christmas posts in December 2015 titled UpCycling Glass Jars. Well, guess what happened next? It’s been going crazy too!

So far my Upcycling Glass Jars post on Hometalk has been viewed 156K times, shared on Facebook 192 times, pinned to Pinterest 1.9K times, and saved on Hometalk 117 times! 
Glass Jar Upcycing026

Check it out here: DIY Christmas Upcycling Glass Jars

So when Hometalk was looking for bloggers to put themselves out there with their projects, I took the plunge and submitted a couple of projects. While they loved the ideas, they asked me instead to do a demo on how I make my Candy Jars/Upcycled Glass jar projects! 

What does this mean for you? You get to watch me live on Facebook on, Monday, December 5th, at 7 p.m. EST or 5 p.m. MTN time and see how this creative, crazy crafty mind of mine works! And boy do I have some fun updates on the project as well. Come October every year I need to be banned from places like Hobby Lobby and Michaels–according to my hubby who of course thinks I go crazy there. Me? I have no idea what he’s talking about…

What else does this mean? I mean that I’m more than an author, I’m a DIY’er too. It also means that the more I put myself out there by marketing me, the more potential readers that I get to bring into the fold. And who doesn’t want more CATTS* suffers like the rest of you?  I do! 

*Chronic Addicition to Timeless Series
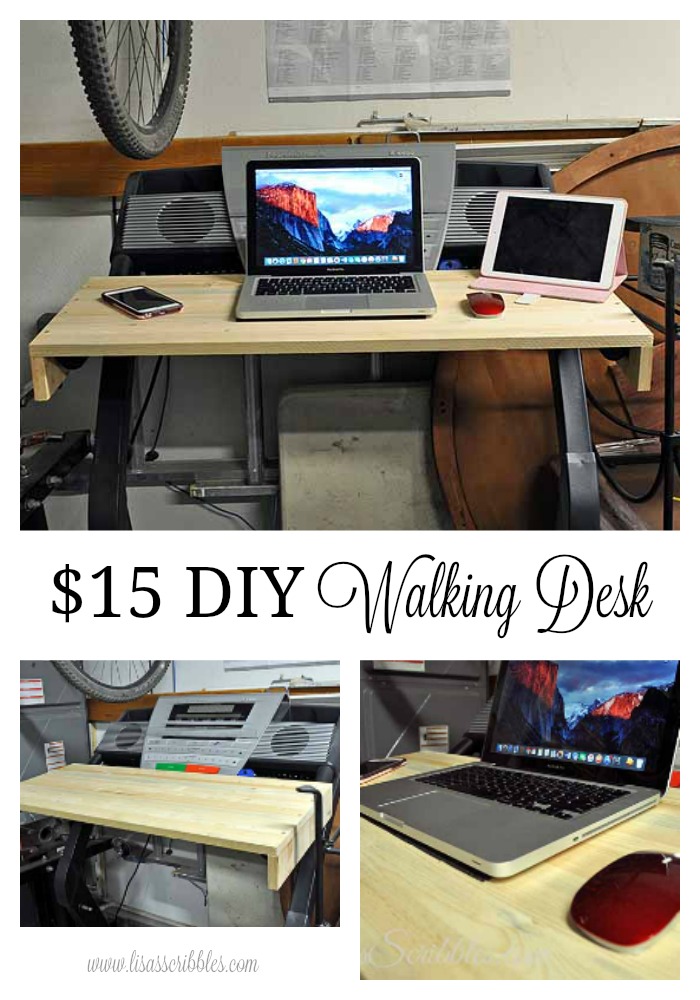
$15 DIY Walking Desk

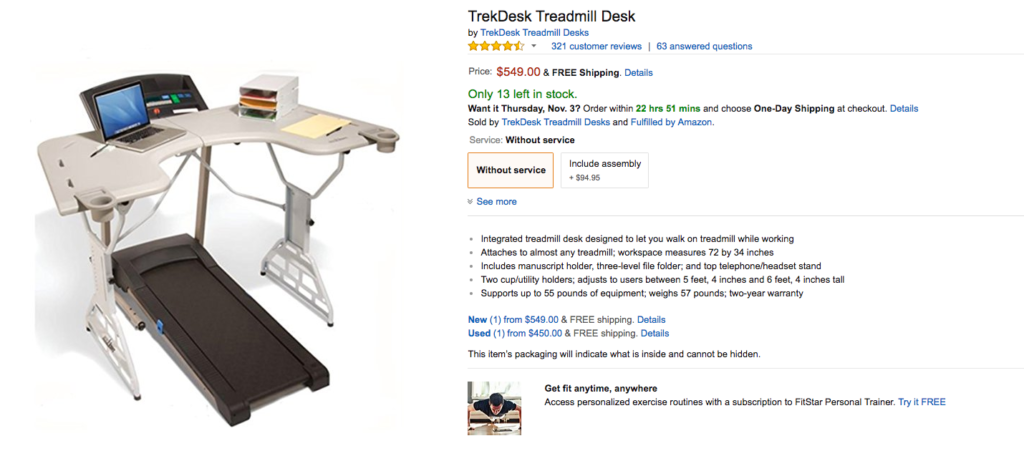
I’ve been wanting a walking desk for a while now–like over 2 years, but when I saw how much they cost for a pre-made one from places like Amazon, my jaw dropped open. Now while these desks are awesome, not only was it too big, but it was also too expensive for me to justify buying one. 

screen-shot-2016-11-01-at-12-23-31-pm

Now, if I had my treadmill in my office, and I worked 6 of the 10+ hours I spend in my office on the treadmill, I might take the plunge. But it’s a big plunge to take if you’re not even sure if you’d use it all the time or if you could type/work while walking. So being the creative person I am, I started researching ways I could make one on the budget friendly side. Sure there were quite a few pins and such out there, but a lot of them just required more work than I thought necessary. So, the hubby, being the resourceful man that his is (and by that I mean cheap), came up with a plan to make a quick and easy walking desk for me to use. Like as in under $15 cheap.

And I like it. A lot.

walking-desk020

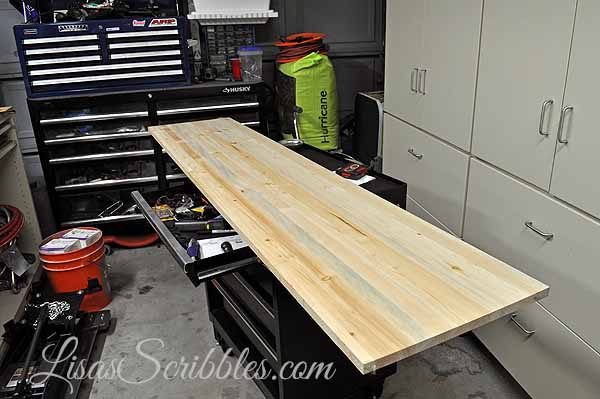
For starters, I purchased a 3/4 x 16 x 72 piece of paint grade wood from my local home improvement store for under $15. You could buy it shorter, but I have plans for the remaining wood.

walking-desk002

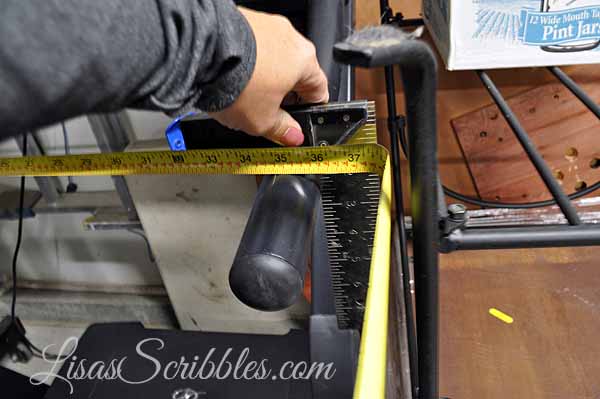
We then took the measurement for the width of the treadmill which just happened to be 36″. 

walking-desk004

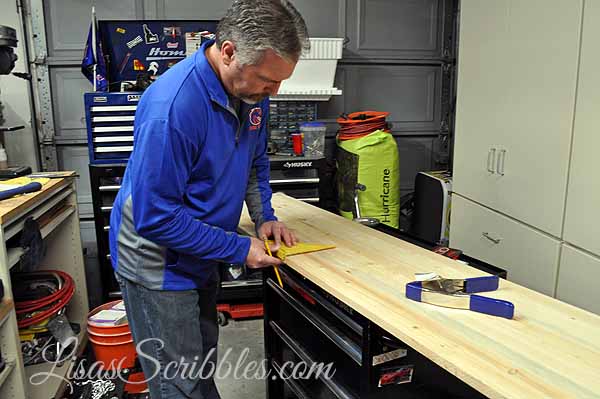
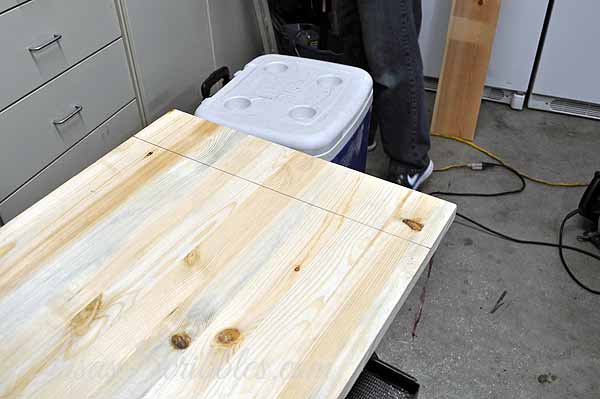
We added 1 and 1/4 inches to accommodate the side rails and cut the 3/4 x 16 x 72 board down to the 37 1/4″.

walking-desk005

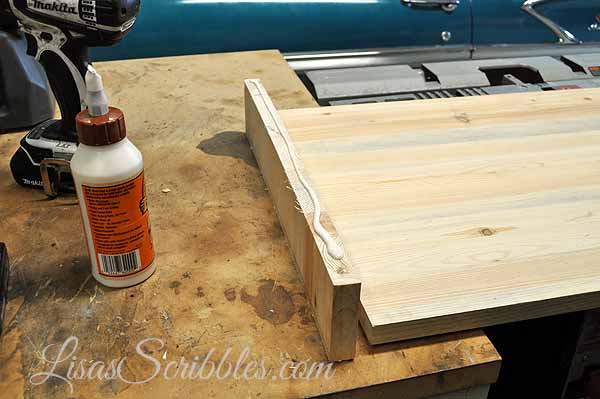
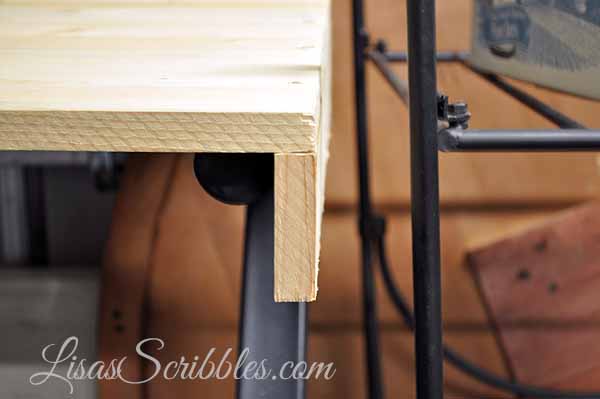
Then we cut two 3″ pieces from the leftover material for the side supports.

walking-desk009

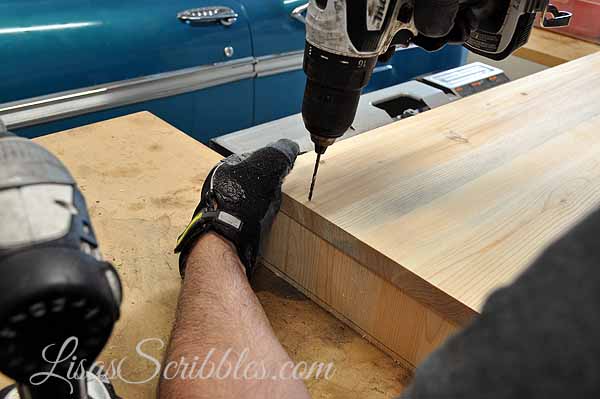
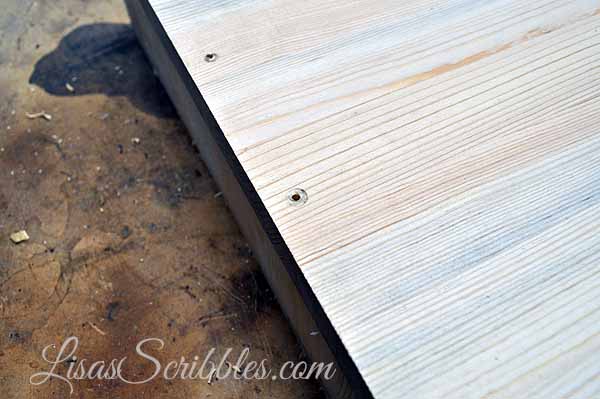
Once cut, we used wood glue and pre-drilled holes to sink the 2″ wood screws into. 

walking-desk011

walking-desk012

walking-desk014

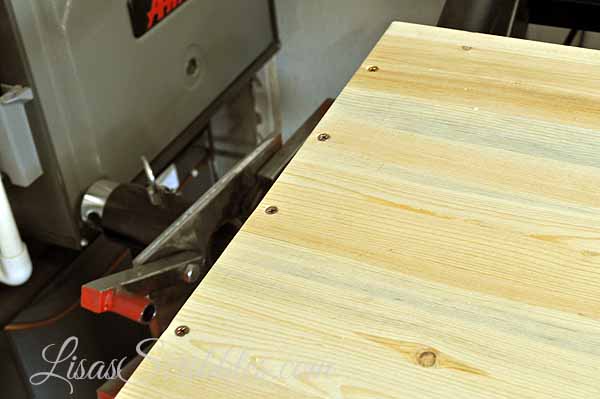
We added some 2″ wood screws to secure it in place. 

walking-desk016

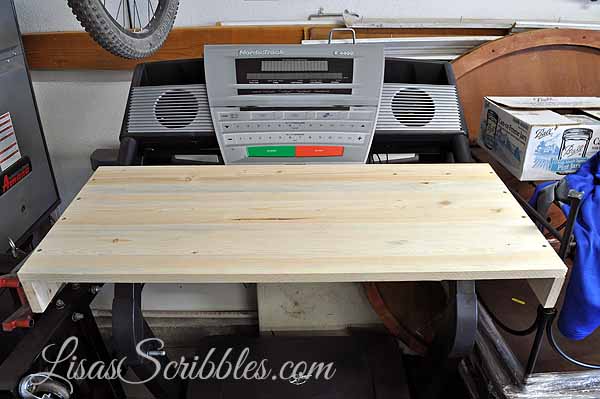
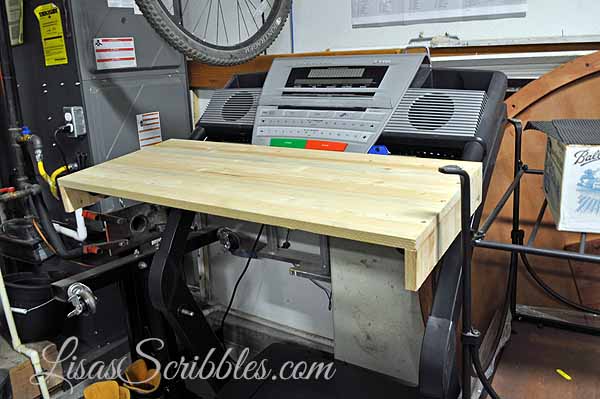
And then slid it over the treadmill rails for a nice snug fit. 

walking-desk017

walking-desk018

walking-desk019

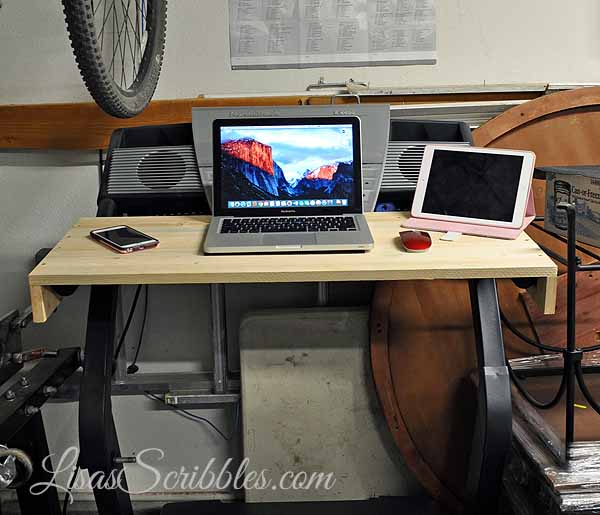
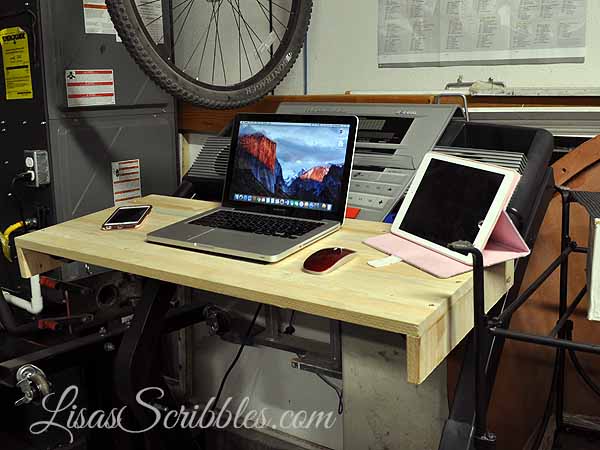
And let me tell you that desk isn’t going anywhere! I’ve already been trying it out and it fits like a glove. Now, I’m not running while I’m writing or working on the computer, which would be a little crazy dangerous, but a slow pace is allowing me to not only bring movement to my legs but also getting my mind working with more ideas! 

walking-desk021

My own piece of heaven…in the garage of all places! lol But heck, I’ll take what I can get since I don’t have a basement or spare room for it.

walking-desk022

walking-desk024


Pretty snazzy, right?

Decorative Designer Decor

Some of you may have noticed, but if you haven’t, I’m going to admit that I have a couple of addictions…shoes and DIY. I shouldn’t go into places like Hobby Lobby, DSW or Kohls with a wallet. The temptation is too great–at least that’s what my hubby says, but who listens to your hubby anyway? Okay, sometimes I do, but when falls rolls around and I get the even bigger itch to start creating, it’s a lost cause–or I am. lol Continue reading

Stunning bedroom makeover! – Reader Feature

I have a lot of friends, quite a few followers and DIY’ers that put together amazing projects, so I’ve started what I’m calling a “Reader Feature.” What’s this you ask? Well, this new feature will highlight what others are doing beside me, what projects my readers/friends/DIY’ers are taking on and turning out amazingly! 

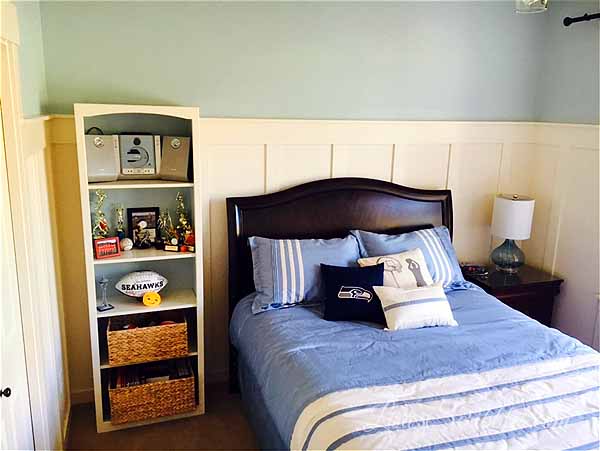
This week I’m going to introduce to you to my dear friend, Sandra. Sandra is not only an amazing friend but a lover of all things DIY like myself. Sandra and I have been friends for quite a while, and when she told me what she was going to do to her son’s room, I knew it’d be great. I also pestered her to allow me to share it on my blog. I’m pesky like that…so without further ado, take a gander at this stunning bedroom makeover! Continue reading

Homemade Vanilla Creamer

I’m not gonna lie as this video about sums it up! lol

I know it’s been a while since I’ve done a food post, but this one is worth it. About a year ago I went on a search for recipes for homemade creamer for a very specific reason. The hubby and I were making lifestyle changes, i.e., cutting out excess sugars and replacing what we could with natural sugars instead of overly processed sugars. And the number one big thing that I was giving up were my coffee Frappes…*gasp* I don’t know if you realize how big a deal this was for me, it was HUGE. 

You see, I love to blame this frappe addiction on my lovely sister-in-law, Kelli, with her “try it, you’ll like it” words I was almost instantly addicted! I was never a coffee drinker before her suggestion–notta even once. In general, I’m not a hot drink lover–at all. I’ve always had a tendency to burn my tongue with hot drinks and had to be pretty desperate to drink hot tea…very desperate like I was so sick and couldn’t stop coughing or out camping and I was freezing my butt off. I mean, even in the dead of winter with negative temperature numbers, I’d still have a cold drink. Crazy, I know. 

So I got hooked on Frappuccinos in my thirties and every day before I’d head off to work I’d stop and get one. That habit cost me $25 per week. You add that up for a year, and that’s $1,300! And you take that times seven years–a whopping $9,100!

Now granted I owned my own accounting business and was making a decent income, but I should have been wiser with my money–a lot wiser.

Then came the lovely decline in 2008 and I lost a lot of business which meant I had to cut back in a lot of areas, dining out for starters. I began making my own frappes at home with a mix I’d buy from Cash & Carry and even purchased the fancy cups and domed lids so I’d feel special. I saved a bundle considering a bag of the vanilla frappe mix would only cost me about $18 per month and the cups would last a good 2-3 months.

So I went from $1,300 a month in coffee drinks down to around $50. Makes me wish I’d done it sooner, lesson learned.

But then came the lesson about lifestyle changes and reading the package labeling to see how much added sugar I was putting in my body and there was a lot of extra sugar in my beloved Frappe.

So long story short, I didn’t like the creamer recipes on Pinterest because they used condensed sweetened mix which I will attest to that they don’t stay mixed with your milk product and the fact that it wasn’t a natural organic sugar kind of put me off.

So I’m going to share with you my go-to vanilla creamer recipe and let you taste the difference for yourself along with the cost savings instead of buying the prepackaged store creamers. 

[supsystic-gallery id=4 position=center]


[yumprint-recipe id=’3′]