Category Archives: DIY

One Jaw-dropping Dresser Makeover – French Country Style

That’s one snazzy title, right? Well, it’s just that epic! This French Country Dresser makeover will give  jaw-dropping results. Want to do something similar? Yeah, well be prepared for words like; gorgeous, beautiful, amazing and unbelievable…because that’s what you’ll hear!

Let’s get started then…

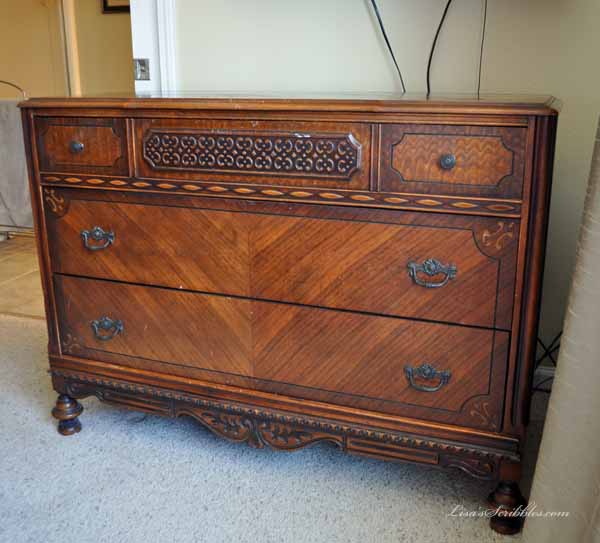
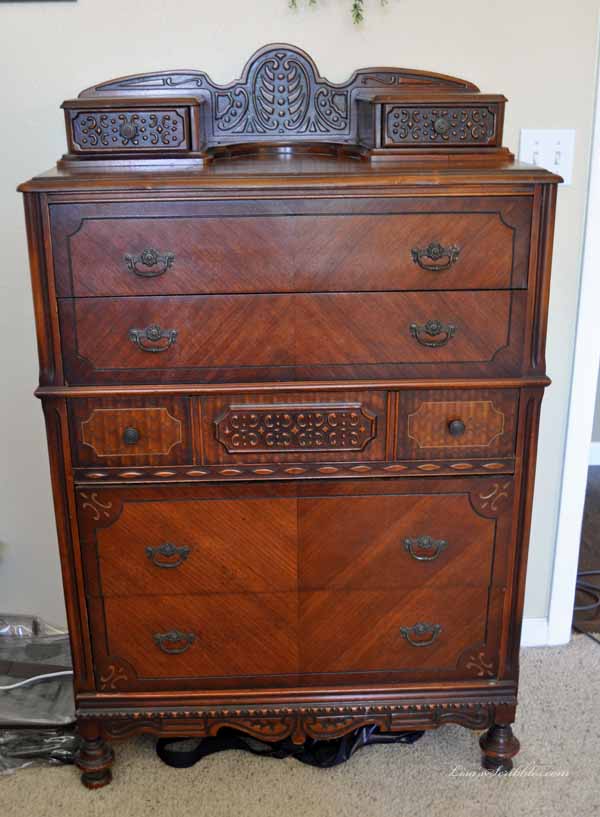
I’m a hand-me-down lover — of furniture that is. Anything old I’ll gladly take it off your hands and repurpose or create into something new. These beauties were handed down to me from my Grandparents after they passed away. They came all the way from Ohio, made a stop in Colorado for a few years till my parents moved here to Idaho and kindly delivered them. They’ve been sitting in my bedroom untouched for the last two years until I could come to a decision on how I wanted to make them over. And let me tell you, the wait was worth it!

Dressers French Country Makeover003

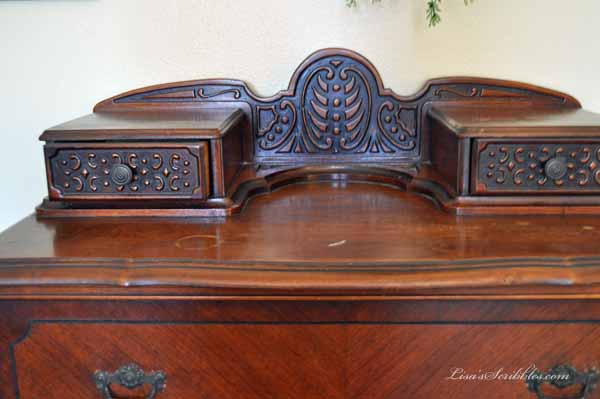
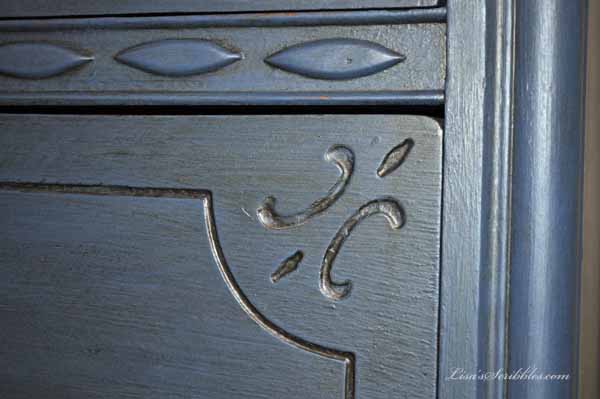
I think what drew me to the pieces were the detailed designs. 

Dressers French Country Makeover002

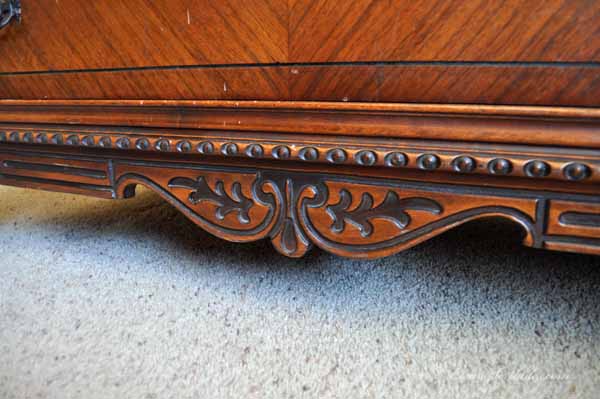
Let’s just say they had curves in all the right places.

Dressers French Country Makeover001

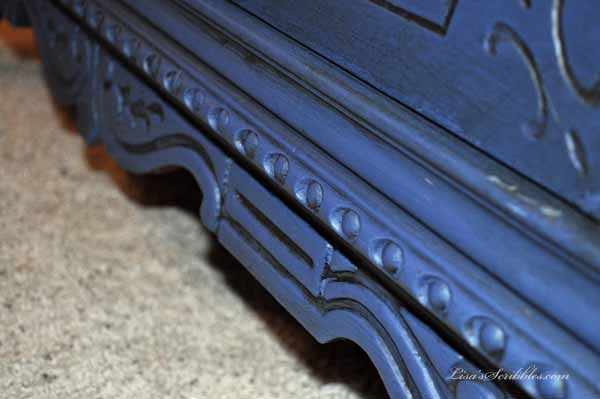
And those bun feet? Love!

Dressers French Country Makeover007

Character all the way around that was screaming to be seen.

Dressers French Country Makeover009


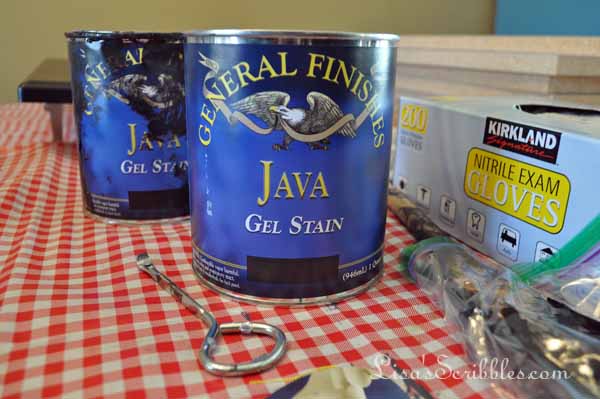
I did something unusual this time around, I asked my husband what color he’d like to see them since we’d be using them in our master bedroom. Now I didn’t just give him free reign here, I gave him a selection of pictures from Pinterest on dresser makeovers and we came to agreement on an Annie Sloan color named Napoleonic Blue. Typically I make my own chalk paint, why? Because it’s a lot less expensive and I can custom-create a color I really like with little effort. But this time around? I liked the color, knew I’d have a hard time matching it up, and just went for it. 

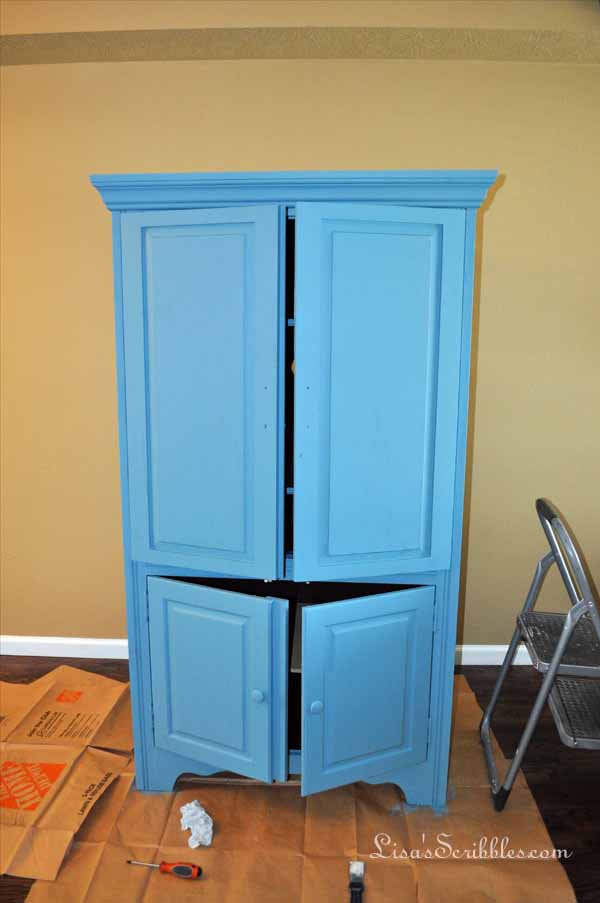
Overall the dressers were in fairly good shape, just a few water rings, scratches and a little chip missing on the bottom of the smaller chest of drawers. A little wood putty went a long way to filling in those gaps. And before all you antique lovers go crazy on me and tell me I ruined such a beautiful set…they’re not antiques. They were made with quality, but I checked and doubled checked to make sure before I took on a project like this, so rest assured they’re not antiques. 

Moving on…

Dressers French Country Makeover008

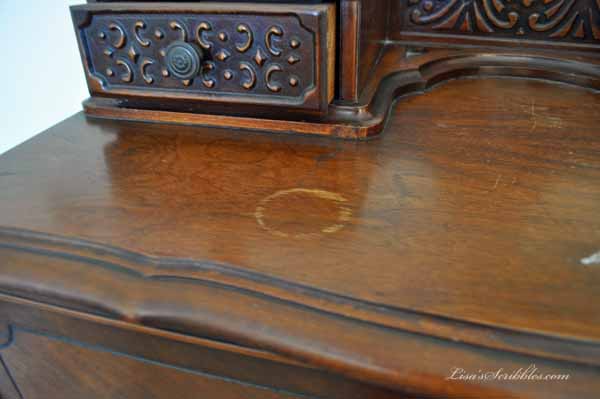
A little water stain here…Dressers French Country Makeover005

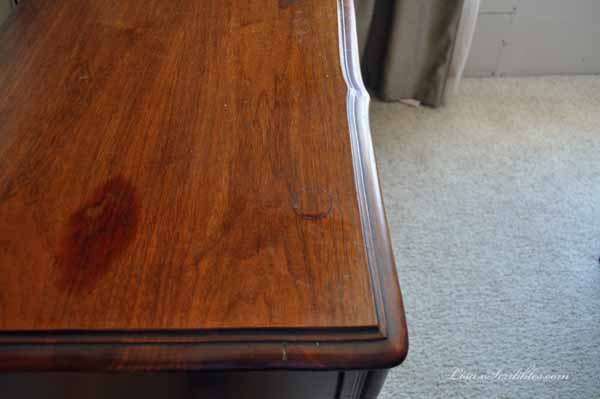
A few discoloration spots there…Dressers French Country Makeover013

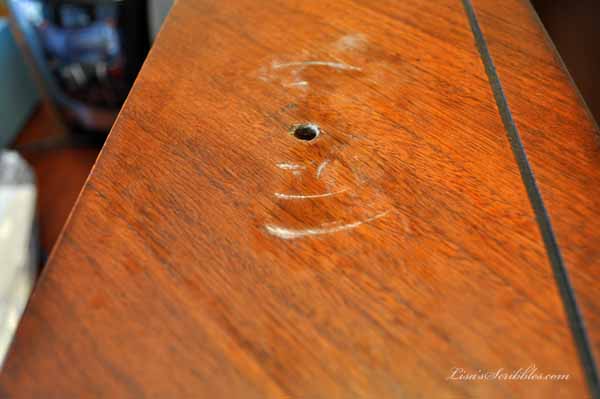
A little wood putty to fill in those scratches…Dressers French Country Makeover012

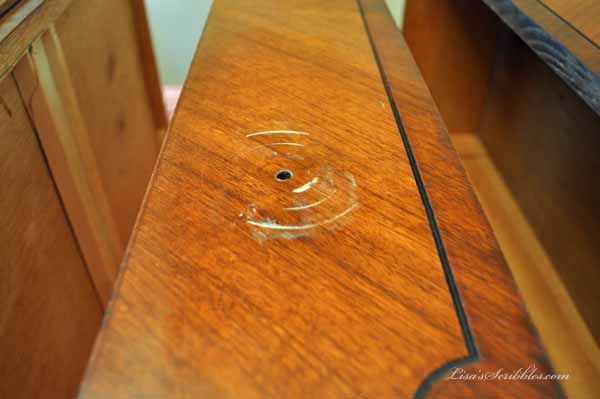
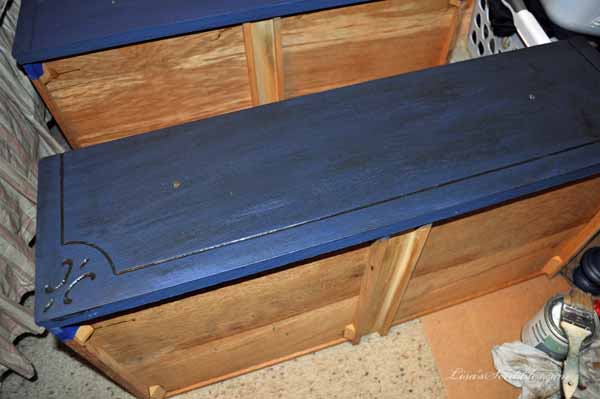
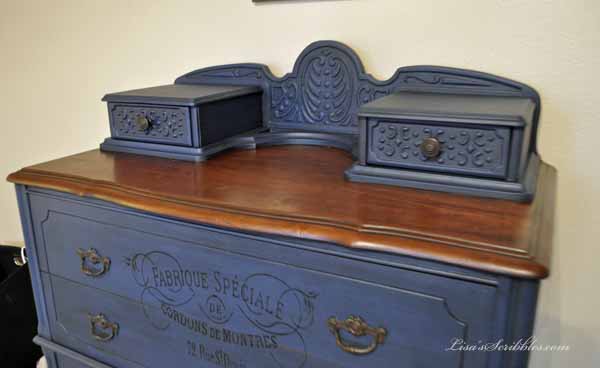
And some Annie Sloan Napoleonic Blue to make everything pretty.

Dressers French Country Makeover011

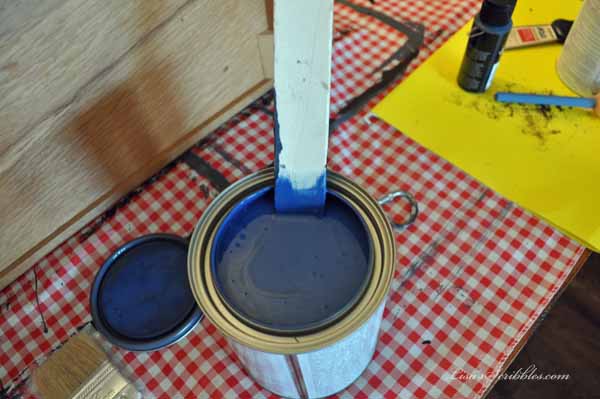
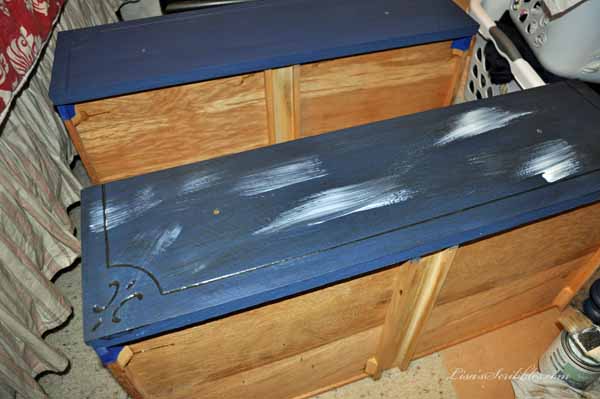
That first pass with the chalk paint went on a bit thin.

Dressers French Country Makeover016

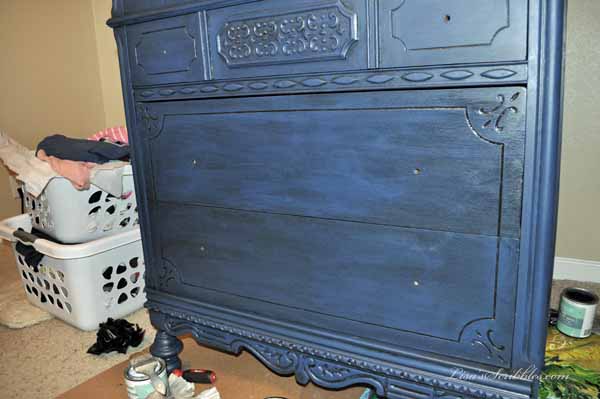
 But by the second coat everything was looking great. And the best part? No sanding involved!

Dressers French Country Makeover025


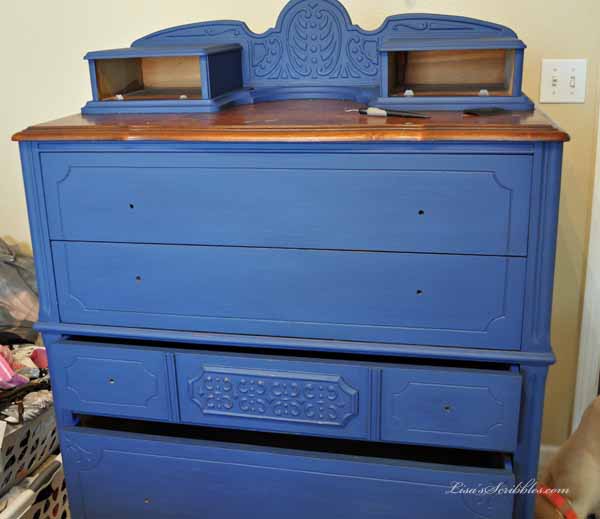
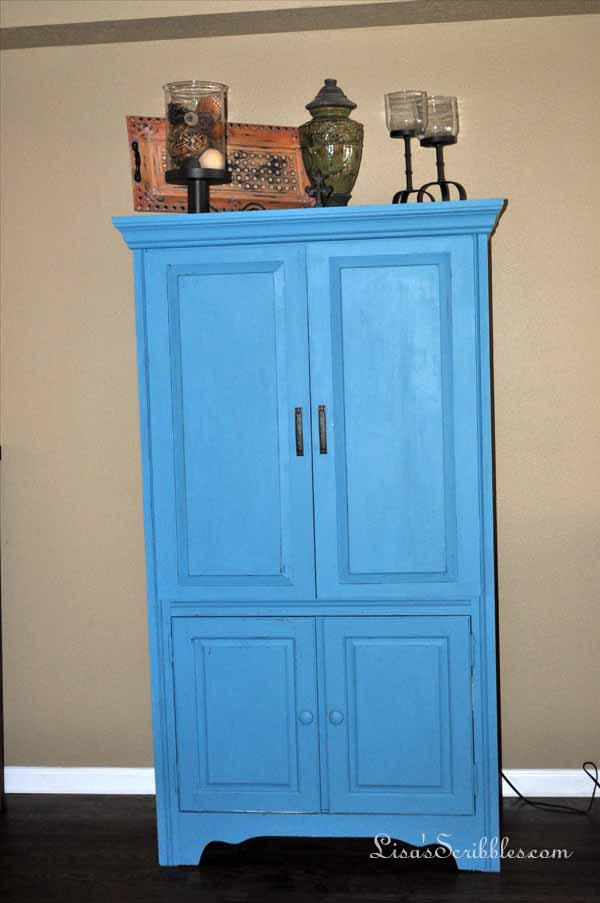
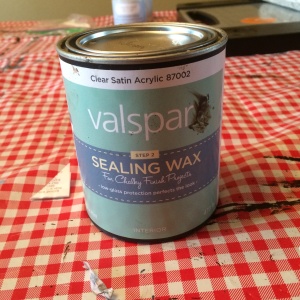
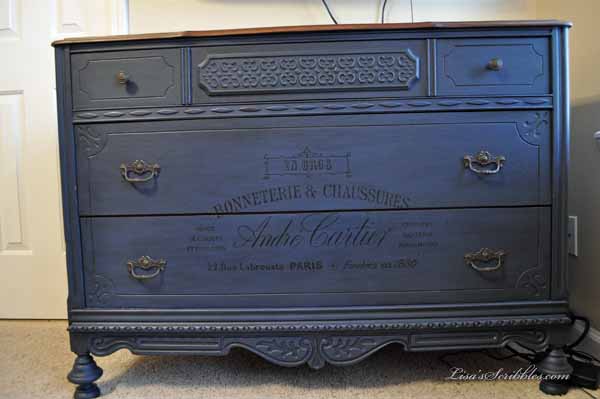
It’s a bit bright, right? Well don’t worry, it’ll all change up by the end. The first thing I did was apply a clear wax. 

IMG_3582

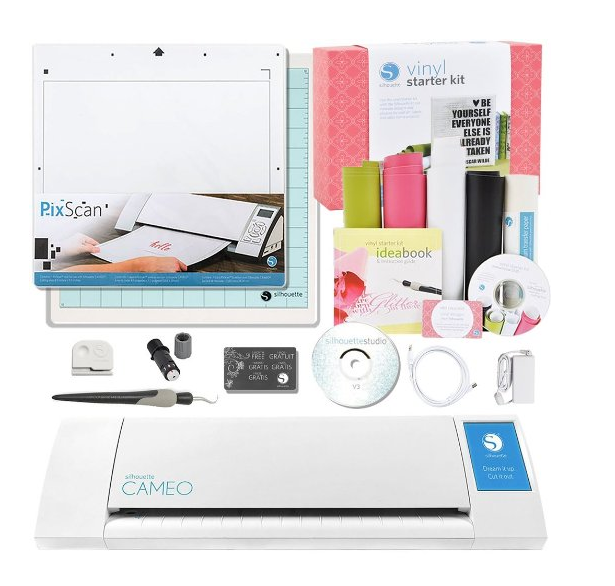
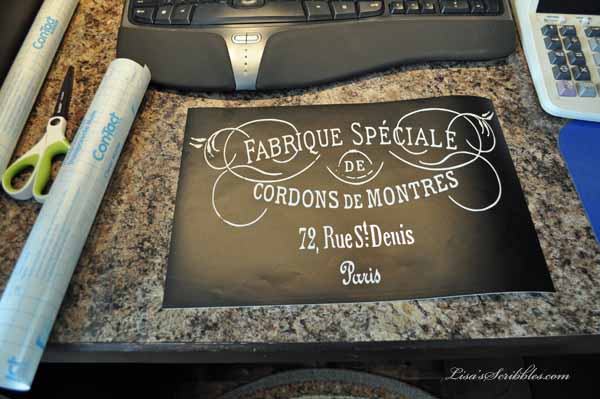
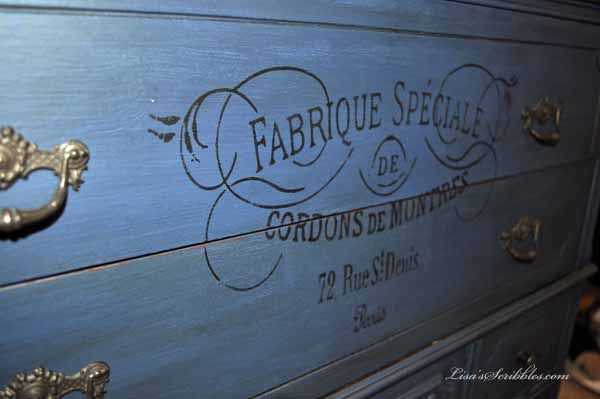
A little wax on, a little wax off…seriously. You rub some on to ensure coverage and then you wipe it off. Easy peasy. After I applied the wax I went in search of a french styled graphic to add the perfect touch. The Graphic’s Fairy is one of my favorite places to find french themed transfers, you seriously need to go and look at Karen’s page, it’s amazing! Visit her printable transfers page here: The Graphics Fairy . On her site she offers various ways to help you transfer your graphic to your furniture, small project, and or fabric, all of which are amazing, but this time around I did it differently than most might think of. I used my Cameo Silhouette to create a stencil. Why? Because after painting, waxing and various other tasks that put wear and tear on my arms I wanted to simplify it for myself. And I did! 

Karen offers her printable as PDF files, which I then converted to a PNG file and opened it up in my Silhouette Studio. From there I used the trace function and wahlaa! I got myself a simple super easy stencil that can be reduced or enlarged to fit my projects need! 

Dressers French Country Makeover018

One note, I didn’t figure this out on my own. I researched online and found most of them to be really complicated and almost gave up until I found this lovely little website, Maya Road Classic Card Kits. She goes into details on how to convert the PNG file in your Silhouette Studio using the trace function. You can see it here: Using PNG Files for your Silhouette

Dressers French Country Makeover021

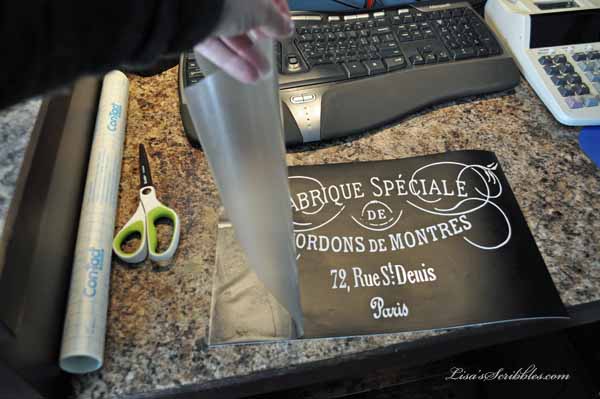
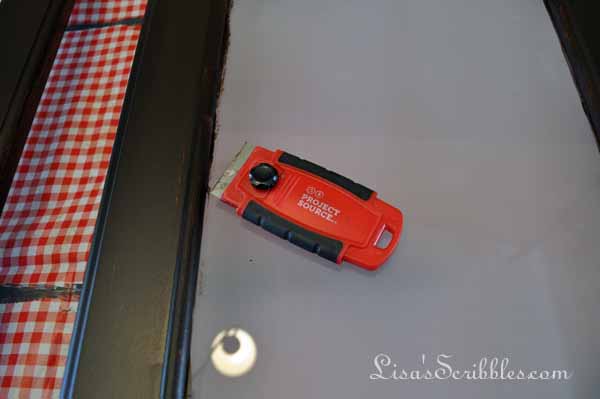
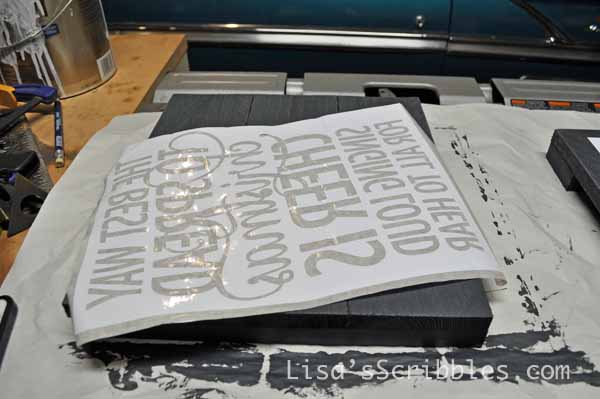
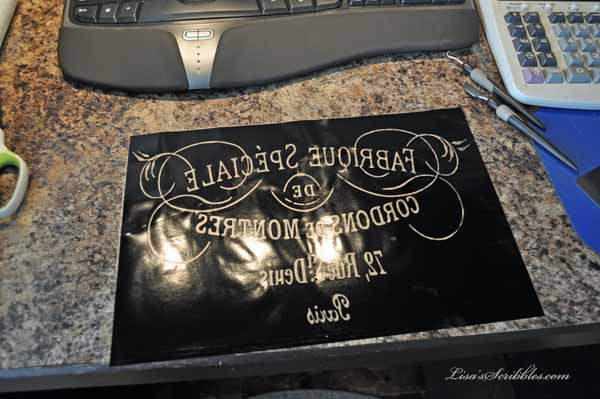
After removing the lettering to create the stencil, I used contact paper as my transfer method. You don’t want to try and apply this vinyl stencil without it, it’s too flimsy. 

Dressers French Country Makeover022

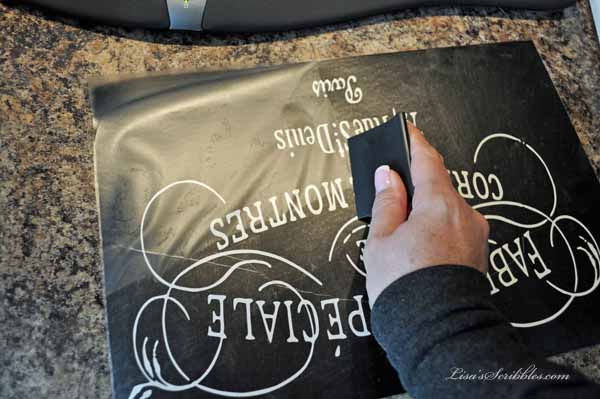
I then smoothed it out to remove any air bubbles. Now don’t worry, it doesn’t have to be perfect as you’re just using it as a transfer method to get it on the project.

Dressers French Country Makeover023

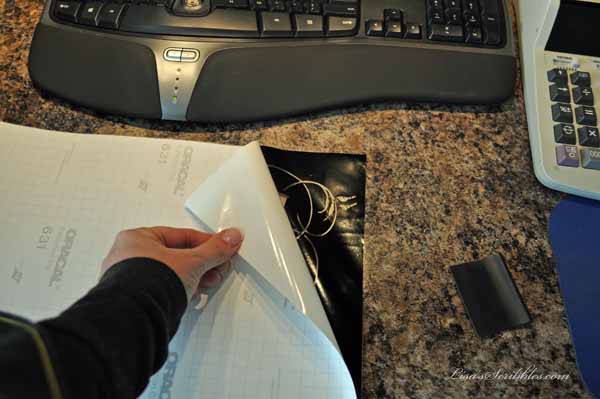
Your next step is to remove the vinyl backing. Peel it away slowly, seriously, because there are small letters involved and you could accidently remove the inside of an R or E if you’re not too careful.

Dressers French Country Makeover024

Nice and sticky and ready to be applied to your project.

Dressers French Country Makeover025

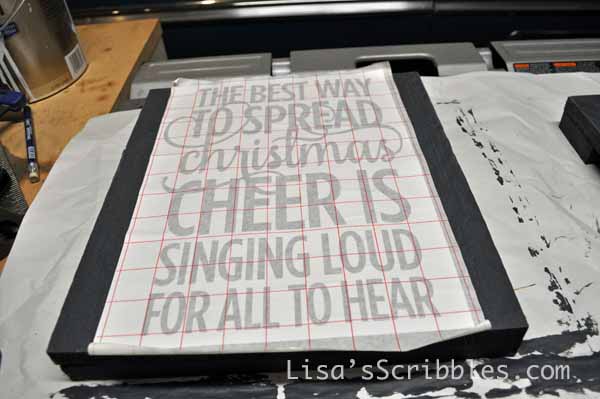
Be sure to choose your location of the stencil before hand and make sure you’ve measured to ensure it’s centered. Nothing looks worse than going through all this hard work to find out that your graphic is crooked. Kinda ruins the moment.

Dressers French Country Makeover026

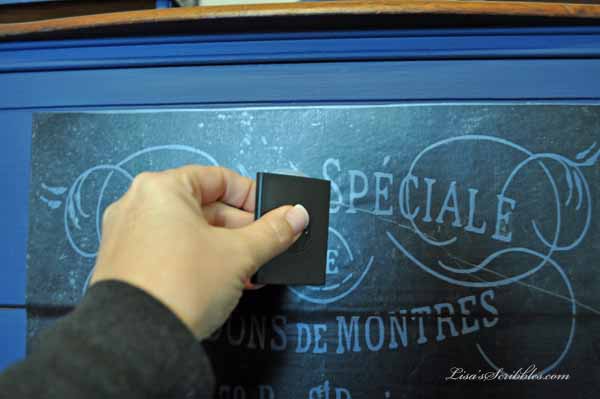
Once you’ve applied your stencil, use your spreader to push out the air bubbles and try and get the smoothest finish you can. Don’t worry if you can’t seem to get rid of them all, you can use your fingers later.

Dressers French Country Makeover027

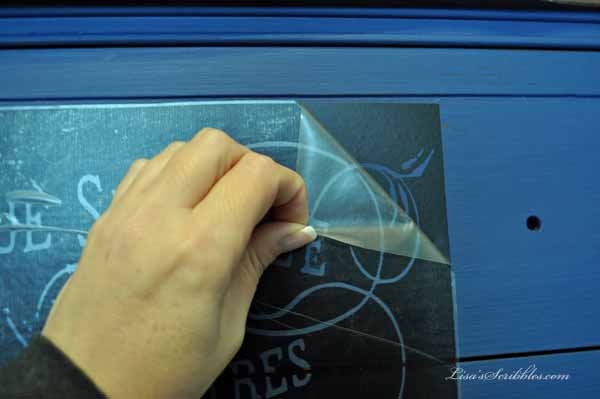
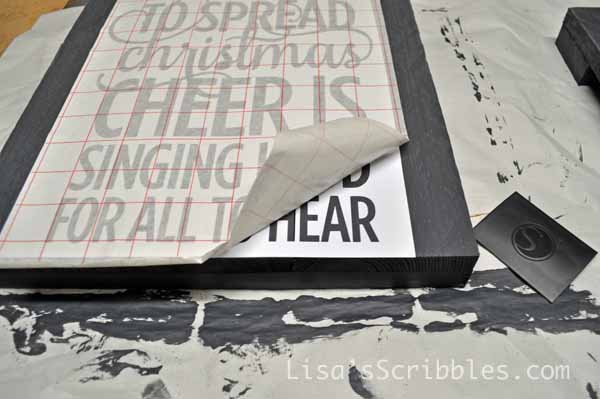
Now carefully peel away the contact paper.

Dressers French Country Makeover028

And when I say carefully, this is why. Sometimes those interior parts of the outlined letter like to stick to the adhesive. If this happens just gently press it back into place and rub it with your finger or spreader and try peeling it back again. Sometimes it takes a few times to get it loose, but it’s okay, you’ll get it.

Dressers French Country Makeover036

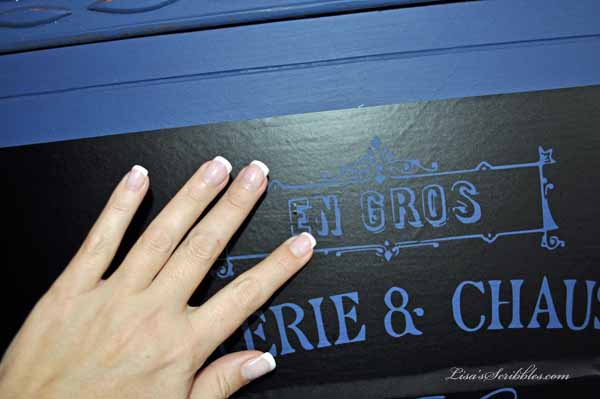
Next be sure to smooth out any air bubles with your fingers. You want to gently press them out so you don’t rip the vinyl and have your paint leak through underneath.

Dressers French Country Makeover029

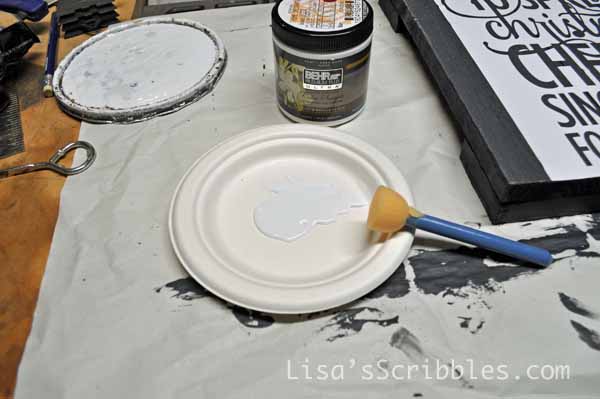
I then chose to grab some acrylic black paint and my handy dandy sponge dabber to fill in those letters on the stencil.

Dressers French Country Makeover030


Dressers French Country Makeover032

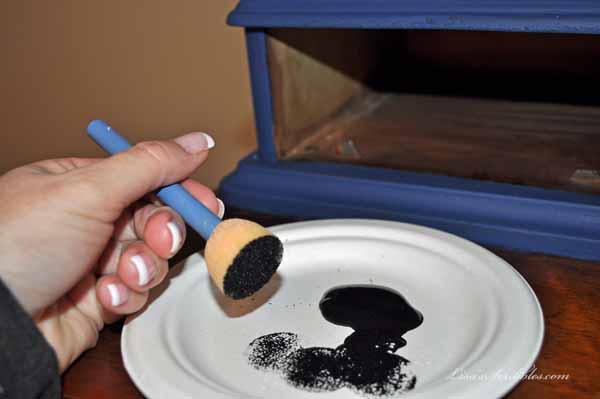
Be sure to not add too much paint onto the dabber, unless of course you want a dark finish on the project. I wanted something that looked time worn, so I used it lightly to fill in the stencil.

Dressers French Country Makeover033

Once you’ve filled it all in…LET IT DRY! Yup, don’t try and peel it off now, you’ll just spread all that wet paint around and ruin your lovely piece. 

Dressers French Country Makeover034

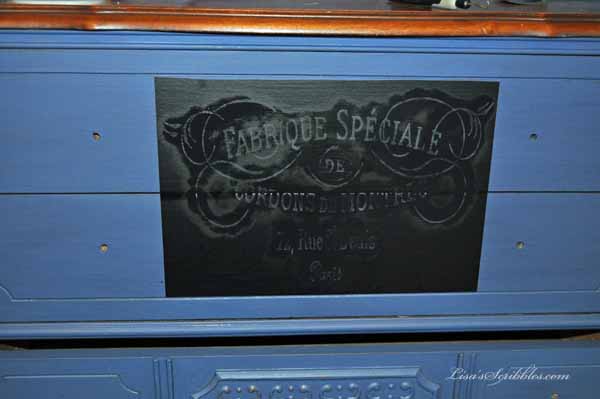
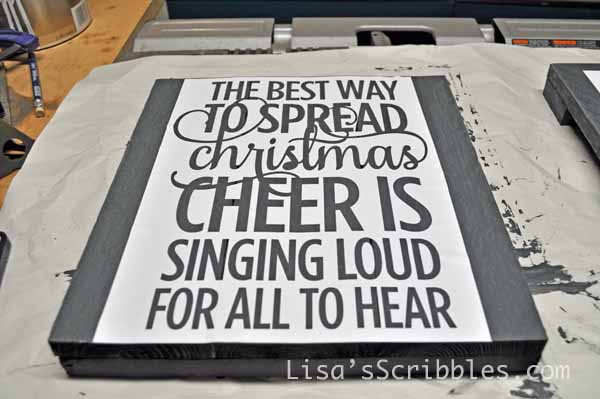
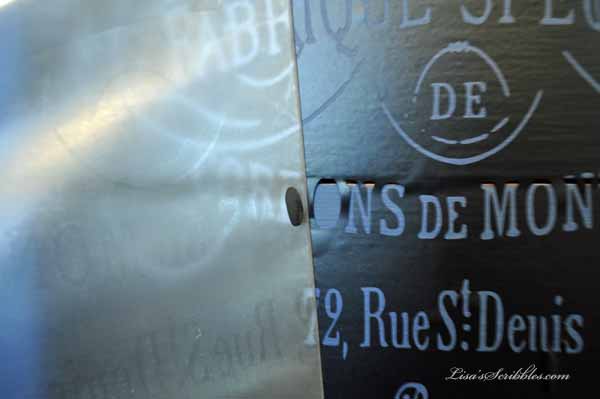
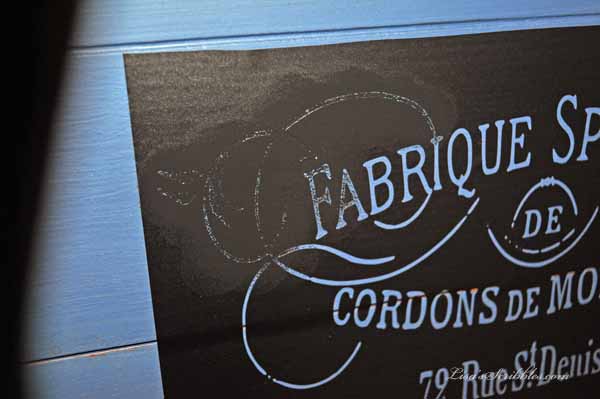
After the paint has dried, peel away the vinyl to expose your graphic.

Dressers French Country Makeover042

I started with a corner and worked my way down. And FYI, it doesn’t all come off in one piece.

Dressers French Country Makeover044

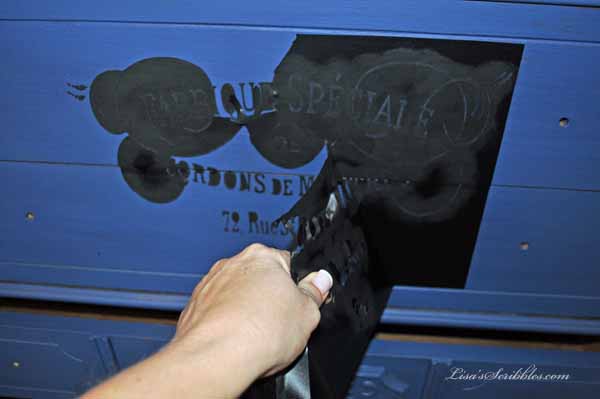
A little tug here and there…

Dressers French Country Makeover045

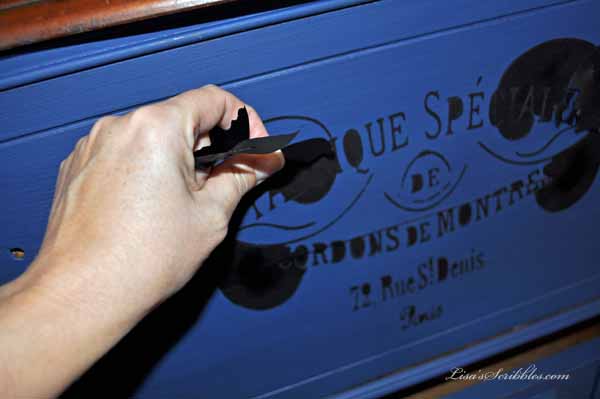
And then some detailed work on peeling it back from all those smaller spaces.

Dressers French Country Makeover046

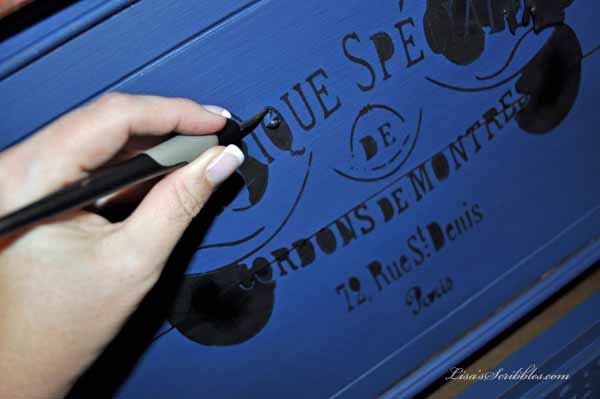
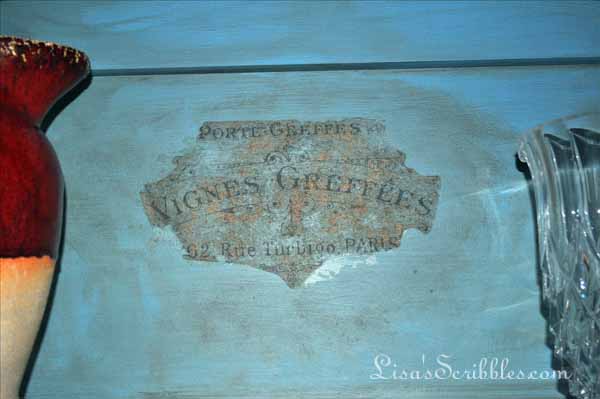
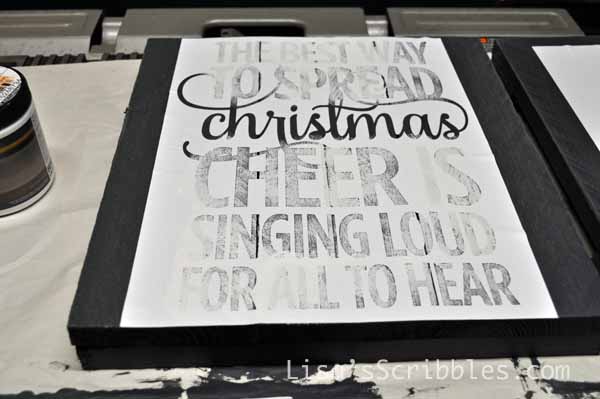
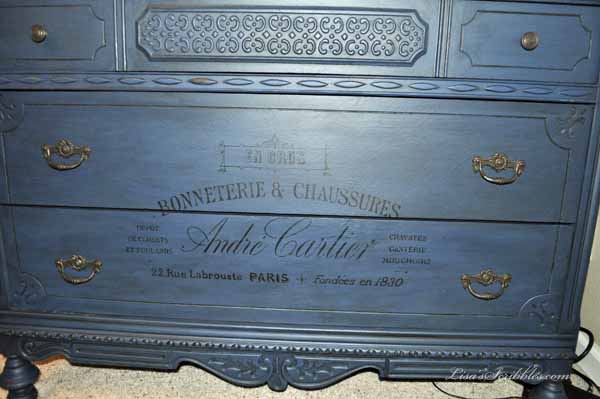
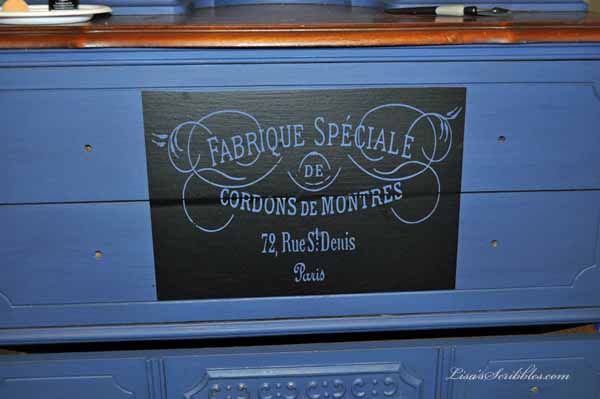
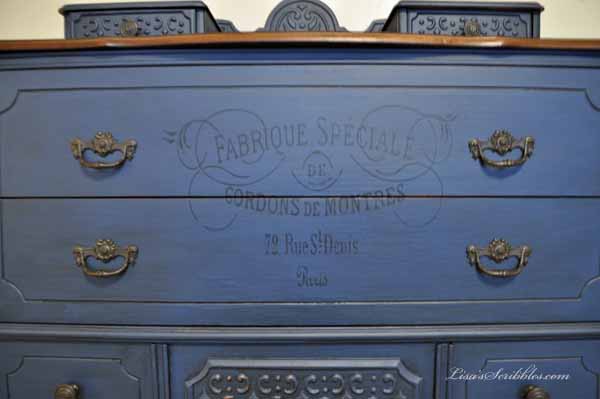
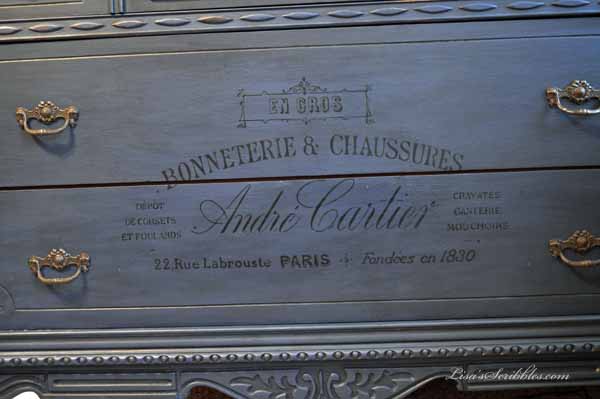
But in the end this is what you’re left with!

Dressers French Country Makeover047

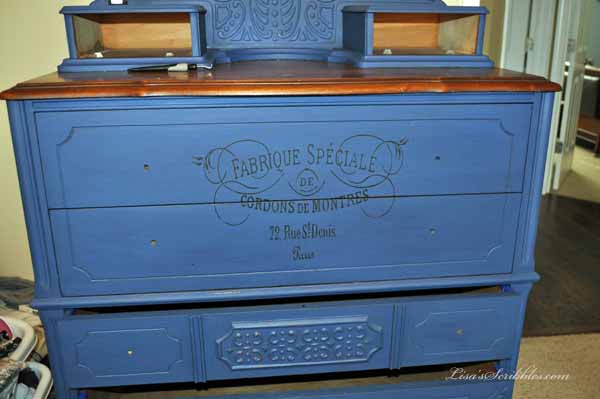
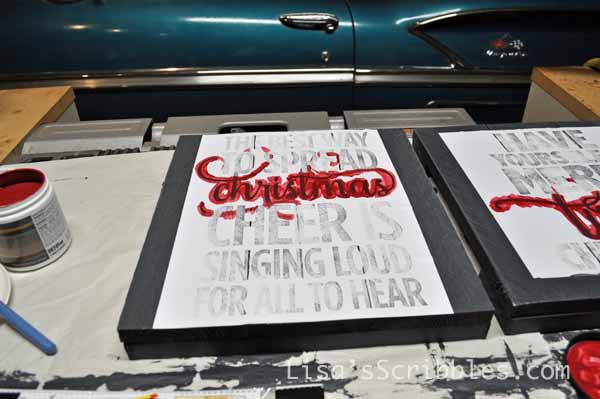
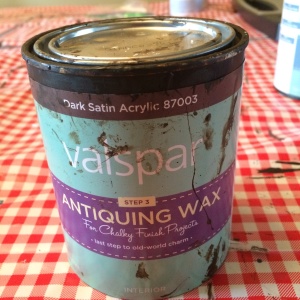
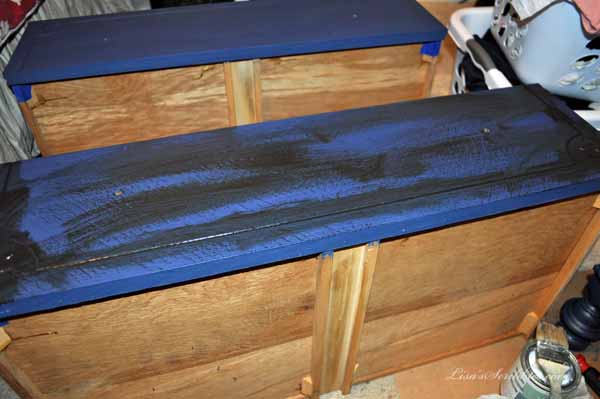
But you’re not finished yet… Here comes the really fun part! This is when you apply the dark wax and give it that aged, well worn appearance that its been sitting in a French countryside villa just waiting for you to take it home!

Dressers French Country Makeover058

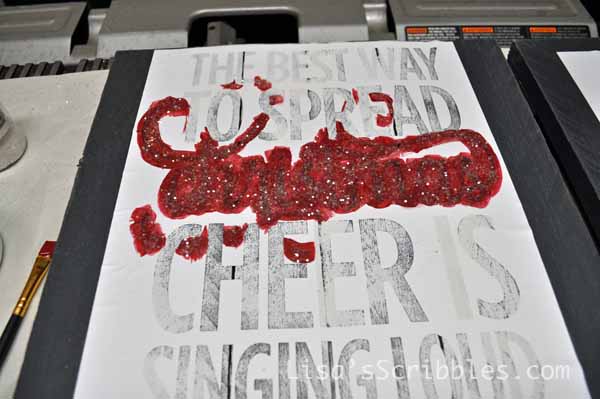
Again…wax on, wax off!

IMG_3583

I know it looks a little messy, and it is, but oh so worth it in the end.

Dressers French Country Makeover049

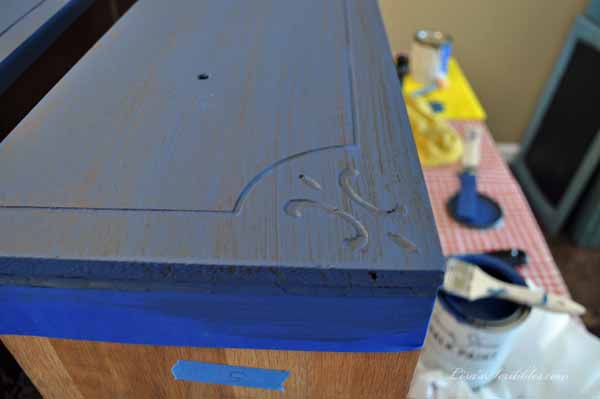
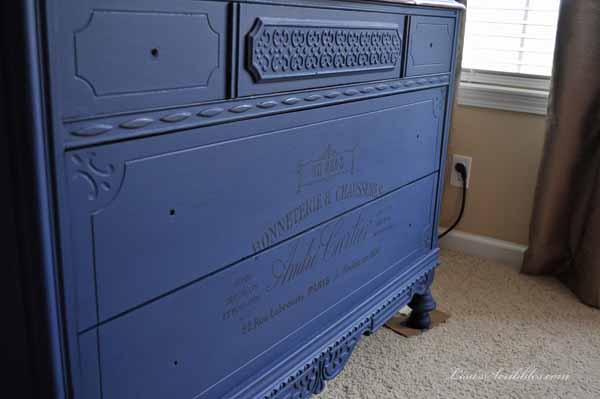
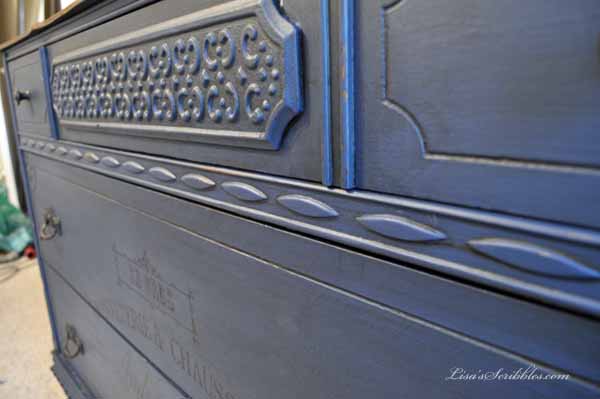
Here is is with the dark wax rubbed into all those lovely details of the dresser.

Dressers French Country Makeover050

And if it got too dark? Just use a little clear wax to tone it down a bit.

Dressers French Country Makeover051


Dressers French Country Makeover052

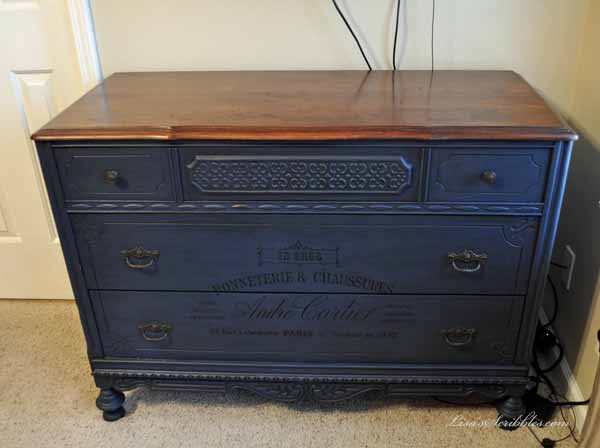
Just right for me…and please excuse the messy basket to the side. Those baskets held all my drawers contents while it was being reworked. lol

Dressers French Country Makeover060

Pretty snazzy, huh?
Dressers French Country Makeover061


Dressers French Country Makeover062

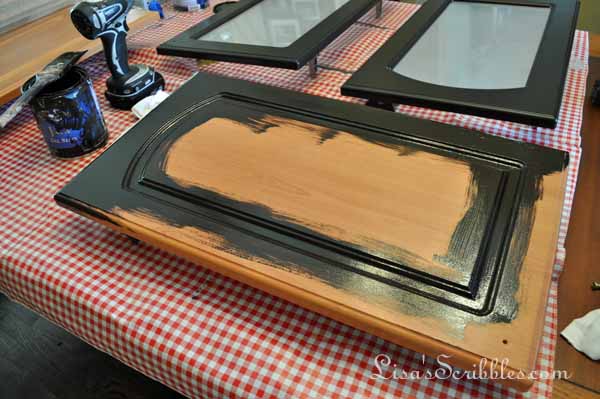
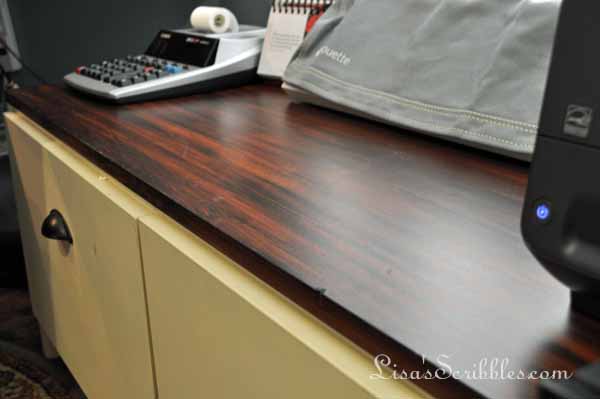
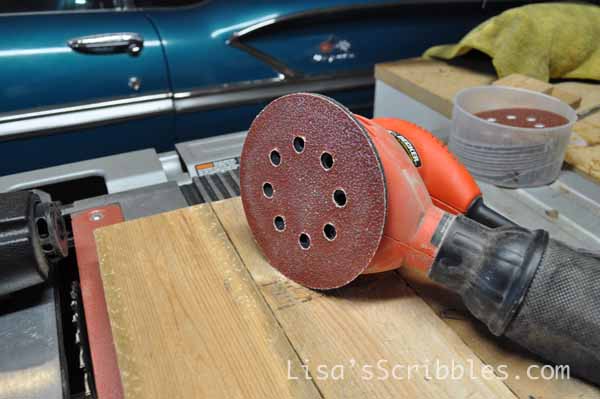
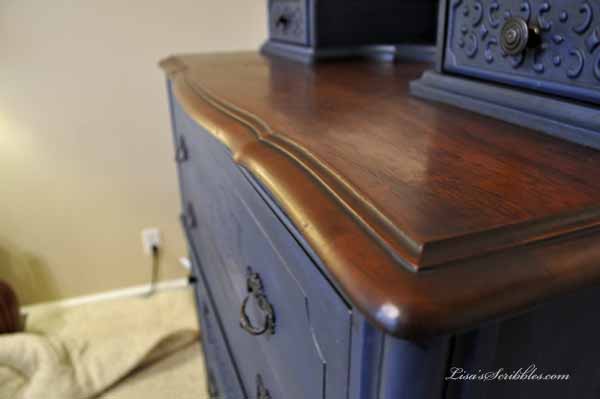
And that wood on top? It never looked better with a little sanding and gel stain!

Dressers French Country Makeover063

Look at those bun feet!Dressers French Country Makeover065

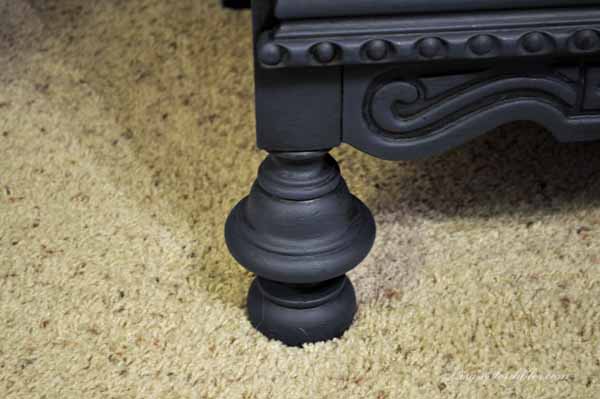
And all the detailed woodwork just popping now!Dressers French Country Makeover067


Dressers French Country Makeover068


Dressers French Country Makeover071


Dressers French Country Makeover073

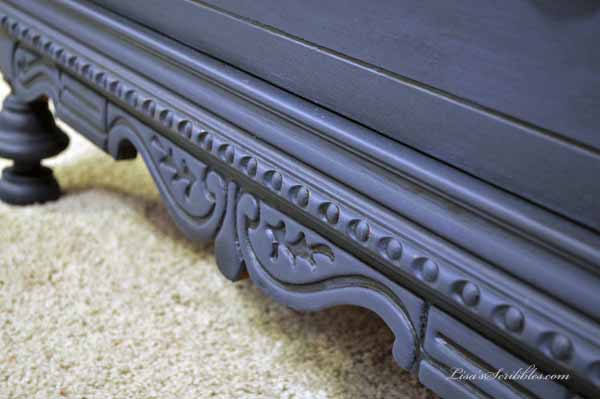
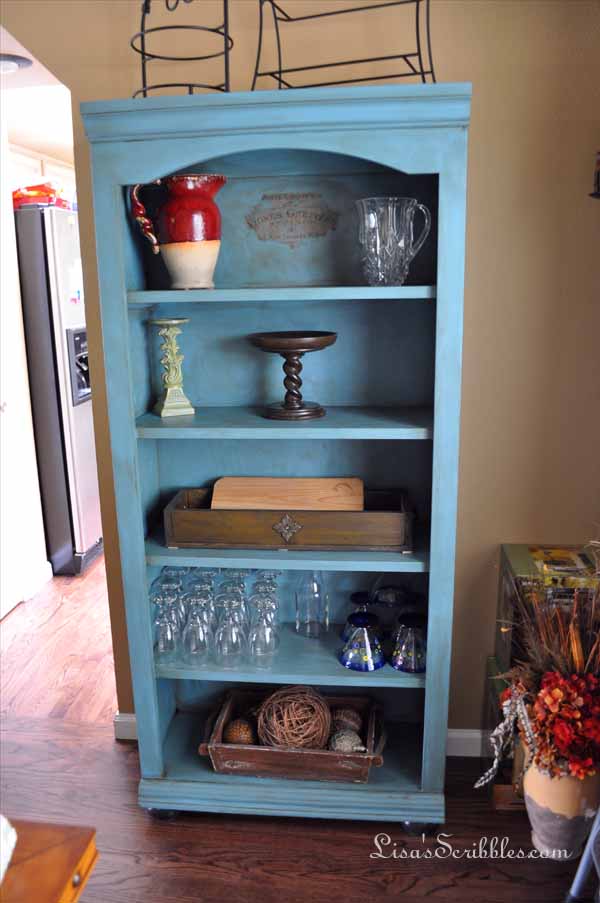
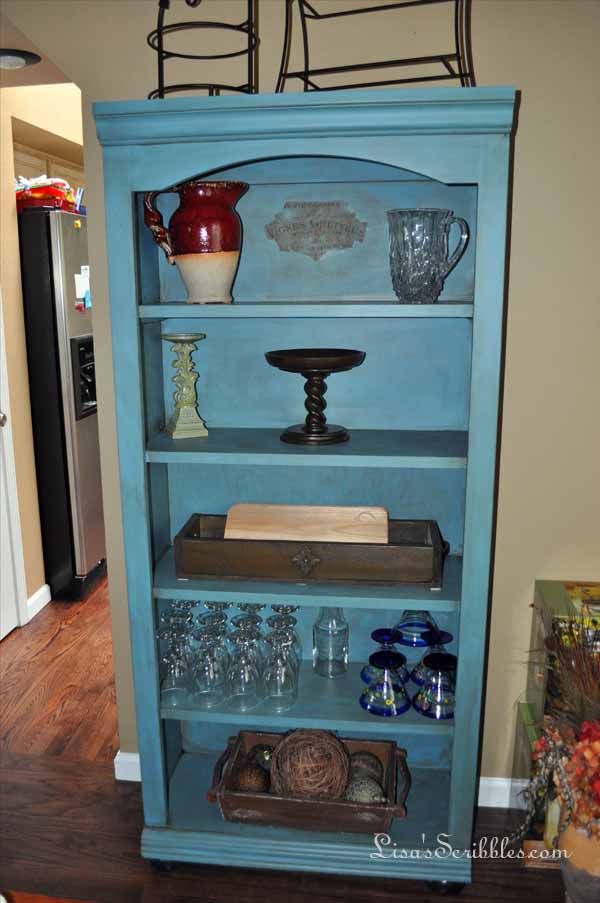
And the long short dresser? It wasn’t forgotten either!Dressers French Country Makeover074


Dressers French Country Makeover076


Dressers French Country Makeover081


Dressers French Country Makeover079


Dressers French Country Makeover083

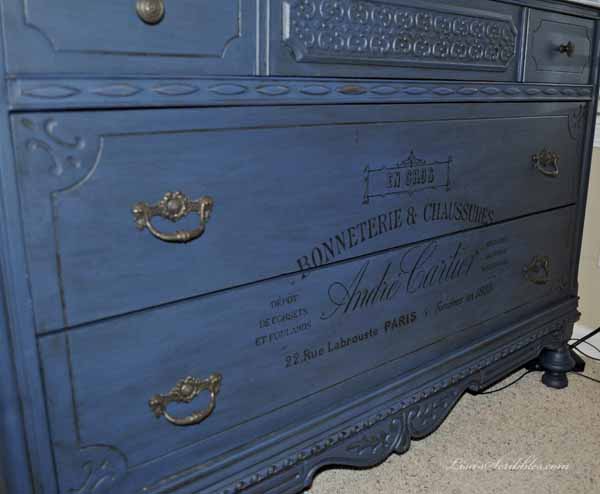
Now off you go to create your own masterpiece! And keep watch here for my master bedroom makeover! You won’t want to miss that one! 

Toodles!

Cabinet & Bookshelf Makeover on a Budget

I’m the type of person that’s constantly changing things up, especially in the decor department. Adding, taking away, repurposing…you never know what’s going to change when you come over next. It’s a creative release that carries over from my novel-writing. Most of the time I like the change, and sometimes it takes me a while to figure out exactly what else is needed to finish it off to my liking. Take this bookshelf and amoire that I turned into additional kitchen storage. While I love the way the bookshelf turned out, I’m not so happy with the storage cabinet and will probably tweak it a little more once my tendonitis stops flaring up. 

Cabinet and bookshelf003

This is what I started with, at one time it was an oak bookshelf that I painted black and then changed it again.

Cabinet and bookshelf002

Nothing too fancy about it, but I still liked the lines of it.Cabinet and bookshelf001

And here we have our basic amoire/storage cabinet that I changed up the doors on so I could have more interior storage. They used to slide inside the cabinet, but that didn’t work for me.

Cabinet and bookshelf004

It too once had an oak finish that I painted black and decided it needed a color overhaul.

Cabinet and bookshelf006

Huge difference with the chalk paint color, it now stands out instead of blending into the background with all the other dark colors. 

Cabinet and bookshelf007

And the bookshelves? I’m really loving them again.

Cabinet and bookshelf010

I added an additional finish to this chalk paint project by using dark wax, and it turned out great.

Cabinet and bookshelf008

And you see that lovely little graphic addition to the top shelf? 
Cabinet and bookshelf011

I think it adds to the details of it and gives it the vintage look that I was going for…and the bonus? I printed it from The Graphics Fairy’s website! And the overall cost of this project? Under $20!

DSC_0024

Now while the storage cabinet looks fine in the living room, I’m thinking of adding the same dark wax finish over the chalk paint, along with a vintage graphic…as soon as my arm decides to cooperate. 

Creating an Inviting Entry on a Budget

So we all have seen the front entrance that looks grand and we oh and ah over it wishing we could create that same look…and then we have that rear entry that needs a little help because we want it to be inviting too not to mention a tight budget. Well lucky you! I’m going to show you both a cute front entrance and rear at different houses using the same method, but a little differently and all for under $20!

Let’s start with my Wanna Be Remodel from 2014. It was a rental we’d owned for a long time and needed some serious work–more than just an update. So before we sold it we overhauled the entire house, and me being me, I wanted to leave my own special touch for the new owners, and that came in the way of a cute and inviting entry for this lovely little ranch.

batten board entries020

Here’s what I started with, your basic plain boring hallway. It was on the dark side too since the door didn’t have a window.

batten board entries012

The overall process was pretty easy and cheap, like in it only costing around $20 for the materials. Now keep in mind I already had the paint, nails etc. I started off with a pile of lumber, pine or common wood and furring strips. 

batten board entries011

I cut to length and tacked them up using a nail gun, and level. I did not glue. Why? Because I wanted it to be easy for the new owner to change things out later down the road if they wanted to. Nothing like having drywall come off with the boards and being frustrated, believe me I know that feeling.

batten board entries017

I know you’re probably noticing that I used the furring strips all the way down and cut my baseboards to fit it. There’s no special reason for me doing this then it’s what I wanted since the two surfaces would have had different thicknesses. I wanted it to be somewhat smooth, and this was the way I could achieve it.

batten board entries016

Again adding my own special touch to the project, I purchased the precut letters from Hobby Lobby and painted them black. Cute right? I then caulked and finished painting out the wall in a white gloss, and stood back to enjoy the view. Warm, inviting, and I left them with a good start to add hooks or a bench.

batten board entries018

I’d come in if they offered. 

batten board entries020


Since I did this at the Wanna be Remodel and liked it so much, I decided to add this same theme to my back entry.

batten board entries002

This time, I chose not to paint it all, just the furring strips and top modelings. I also added hooks and this has become a well-used stop to hang coats, purses, backpacks and whatever else needs to be hung!

batten board entries003


batten board entries010


batten board entries009


batten board entries005

I only added the batten board look to the one wall because I have a hall bath on the opposite side with a pocket door. I thought it best not to nail the pocket door in place as it might make it a little embarrassing when guests were over and wanted to use the toilet. Smart choice I think. 😛 

batten board entries006

Staining Laminate – Yes, it can be done!

So about 2 years ago I felt a little ambitious and decided to take on my office cabinets, the orange-ish color laminate that wasn’t offensive, but just wasn’t my style or taste. I’d painted laminate in the past and had what I’d call so-so results. Yes, they look great right after I’d done them, but the results never lasted. What do I mean when I say the results never lasted? Always, every single time they’d end up peeling later down the road. User error? Possibly, but not likely. I know some have had success, but not me.

I decided to try something a little different by using a gel stain on the laminate and boy was I surprised at the results…2 years later! 

Gel Stained Cabinets051

You see the date on the calendar? October 2014, that’s when I first took on the project, and yes it took a while to finish up the office because I had a big load on my plate at the time. Here’s the pic from just the other day, January 2016, and the cabinets have held up great!

Gel Stained Cabinets028

Since the office was on the project list for 2016, yes I make project lists, I decided it was as good a time to finally finish it up. You’re going to be amazed at the difference a little Java gel stain can accomplish.

Gel Stained Cabinets048


Gel Stained Cabinets049


Gel Stained Cabinets054

Before; your basic stock laminate cabinets with an orangish color to them. They weren’t awful, I did live with them for many years like this and was content until the idea of mixing it up came to the forefront. 

It was pretty easy too, no real prep work other than making sure they were clean. One thick coat and they were done. Yup, that easy.

Gel Stained Cabinets008


Gel Stained Cabinets007


Gel Stained Cabinets006

I’d highly recommend using gloves when working with this gel stain. It’s sticky, and the only way to get it off your skin is by using paint thinner or nail polish remover. I just bought a large box at Costco because I tend to go through them fast.

Gel Stained Cabinets005

My favorite gel stain is the General Finishes brand. They’ve got great colors to choose from and a quart will go a long way. I probably used about half a can with this project, but that’s because I brushed it on thick. How you use it will vary on how much you need. You can purchase it from Amazon (yes, this is an affiliate link), but I found it cheaper locally at a wood working store.

Gel Stained Cabinets009

I put it on like paint, and with a light touch. I found working with laminate if I over brushed it the orange color would show through, and I didn’t want that. So light easy strokes is the best method, and even though this technically doesn’t have a true grain, you can create one by making sure your brush strokes are all in the same direction.

Gel Stained Cabinets004

I also found that when working with glass on the doors, it was okay to get a little stain on the glass. I later went back and used a razor to scrape it off.

Gel Stained Cabinets002

While the doors and shelves were drying, I stained out the wall cabinets.

Gel Stained Cabinets011

I even restained the dry erase board to match the cabinets as well. 

Gel Stained Cabinets038

Turned out pretty nice I’d say. It gives the office a nice rich feel that makes me want to be productive while I spend 8+ hours a day in there writing. 

Gel Stained Cabinets031


Gel Stained Cabinets042


Gel Stained Cabinets041


Gel Stained Cabinets012


Gel Stained Cabinets021


Gel Stained Cabinets020


Gel Stained Cabinets019


Gel Stained Cabinets022

This bench was done 2 years ago using a slightly different method. I did more of a dry brushing to give it a grained look like real wood. 

Gel Stained Cabinets043


Gel Stained Cabinets052

Looks like real wood, doesn’t it?

Gel Stained Cabinets045

And here it is 2 years later…a little dirty, but holding up strong.

Gel Stained Cabinets026


One note, it takes about 5-10 days for the gel to fully cure. What I mean by that is once it’s not tacky, you can put things back together, but take care that you don’t scratch the finish. You can retouch, and once it’s fully cured you shouldn’t have any issues unless of course you accidently scrape it with something sharp, just like any other wood product.

Well, I’m off to be productive in my newly revamped office space. Wish me luck!

Toodles!

A Year in Review

Another year has come and gone, and with that passing, it’s fun to sit back and remember all the creativity that came to life.   A year with ups and downs, and a year with loads of memories. So click the pictures and scroll through my year in review. 

Lisa's Scribbles

DIY Christmas – Custom Wood Signs

I’ve been on a roll this week with making wood signs, let me rephrase that, custom wood signs for my family and friends that fit some of them to a tee. You’ve seen them, they’re all over Pinterest, knock-offs from Pottery Barn, Pier One and the likes, plus original creations with a little twist like my friend, Judy does over at Vintage Street Designs. She’s got a store on Etsy and sells them at a reasonable price too! I’m not up for selling mine, just wanted to make them for Christmas and do a number of other projects around the house. I was able to score my Cameo Silhouette for an awesome Cyber Monday deal.

So this post, it’s not really a “how to” kinda post, it’s more like this is what you can do if you have a vinyl cutting machine–the creativity is limitless! 

As I mentioned, I scored my Cameo Silhouette on Amazon for an amazing Cyber Monday deal, and to my surprise, they’re still offering it as I’m posting. You can click here to check it out: Cameo Silhouette on Amazon.

Here’s what I got:

Screen Shot 2015-12-10 at 1.11.54 PM

It’s an awesome starter kit that also contained a $25 credit to the Silhouette store, which I used every penny of it up! It gave me enough sample materials to complete a few projects and get the hang of things, but believe me I’m still learning. 

To start off with I dug through my supply of scrap materials of wood, some of it from pallets and others from the remodels I’d completed, and put together signs all various shapes and sizes.

Christmas signs001

I first measure the length and cut 3 pieces of pallet wood.

Christmas signs002

I laid them out all nice and neatly in a row.

Christmas signs003

Then I used my nailer to add support strips on the top and bottom.

Christmas signs005

Then I took my sander and smoothed out the surface to try and make it as smooth as possible.

Christmas signs006

I then added a coat of paint in the color of my choice and let it dry.

Christmas signs008

I then used my Cameo and cut out the design onto the vinyl. I pulled off the letters, which left me with a stencil and then applied the application tape. You need this to transfer your stencil to your surface, it’s just too flimsy otherwise.Christmas signs009

I then aligned it and used my spreader to push it onto the surface.

Christmas signs010

The fun then begins as you pull the application tape off. I found that sometimes the vinyl stuck really well to the surface, and other times not so much. So take care when you peel it off, go slow so you don’t tear the vinyl in the process.Christmas signs011

This is what you’re left with, a beautiful stencilChristmas signs012

I used a stencil brush and dabbed it onto the surface.Christmas signs015

I also choose to mix mine up a little and stenciled “Christmas” in red paint and then added glitter.

Christmas signs017


Christmas signs019

Yup, a little glitter goes a long ways!

Christmas signs021

After the paint was dry, I peeled off the vinyl and here’s what I was left with. Pretty cute, right?

Christmas signs024

I got on a roll and the designs kept flowing!

Christmas signs025


Christmas signs026


Christmas signs027


Christmas signs028


Christmas signs029


Christmas signs030


Christmas signs031


Christmas signs032


Christmas signs033


Christmas signs037

So again, if you’re family or friends and reading this, act surprised when you receive your Christmas present this year. Off to finish the rest off!

Toodles!