Category Archives: Crafts

Hometalk & Lisa’s Scribbles

A thing happened this week. What thing happened you ask? Well, let me tell you what thing took place…I was invited to do a live Facebook demo for Hometalk!! Is this a big deal? Kinda? Am I thrilled beyond belief that they think I’m good enough to do a demo? Oh yeah!! Am I a bit nervous about doing a live Facebook demo for Hometalk? Need you ask?

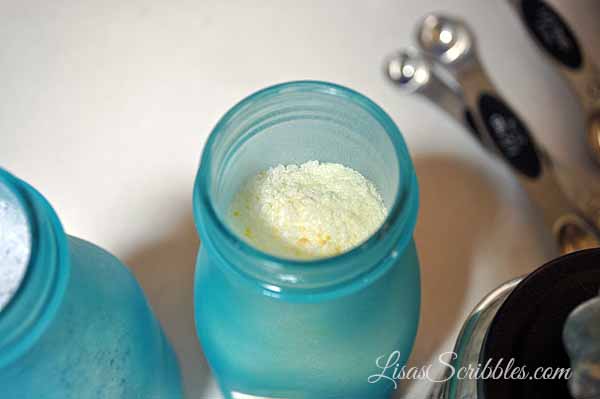
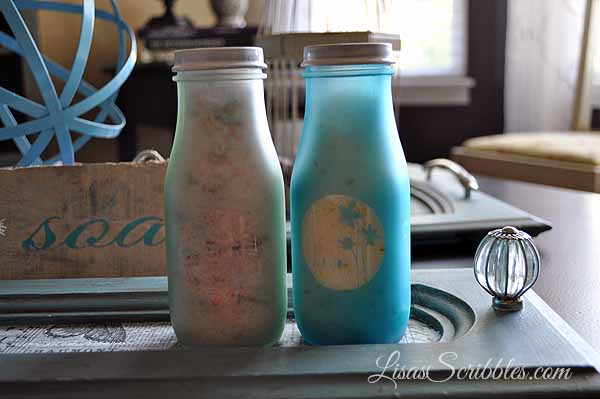
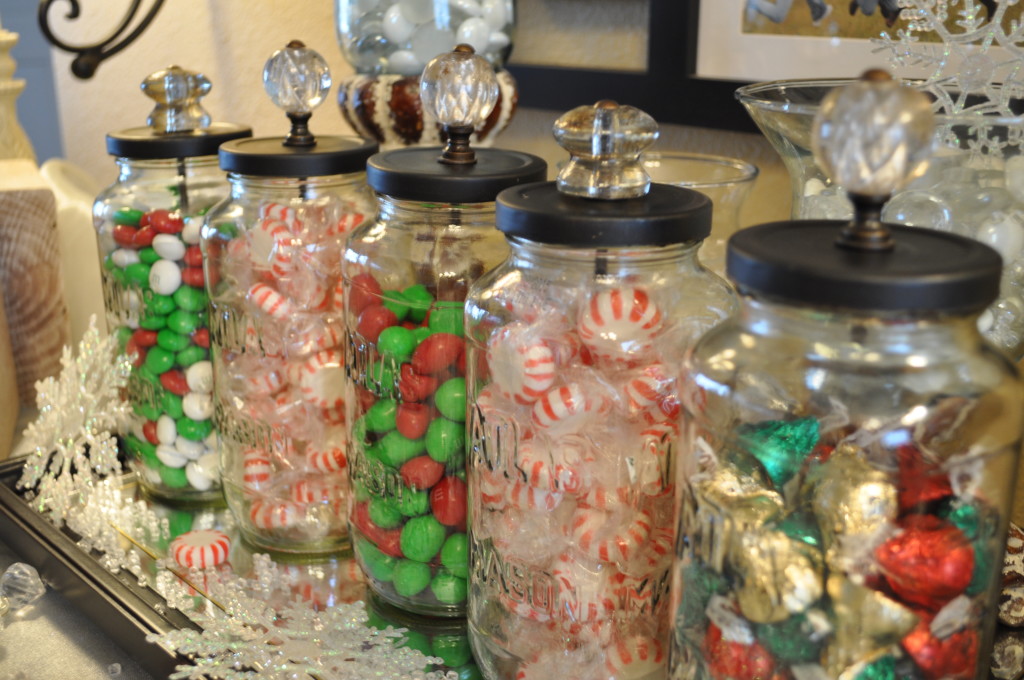
Let me take you back a few years, to December 2013. I created a post for my DIY Christmas project, and it was how to create Candy Jars for gifts. I was touting that you can recycle old jars you have lying around. Okay, I’m probably the weird one here who keeps those old spaghetti and pickles jars, but it works for me, I like to come up with different uses for them–and did. 

I decided two years later to share this post on Hometalk in December 2015. What happened next isn’t what I expected. Since that post went live, it’s been viewed over 543K times on Hometalk. Shared to Facebook 852 times, pinned to Pinterest 6.5K times, and saved on Hometalk 512 times and the comments? 175 and the totals are still rising! 

DSC_0148

Check out the link here: Hometalk DIY Candy Jars

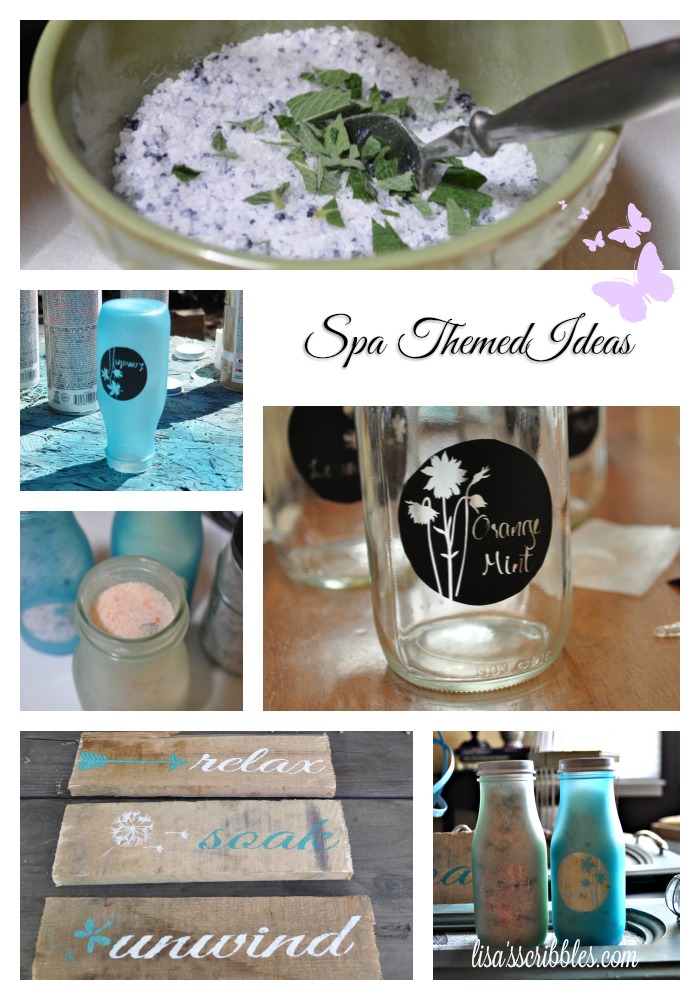
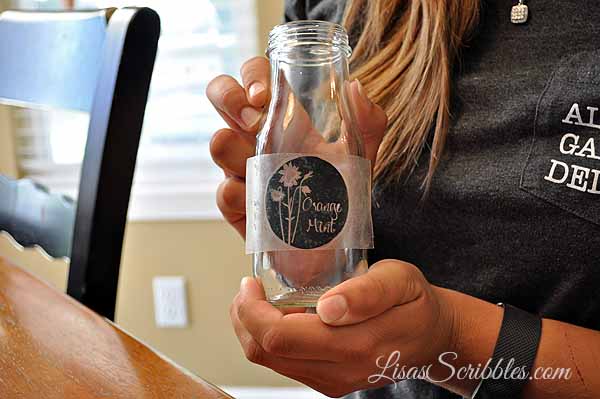
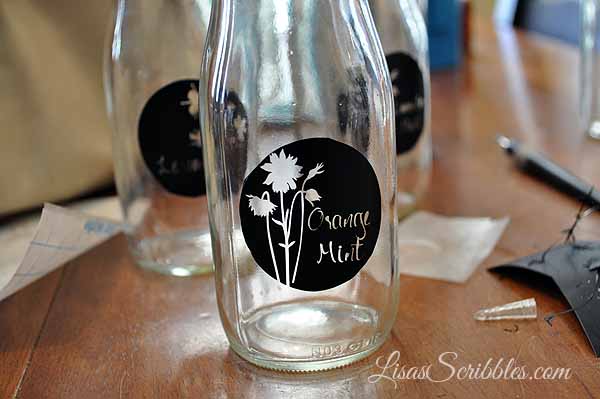
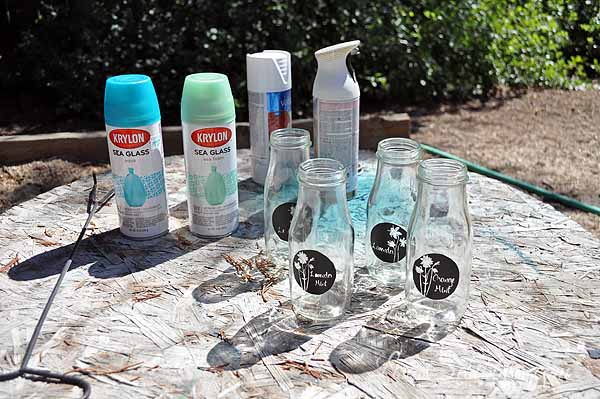
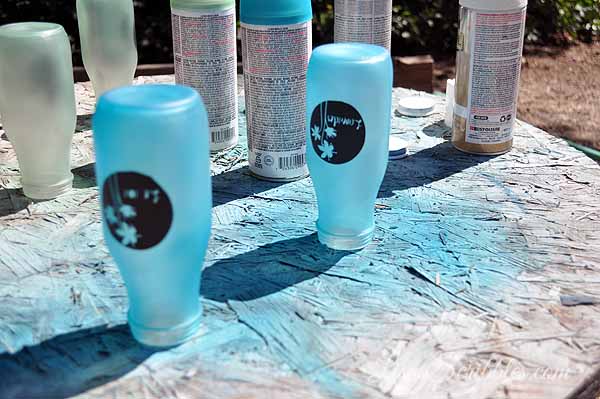
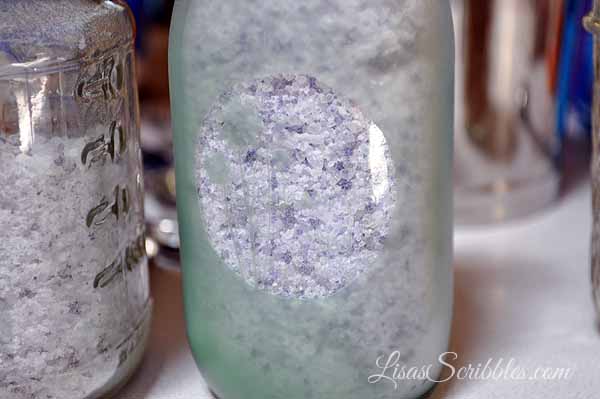
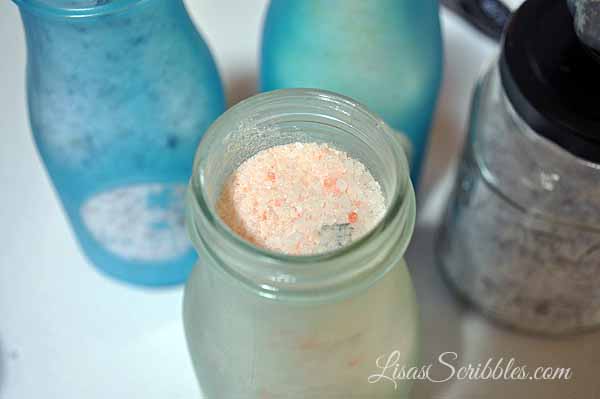
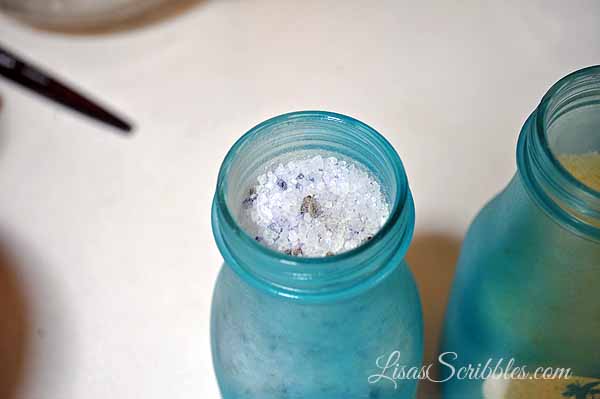
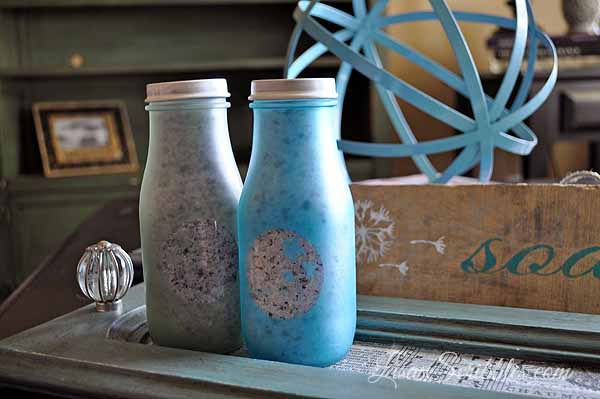
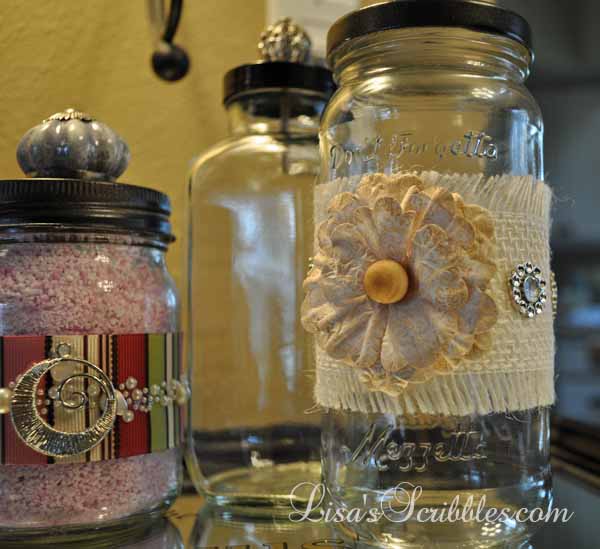
So as a followup to this well-received post, I did an updated version to my DIY Christmas posts in December 2015 titled UpCycling Glass Jars. Well, guess what happened next? It’s been going crazy too!

So far my Upcycling Glass Jars post on Hometalk has been viewed 156K times, shared on Facebook 192 times, pinned to Pinterest 1.9K times, and saved on Hometalk 117 times! 

Glass Jar Upcycing026

Check it out here: DIY Christmas Upcycling Glass Jars

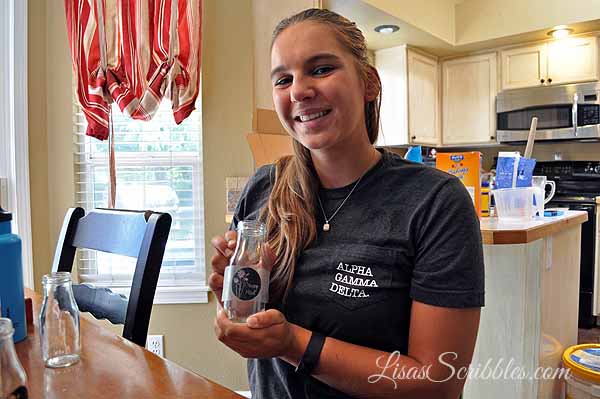
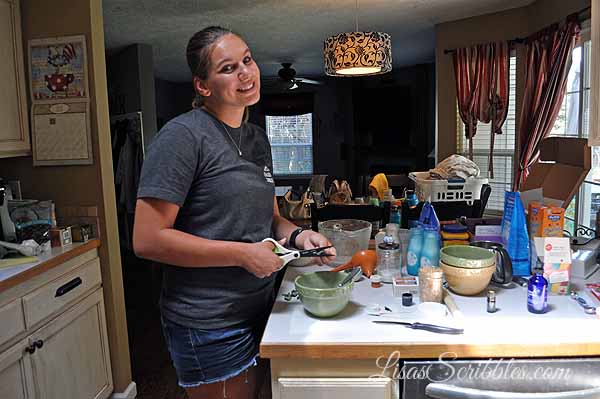
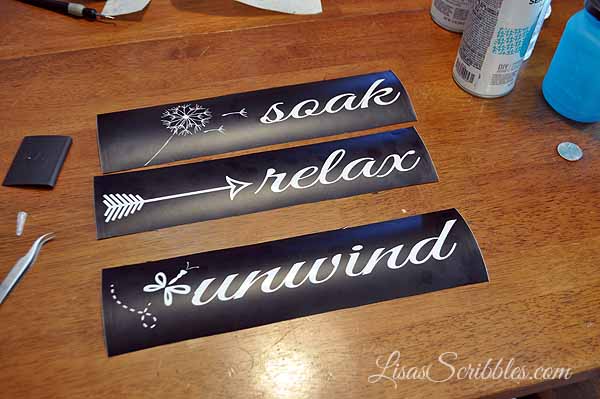
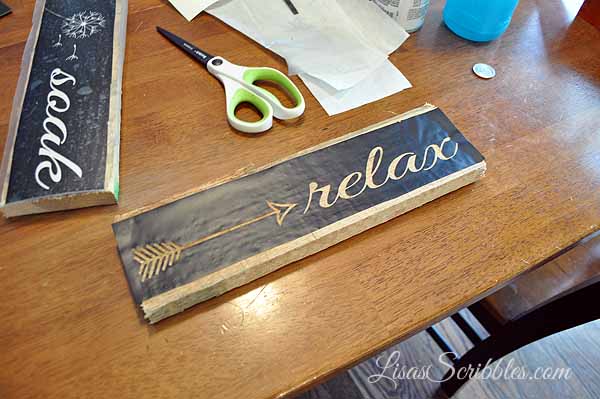
So when Hometalk was looking for bloggers to put themselves out there with their projects, I took the plunge and submitted a couple of projects. While they loved the ideas, they asked me instead to do a demo on how I make my Candy Jars/Upcycled Glass jar projects! 

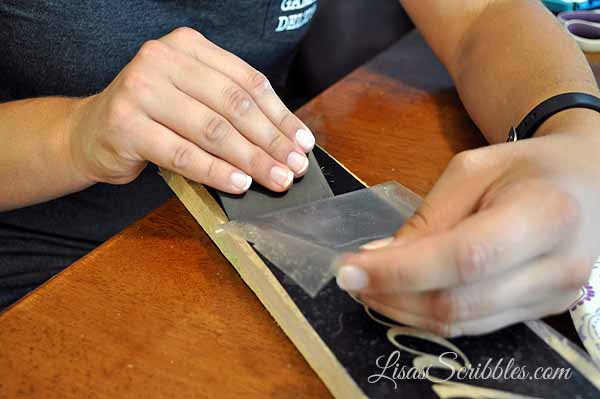
What does this mean for you? You get to watch me live on Facebook on, Monday, December 5th, at 7 p.m. EST or 5 p.m. MTN time and see how this creative, crazy crafty mind of mine works! And boy do I have some fun updates on the project as well. Come October every year I need to be banned from places like Hobby Lobby and Michaels–according to my hubby who of course thinks I go crazy there. Me? I have no idea what he’s talking about…

What else does this mean? I mean that I’m more than an author, I’m a DIY’er too. It also means that the more I put myself out there by marketing me, the more potential readers that I get to bring into the fold. And who doesn’t want more CATTS* suffers like the rest of you?  I do! 

*Chronic Addicition to Timeless Series

Decorative Designer Decor

Some of you may have noticed, but if you haven’t, I’m going to admit that I have a couple of addictions…shoes and DIY. I shouldn’t go into places like Hobby Lobby, DSW or Kohls with a wallet. The temptation is too great–at least that’s what my hubby says, but who listens to your hubby anyway? Okay, sometimes I do, but when falls rolls around and I get the even bigger itch to start creating, it’s a lost cause–or I am. lol Continue reading

Day Fence Project – Reader Feature

I’m loving the fact that I can share other’s projects here on my site because it brings in more creativity and allows you to see other’s works as well. Today’s Reader Feature is from Anita Day, and I think you’re gonna adore it just like it did. She had a water stained fence on her property that needed “something” to help it out, and I think she accomplished it well! Take a peek at this week’s Reader Feature. Continue reading

Spa Themed Ideas

I love being creative like you couldn’t guess. Lol. And when I get the opportunity to help someone else be creative, well it just makes my day! 

Such is the case for lovely Lyndsie. She’s been a part of this family this past year in the capacity of my youngest son’s darling girlfriend–a great addition if you ask me! 

Lyndsie joined a sorority last year and this since she’s returning she and her roommate were in need of creating a spa themed room. That’s where I come in and couldn’t hold back my excitement at being able to help out with some ideas and lend a crafty hand. Of course, my son told her she’d let loose a monster, but I stuck my tongue at him and went on with pinning ideas for her on a Pinterest board. 

Lyndsie narrowed down the suggestions to a few, and we were off to a great start! I’m liking how it all turned out, and I think you will too!

So sit back and enjoy our mini version of creating a spa themed room.

Spa Day Theme003

We started off with empty frappe bottles; you know that kind that looks like mini versions of the old milk bottles? 

Spa Day Theme004

I then created some stencils with my Cameo machine, and we applied them to the bottles before adding colors. 

Spa Day Theme005

Lovely Lyndsie is showing off the stencil. 

Spa Day Theme006

Here’s a close up. 

Spa Day Theme007

In the future, I’d likely make the lettering on the stencil a bit bigger as it was difficult to pull the insides of the letters out to create the stencil. 

Spa Day Theme008

We then used a sea glass spray paint to create our works of art.

Spa Day Theme010

We sprayed the lids white and were off to a great start.

Spa Day Theme012

Next came the bath salts. Lyndsie chose the recipe from a pin on Pinterest, and we then added food coloring, essential oils and in some cases fresh mint from my garden.

Spa Day Theme018


Spa Day Theme017


Spa Day Theme020

This was created using lavender essential oils and fresh lavender from the garden.

Spa Day Theme022

The lemon smell in this one was divine!
Spa Day Theme023

Spa Day Theme014

The mixologist at work! 

Spa Day Theme025


Spa Day Theme026

Orange mint, oh boy!

Spa Day Theme027


Spa Day Theme028


Spa Day Theme029

We could have stopped there, but we didn’t. You can’t have a spa themed room without signs!

Spa Day Theme031

Again I used my Cameo machine to create a stencil.

Spa Day Theme033

Applied it to some old pallet wood I keep around.

Spa Day Theme034

Put  paint on & some glitter and voila!

Spa Day Theme038

Some pretty cute signs that she can hang either in the room or on the door, or can just sit on the counter were made. 
Spa Day Theme039

Makes me want to take a soak, what about you?Spa Day Theme040


Spa Day Theme041


Spa Day Theme042


It was a fun creative day that both Lyndsie and I will remember for quite a while. 

Clay Pot Makeover

So I know it’s been over a month since I’ve published a new post, but I do have a valid excuse as I was putting my 11th novel overall and 7th in the Timeless Series out. It takes time to put it all together and finding time for extra fun projects is sometimes thrown to the wayside. But the novel is out and doing well so it’s time to give you a fun, cheap and creative way to reuse/makeover any planting pots you may have lying around. Continue reading

DIY Christmas – Custom Wood Signs

I’ve been on a roll this week with making wood signs, let me rephrase that, custom wood signs for my family and friends that fit some of them to a tee. You’ve seen them, they’re all over Pinterest, knock-offs from Pottery Barn, Pier One and the likes, plus original creations with a little twist like my friend, Judy does over at Vintage Street Designs. She’s got a store on Etsy and sells them at a reasonable price too! I’m not up for selling mine, just wanted to make them for Christmas and do a number of other projects around the house. I was able to score my Cameo Silhouette for an awesome Cyber Monday deal.

So this post, it’s not really a “how to” kinda post, it’s more like this is what you can do if you have a vinyl cutting machine–the creativity is limitless! 

As I mentioned, I scored my Cameo Silhouette on Amazon for an amazing Cyber Monday deal, and to my surprise, they’re still offering it as I’m posting. You can click here to check it out: Cameo Silhouette on Amazon.

Here’s what I got:

Screen Shot 2015-12-10 at 1.11.54 PM

It’s an awesome starter kit that also contained a $25 credit to the Silhouette store, which I used every penny of it up! It gave me enough sample materials to complete a few projects and get the hang of things, but believe me I’m still learning. 

To start off with I dug through my supply of scrap materials of wood, some of it from pallets and others from the remodels I’d completed, and put together signs all various shapes and sizes.

Christmas signs001

I first measure the length and cut 3 pieces of pallet wood.

Christmas signs002

I laid them out all nice and neatly in a row.

Christmas signs003

Then I used my nailer to add support strips on the top and bottom.

Christmas signs005

Then I took my sander and smoothed out the surface to try and make it as smooth as possible.

Christmas signs006

I then added a coat of paint in the color of my choice and let it dry.

Christmas signs008

I then used my Cameo and cut out the design onto the vinyl. I pulled off the letters, which left me with a stencil and then applied the application tape. You need this to transfer your stencil to your surface, it’s just too flimsy otherwise.Christmas signs009

I then aligned it and used my spreader to push it onto the surface.

Christmas signs010

The fun then begins as you pull the application tape off. I found that sometimes the vinyl stuck really well to the surface, and other times not so much. So take care when you peel it off, go slow so you don’t tear the vinyl in the process.Christmas signs011

This is what you’re left with, a beautiful stencilChristmas signs012

I used a stencil brush and dabbed it onto the surface.Christmas signs015

I also choose to mix mine up a little and stenciled “Christmas” in red paint and then added glitter.

Christmas signs017


Christmas signs019

Yup, a little glitter goes a long ways!

Christmas signs021

After the paint was dry, I peeled off the vinyl and here’s what I was left with. Pretty cute, right?

Christmas signs024

I got on a roll and the designs kept flowing!

Christmas signs025


Christmas signs026


Christmas signs027


Christmas signs028


Christmas signs029


Christmas signs030


Christmas signs031


Christmas signs032


Christmas signs033


Christmas signs037

So again, if you’re family or friends and reading this, act surprised when you receive your Christmas present this year. Off to finish the rest off!

Toodles!