Author Archives: Lisa

About Lisa

Pinning the wilderness of my imagination, one Pin at a time. I love hiking, camping, watching my boys fish, and taking long walks with my yellow labs, Taylor and Mandi. I enjoy cooking when the mood hits, and not only have I published novels, but I'm the master of redesigning just about anything. I’m the DIY author who has made Idaho her home for 27 years, and I can't wait to spend another 27 years here.

DIY Christmas – Custom Wood Signs

I’ve been on a roll this week with making wood signs, let me rephrase that, custom wood signs for my family and friends that fit some of them to a tee. You’ve seen them, they’re all over Pinterest, knock-offs from Pottery Barn, Pier One and the likes, plus original creations with a little twist like my friend, Judy does over at Vintage Street Designs. She’s got a store on Etsy and sells them at a reasonable price too! I’m not up for selling mine, just wanted to make them for Christmas and do a number of other projects around the house. I was able to score my Cameo Silhouette for an awesome Cyber Monday deal.

So this post, it’s not really a “how to” kinda post, it’s more like this is what you can do if you have a vinyl cutting machine–the creativity is limitless! 

As I mentioned, I scored my Cameo Silhouette on Amazon for an amazing Cyber Monday deal, and to my surprise, they’re still offering it as I’m posting. You can click here to check it out: Cameo Silhouette on Amazon.

Here’s what I got:

Screen Shot 2015-12-10 at 1.11.54 PM

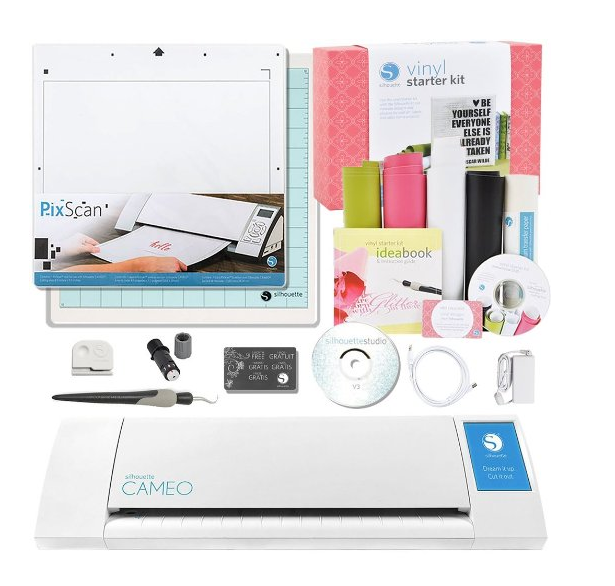
It’s an awesome starter kit that also contained a $25 credit to the Silhouette store, which I used every penny of it up! It gave me enough sample materials to complete a few projects and get the hang of things, but believe me I’m still learning. 

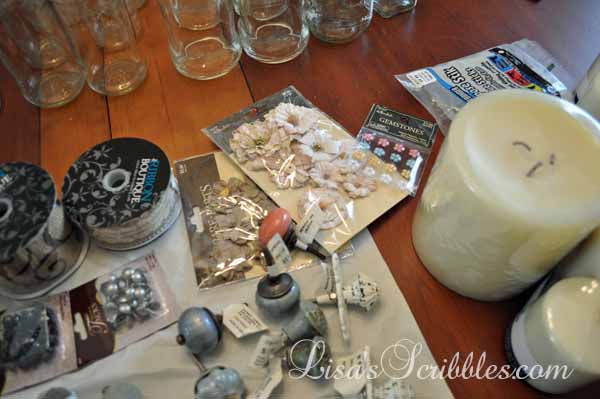
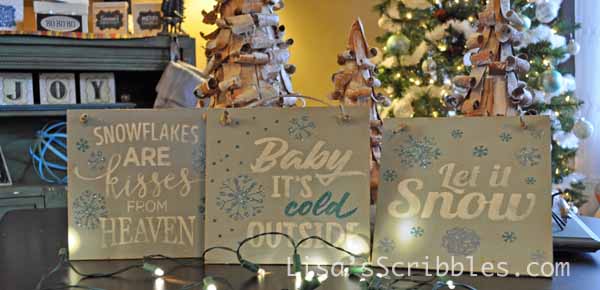
To start off with I dug through my supply of scrap materials of wood, some of it from pallets and others from the remodels I’d completed, and put together signs all various shapes and sizes.

Christmas signs001

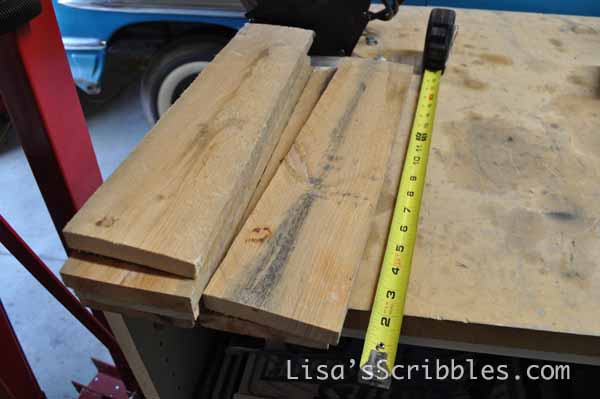
I first measure the length and cut 3 pieces of pallet wood.

Christmas signs002

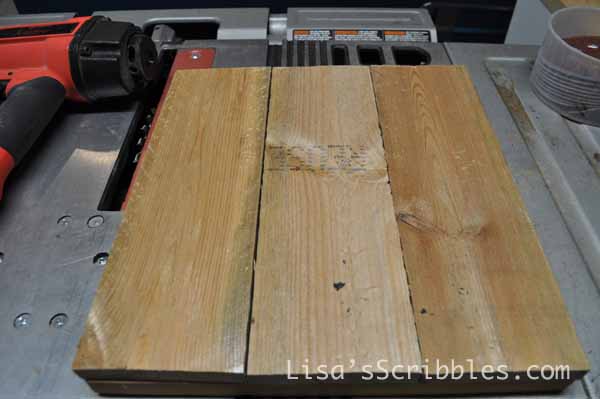
I laid them out all nice and neatly in a row.

Christmas signs003

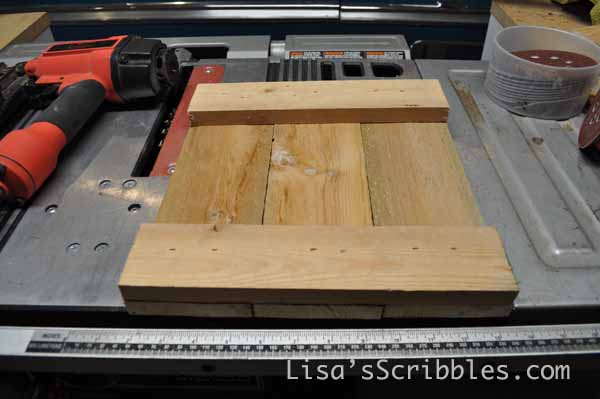
Then I used my nailer to add support strips on the top and bottom.

Christmas signs005

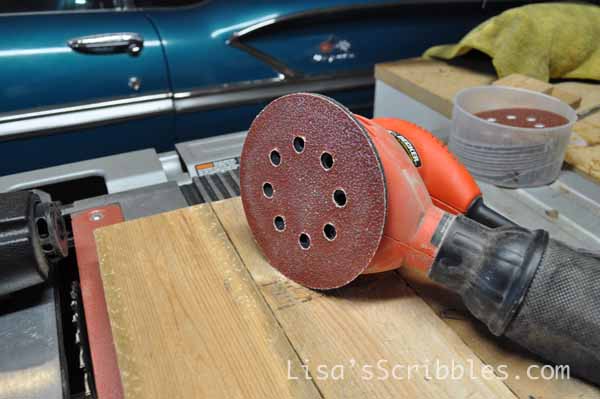
Then I took my sander and smoothed out the surface to try and make it as smooth as possible.

Christmas signs006

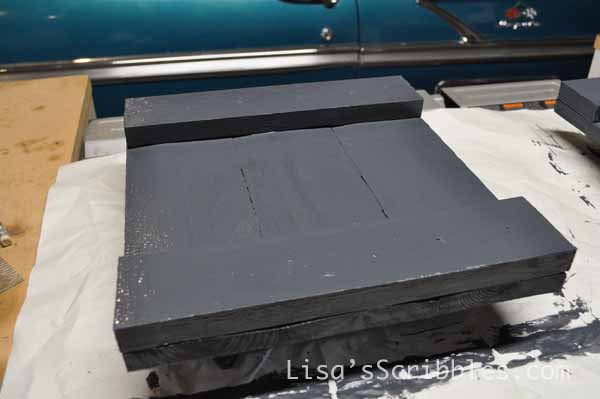
I then added a coat of paint in the color of my choice and let it dry.

Christmas signs008

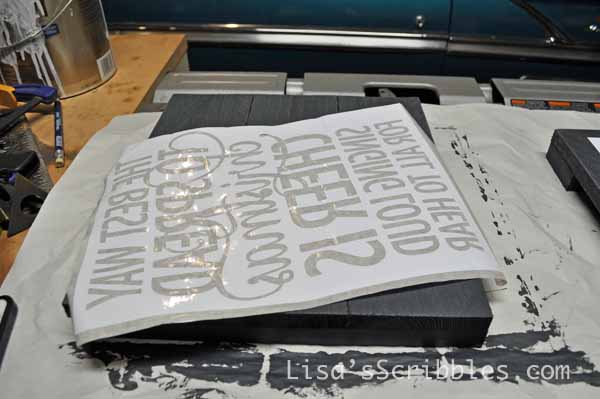
I then used my Cameo and cut out the design onto the vinyl. I pulled off the letters, which left me with a stencil and then applied the application tape. You need this to transfer your stencil to your surface, it’s just too flimsy otherwise.Christmas signs009

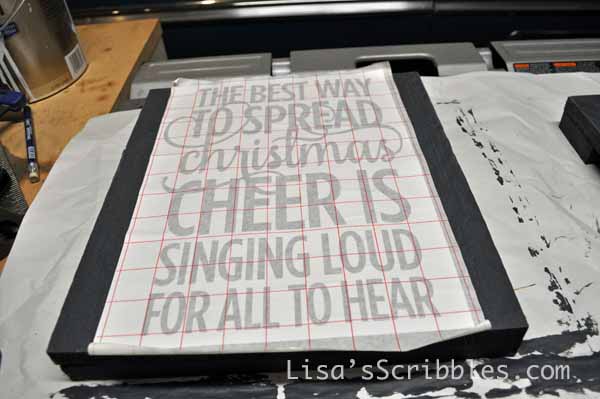
I then aligned it and used my spreader to push it onto the surface.

Christmas signs010

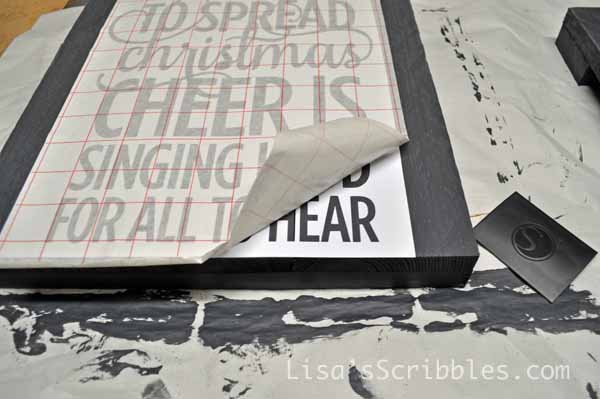
The fun then begins as you pull the application tape off. I found that sometimes the vinyl stuck really well to the surface, and other times not so much. So take care when you peel it off, go slow so you don’t tear the vinyl in the process.Christmas signs011

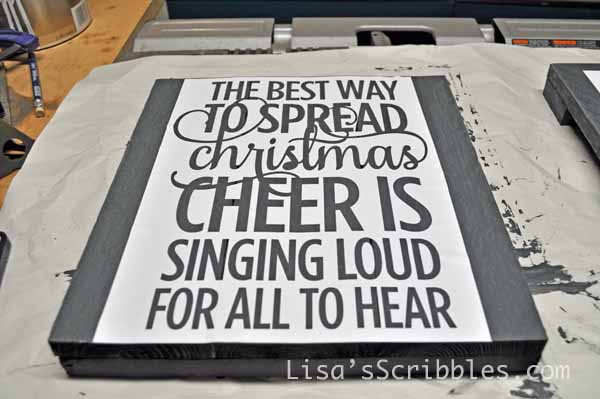
This is what you’re left with, a beautiful stencilChristmas signs012

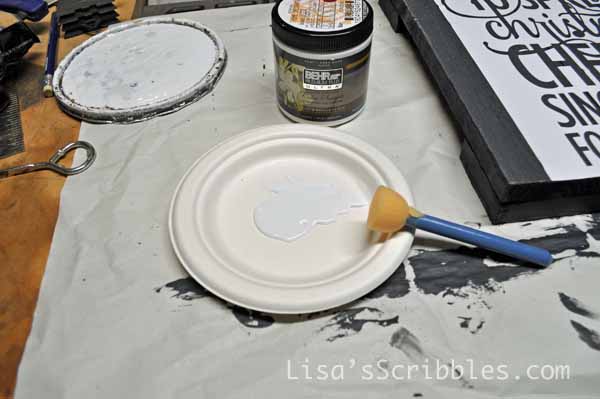
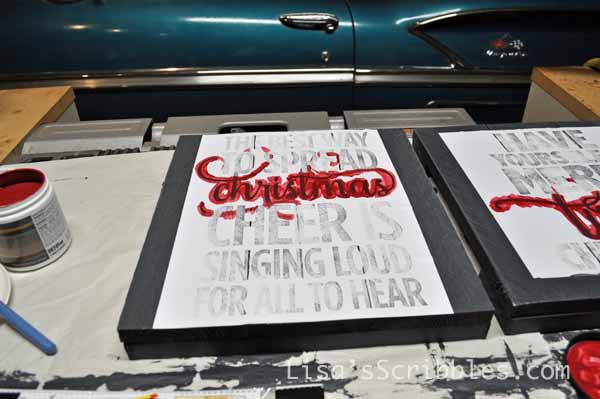
I used a stencil brush and dabbed it onto the surface.Christmas signs015

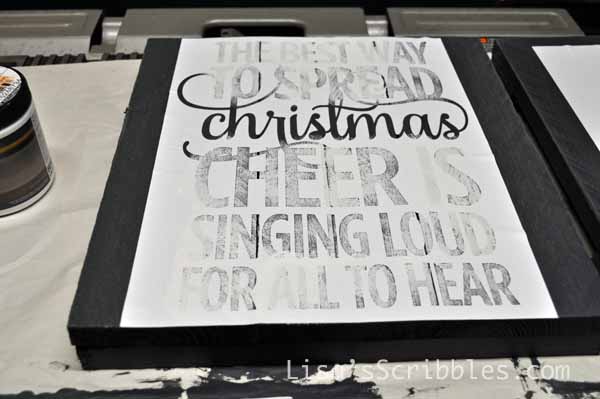
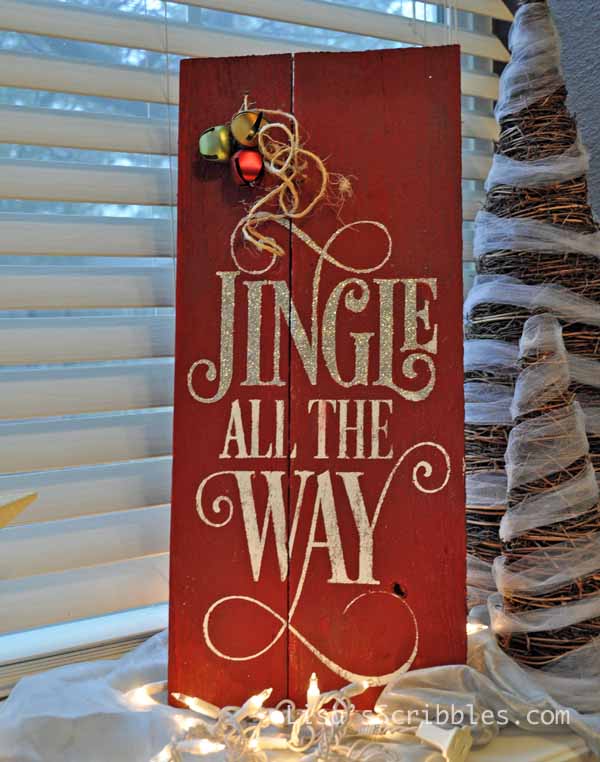
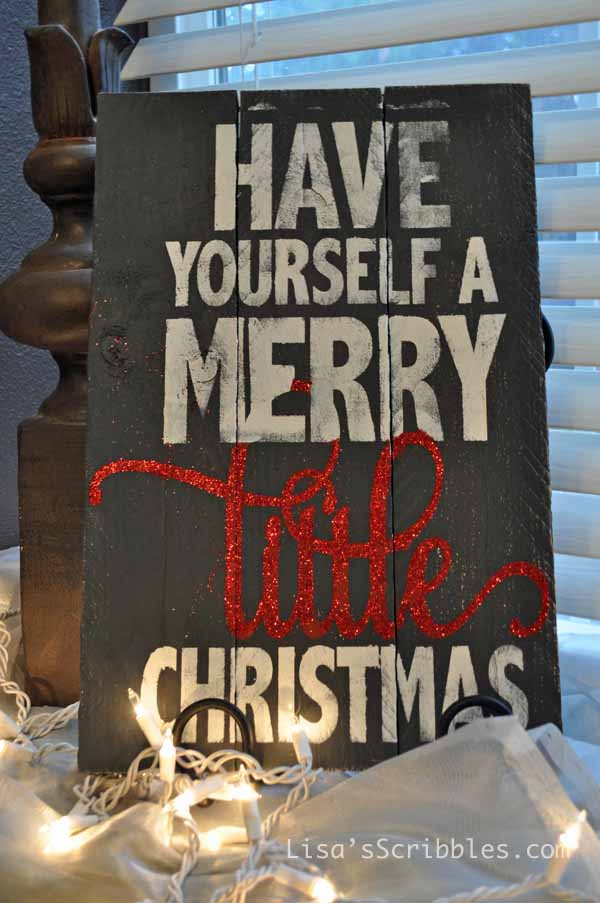
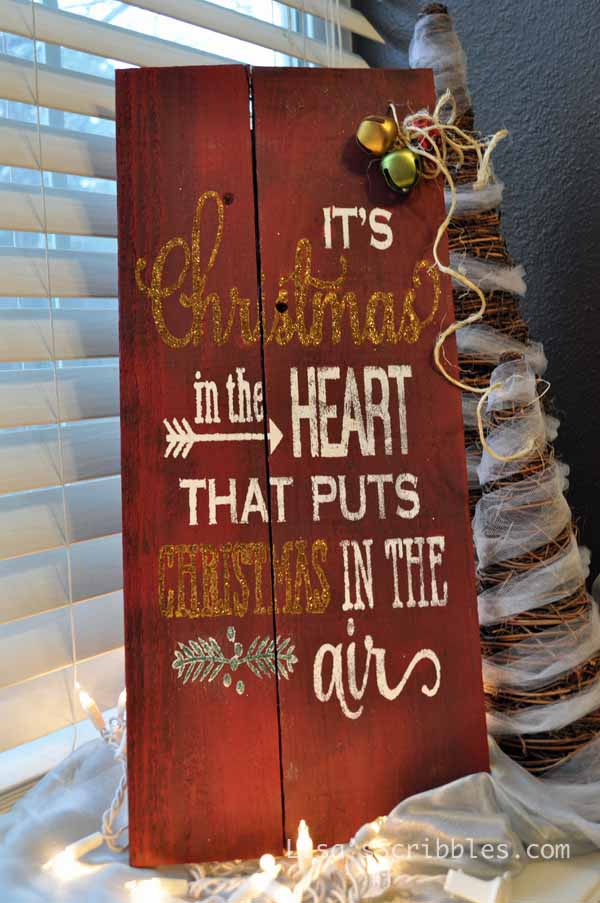
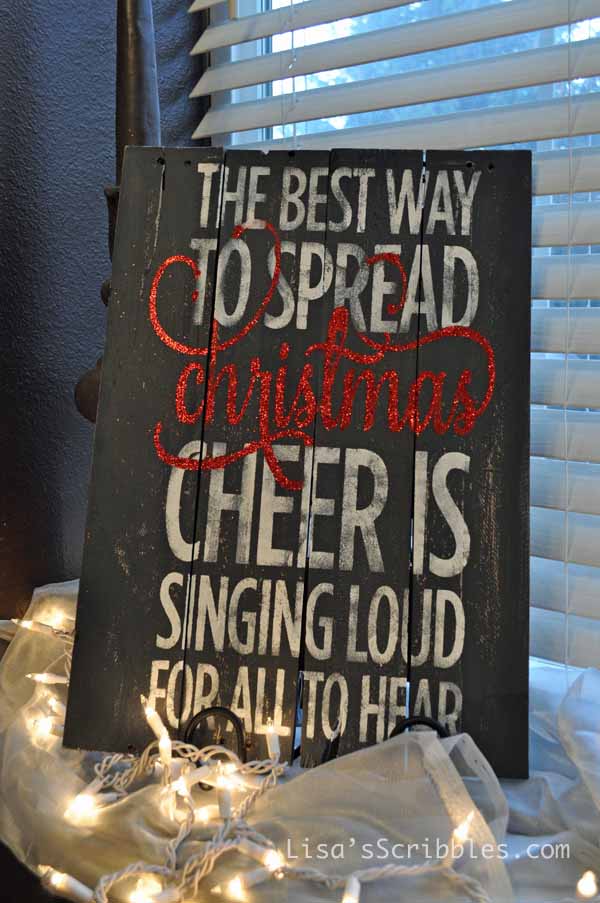
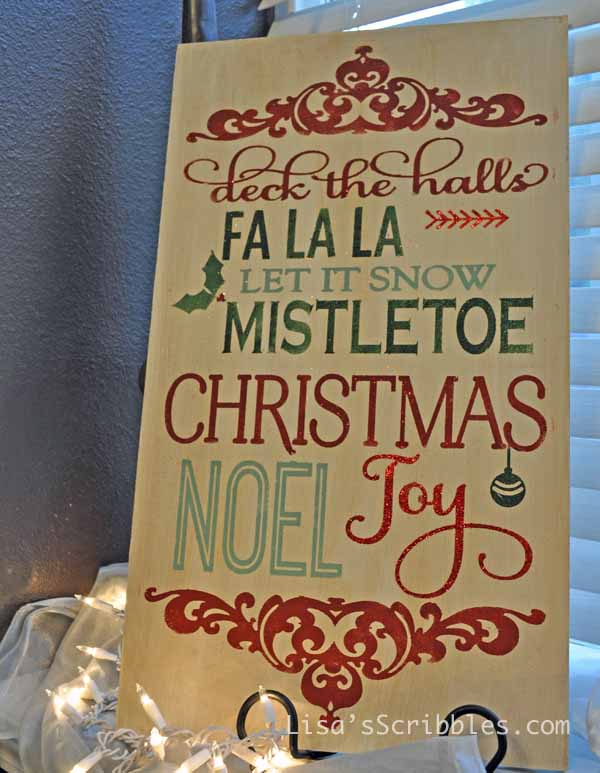
I also choose to mix mine up a little and stenciled “Christmas” in red paint and then added glitter.

Christmas signs017


Christmas signs019

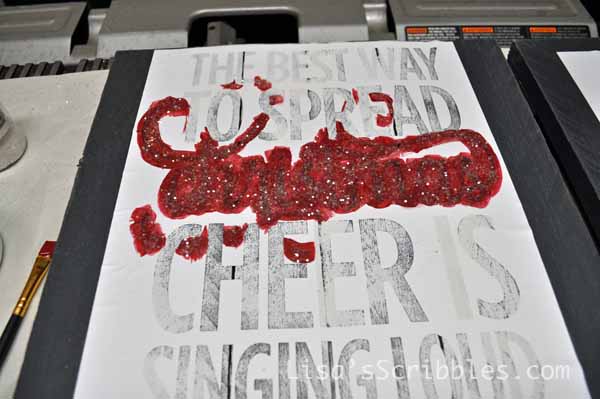
Yup, a little glitter goes a long ways!

Christmas signs021

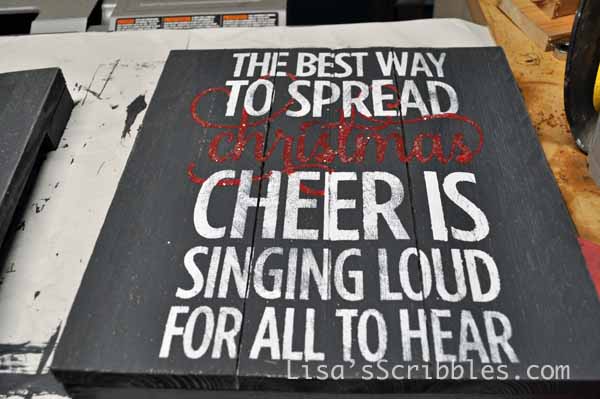
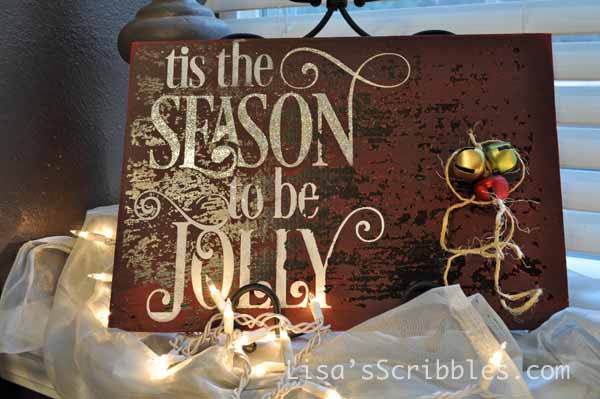
After the paint was dry, I peeled off the vinyl and here’s what I was left with. Pretty cute, right?

Christmas signs024

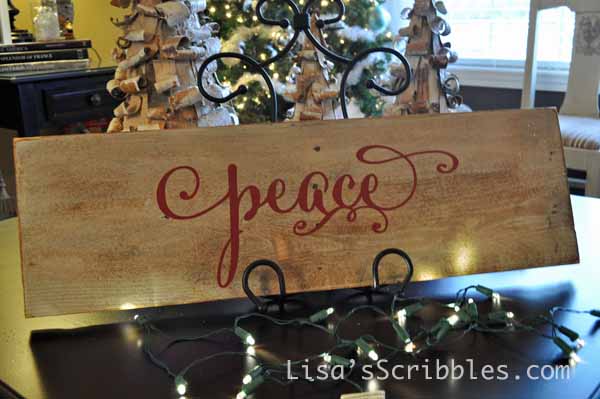
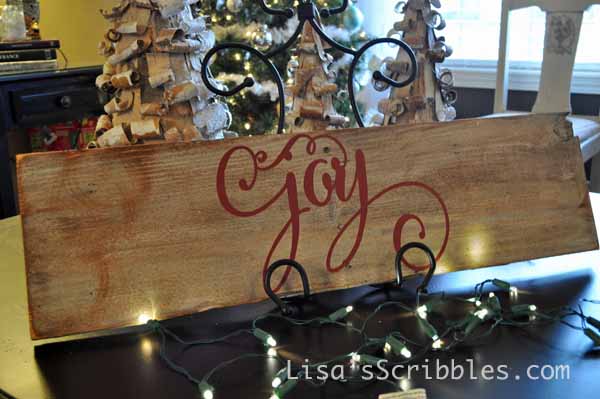
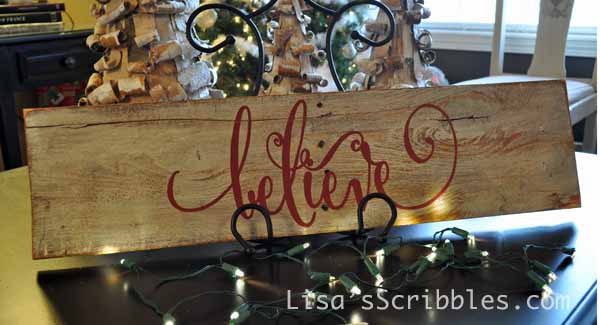
I got on a roll and the designs kept flowing!

Christmas signs025


Christmas signs026


Christmas signs027


Christmas signs028


Christmas signs029


Christmas signs030


Christmas signs031


Christmas signs032


Christmas signs033


Christmas signs037

So again, if you’re family or friends and reading this, act surprised when you receive your Christmas present this year. Off to finish the rest off!

Toodles!

DIY Christmas – Glass Ornament Decoupage

So I’m at it again, this time it’s glass ornaments I’ve had lying around forever. A few years back I found a pin on Pinterest showing old book pages being decoupaged to glass ornaments and I thought that would be pretty cool…until I tried it. In theory, it should have worked, but in reality it didn’t. Why? The old book pages were too thick to adhere to the glass bulb, so I tossed the idea aside until recently when I was cleaning out a cabinet in my office and came across the ornaments again. An idea struck me and that’s where it all started.

To begin with I gathered up the remaining glass ornaments.


Christmas ornaments013

Then the supplies of decoupage glue, tissue paper and glitter of course. 

Christmas ornaments014


Christmas ornaments012


Christmas ornaments015

I cut my tissue paper into strips and then into smaller squares or rectangles. 

Christmas ornaments017

I then pulled the ornament hanger clip off and found a straw to help hold it upright while I coated the glass bulb with the decoupage glue. FYI – your fingers will get coated with the glue and glitter. 

Christmas ornaments020


Christmas ornaments022

Once the bulb was completely coated, I then applied strips of the tissue paper randomly over the surface ensuring it was completely covered. You will overlap the tissue, it’s all good in the end, I promise. 

Christmas ornaments023

As I applied the tissue paper I spread more of the decoupage over the tissue paper to smooth it down. 

Christmas ornaments024

Once it was completely covered in the tissue paper, I then sprinkled on some glitter because everyone needs a little bling in their life! Okay, besides needing bling in your life, I did it so it would sparkle when the Christmas tree lights and sunlight hit them. 

Christmas ornaments016

Once dry, I then reattached the ornament hanging clip to the top and smiled at my creation. 

Christmas ornaments031

Pretty cute, right?

Christmas ornaments028


Christmas ornaments027


Christmas ornaments029

And how do they look on the tree? Well, you tell me… 

Christmas ornaments010


Christmas ornaments009


Christmas ornaments032


Christmas ornaments006

I liked them so much I grabbed some mini silver ornaments I’d used in the past and decoupaged them too!

Christmas ornaments008

Some made it to the tree while others became table top ornament decorations.

Christmas ornaments007


Christmas ornaments001


Christmas ornaments002


Christmas ornaments003


Christmas ornaments005

Makes you want to repurpose some of your old ornaments, doesn’t it? 

Toodles!


DIY Christmas – Custom Decor Candles

Want to give your friend or family member that special gift that comes from the heart? Well, I got another idea for you to run with for your DIY Christmas – A Custom Decor Candle. Yeah, I know Scentsy is the big thing now, everything wickless, but sometimes your want to have a candle to add to your decor because it’s simply so beautiful. I have an easy way to either update your old candles, or create a magical gift for the family and friends in your life. 

candle-creations026

So I made these little beauties at the same time as I was Upcycling glass jars for Christmas gifts. I used some of the same supplies; ribbons, embellishments, old earrings and some upholstery tacks.

candle-creations041

I started with some candles I purchased at Walmart. The large ones are scented, the smaller are unscented. Hobby Lobby had candles as well, but I was looking for the least expensive variety.

candle-creations040

I gathered together my supplies.
candle-creations039

Ribbons, tacks, some jewelry making supplies. 

candle-creations008

A few things from the paper crafting aisle as well.

candle-creations038

Cuz seriously, who doesn’t want some bling in their life?

candle-creations012

I then used the ribbon of choice and secured in the back with some upholstery tacks. They add a nice touch too, don’t you think?

candle-creations017

After securing the ribbon, I embellished with a variety of my supplies.

candle-creations025

A little paper crafting supplies with the flowers that I attached using a glue gun, and then some bling to dress it up.

candle-creations032

I used a tack on the front to hold the tassel and key in place for this one. 

candle-creations028

And this got a little of everything.

candle-creations019

And then I decided to mix things up by using some wire.

candle-creations018

After adding a little bit of jewelry to the front, I secured it by twisting the wire on the back.

candle-creations030


candle-creations023

A little bling, a little ribbon and wa-lah! You’ve got yourself a beautiful handmade gift that will be cherished. 

candle-creations016


candle-creations015


candle-creations014

This little embellishment was an old earring from my niece that I added the charm to.

candle-creations020


candle-creations011


candle-creations029

Now who wouldn’t want to display them on a shelf or tray in the bathroom? Or even in the living room or dining room. 

candle-creations027

Yeah, I’m gifting these away this year. So if you’re family/friends and you’re seeing this post, guess what’s coming your way!

Toodles!


Senior Pictures

Oh boy, I’m at it again, this time it was senior pictures for a dear friend’s son. I’m not gonna lie, it’s a creative outlet for me at times. Sometimes I get things all stored up inside and have to have a release! Yes, I know I write books and that should be enough, but it’s not, so sit back and enjoy!

[supsystic-gallery id=3 position=center]

DIY Christmas – Upcycling Glass Jars

In December 2013 I published a post title DIY Christmas – Candy Jars, and recently the post and comments have taken off from sites like Hometalk and Pinterest. So, in an effort to keep things rolling, I’ve updated my DIY Christmas post to include gift ideas for all those glass jars once again. And boy oh boy are you in for a treat!

I collect things, what can I say? Now let me point out that I only collect things that inspire me, something I can reuse, repurpose into something different, an original creation/variation of sorts. Upcycling has become big, there are so many things you can do with old wood, glass jars, sweaters and the list keeps growing. It’s all about creating something unique and beautiful at the same time. My husband used to call it junk, but not so much anymore. Now? Now he’s like, “So what can we make this weekend so you can blog about it?” Crazy, right? 

So since he’s been working super long hours this week, I’ve been upcycling glass jars for Christmas gifts and wanted to pass the inspiration on to you.

Glass Jar Upcycing027

Well it all started with empty jars ranging from spaghetti jars, hot peppers, sauces, spice jars and a few drink jars thrown in just for the heck of it. And what came out of them is pretty awesome!

Glass Jar Upcycing001

You think I had enough jars saved up? It was becoming a problem on finding space to store them without my hubby finding them and want to toss them.

Glass Jar Upcycing003

I gathered up my supplies; ribbons, embellishments, knobs, and some paper crafting supplies. 

Glass Jar Upcycing004

Those lovely little do dads were in the paper crafting supplies area at Hobby Lobby It’s the bling that caught my eye.

Glass Jar Upcycing005

Hobby Lobby had their ribbon at 50% off, can’t beat a deal like that around holiday crafting time.

To start with I selected my jar, in this case it was from sauerkraut, and no it didn’t stink because I always run my jars through the dishwasher and then let them sit for a while without the lid on so the strong orders disappear. I also soak my jars for a little while in warm water to remove the labels. I’ve found that an SOS pad works great at removing the sticky residue quickly and doesn’t scratch it. And for the really sticky stuff? I use Goo Gone and let it soak for just a little bit before scrubbing them off.

Glass Jar Upcycing007

I picked my ribbon of choice and wound it around the jar securing it with hot glue.

Glass Jar Upcycing008

Those lovely embellishments? Those were from my niece, they were old earrings she no longer wore and didn’t want. Of course I knew exactly what I’d use them for and snagged a few others as well.

Glass Jar Upcycing009

Cute right? Since I had two similar jars I embellished them the same way. I saw them sitting on a bathroom counter holding cotton balls and q-tips. 

Glass Jar Upcycing024

The next step was to drill the holes into the lids and then spray paint them. I thought I’d like to change up the colors this time around and did some white, silver and the oil rubbed bronze you see above, but in the end decided I like the oil rubbed bronze best.

Glass Jar Upcycing014

I also cut the screws down this time since I’d be handing them out as gifts.

Glass Jar Upcycing010

Here’s an example of how I attached the ribbons, a little glue on the starting piece, then a little along the way to keep it in place. The strip of glue wasn’t needed, just a little dot to secure it is all you need.

Glass Jar Upcycing011

And these lovely embellishments from the paper crafting department at Hobby Lobby added a little bit of elegance to them as well.

Glass Jar Upcycing012


Glass Jar Upcycing013

Once I got started I couldn’t stop! 

Glass Jar Upcycing020

I filled mine with bath salts that I’d purchased a while ago and added the scoop to them.

Glass Jar Upcycing002

You could fill them with just about anything you wanted and give them away for Christmas gifts. Because who doesn’t want a homemade gift that’s simply beautiful? And might I add cheap to make too?

Glass Jar Upcycing016


Glass Jar Upcycing017


Glass Jar Upcycing018


Glass Jar Upcycing019


Glass Jar Upcycing022


Glass Jar Upcycing023


Glass Jar Upcycing025


Glass Jar Upcycing026


Glass Jar Upcycing027


Glass Jar Upcycing028


Glass Jar Upcycing029

If you didn’t want to add a knob, you could also hot glue an embellishment on the top as well.

Glass Jar Upcycing031


Glass Jar Upcycing032


Glass Jar Upcycing033

You notice those candles in the pic? That’s next week’s DIY Christmas blog post.

Glass Jar Upcycing035


Glass Jar Upcycing034


Glass Jar Upcycing037


Glass Jar Upcycing036


Glass Jar Upcycing038


Glass Jar Upcycing039


Glass Jar Upcycing040

You see this little beauty? Watch for next weeks DIY Christmas blog posts to see what else I’ve been up to. 

Glass Jar Upcycing015


Fun Fall Decor – Mini Wrapped Pumkpins

Quite the title, right? Makes you wonder what I’ve done now? Well, let me tell you… Those cute little white pumpkins I bought at the grocery store looked like they needed something extra added to them, so I did. A little tissue paper, a little Modge Podge and you’ve got yourself a custom decorative mini pumpkin to show off. 


I started off with mini white pumpkins, tissue paper (the thinner the better), and some image transfer medium. Modge Podge would work just fine for this application as well.


Tissue Pumpkins_0039_edited-2005


Tissue Pumpkins_0040_edited-2006


Tissue Pumpkins_0041_edited-2007

I ordered the cursive paper online on Amazon. It was exactly what I was looking for, plus Amazon carries a wide variety of them in different colors and patterns.

Tissue Pumpkins_0042_edited-2008


Tissue Pumpkins_0045_edited-2009

I then applied the image transfer medium, again Modge Podge will work just fine, to the outside of the pumpkin with a paint brush. This brush actually kinda sucked as it needed to use something like a chippy brush because it was softer. But this is what happens when this is the only cheap brush you have on hand, you use it cuz you’re just gonna throw it out later.

Tissue Pumpkins_0047_edited-2010

I then applied the cut strip of tissue paper to the pumpkins, and added a layer of the image transfer medium over the top.

Tissue Pumpkins_0049_edited-2011


Tissue Pumpkins_0051_edited-2012

After it’s dried, you’ve got yourself a one of a kind mini decorative pumpkin to show off. 

Tissue Pumpkins_0054_edited-2014


Tissue Pumpkins_0056_edited-2015

Cute, right? 

Tissue pumpkins2_0079_edited-1016


tissue pumkins 3_0081_edited-2001